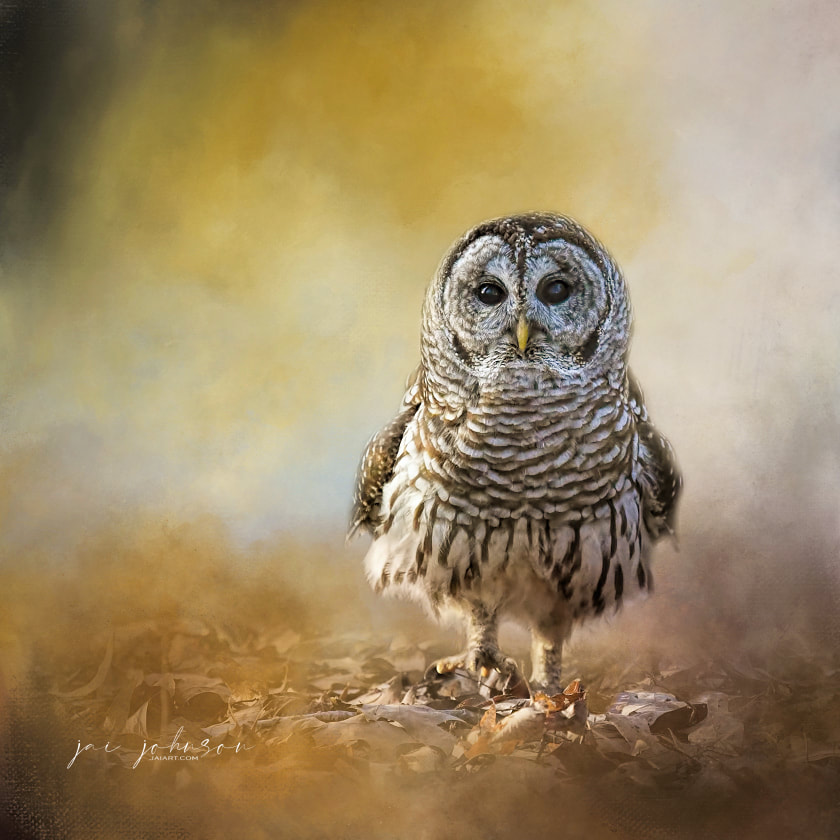
 This shot of Ollie was originally captured on a weekday, when there were no other humans around. Wildlife photography is a challenging and rewarding field that requires patience, dedication, and a good understanding of animal and bird behavior. While many photographers prefer to go out shooting on weekends when they have more free time, many professional wildlife photographers prefer to go out during the week. There are several reasons for this, and the main theme among them all is -- PEOPLE.
Crowds of people + wildlife = lost photos. {Unless you're watching a nest site, because those birds will tend to their young at all times, no matter what.} One of the main reasons why wildlife photographers go out during the week is because wildlife activity is typically less disturbed by human activity. During weekends, parks and other wildlife viewing areas are often filled with people, which can lead to increased noise and activity levels that can disrupt the natural behavior of wildlife. This can make it difficult for photographers to capture the animals in their natural habitats and can negatively impact their overall experience. In addition to the reduced disturbance levels, wildlife photographers also prefer to go out during the week because popular wildlife viewing areas are often less crowded. This allows them to easily access the areas where they want to take photos and reduces the likelihood of distractions in those areas. Photographers are able to set up their equipment and wait for the right moment to capture their shot without having to worry about people walking in front of their lens or disturbing the animals and birds. Another reason why wildlife photographers prefer to go out during the week is because they can take advantage of the more favorable lighting conditions that are often present during the early morning and late afternoon hours without disturbance by humans. These are the times when the sun is low in the sky, creating soft and warm light that is ideal for capturing beautiful and dramatic photos. Photographers who go out during the week can take advantage of these conditions without having to compete with the crowds that often gather in popular wildlife viewing areas on weekend morning and evenings. In conclusion, wildlife photographers often prefer to go out during the week instead of on weekends for several reasons. By going out during the week, they are able to reduce disturbance levels, have easier access to popular wildlife viewing areas, and take advantage of more favorable lighting conditions. These factors all contribute to a more enjoyable and successful photography experience. In my own personal experience, weekends at many locations I visit are a nightmare. The parks are covered up with people, meaning more activity to frighten away the animals and birds. I often drive hours to photograph certain subjects, and doing so on a weekend usually makes for a waste of time and money for travel, with very little "take home shots", unless I happen to be in a remote location. One must be careful in remote locations during hunting season, however, because hunters also use those same locations! So yes, I try to avoid weekends. I am blessed being self-employed in my art business, that I can set my own hours. While many others are off work on weekends and travelling around to the various parks and wildlife viewing areas, I can usually be found in my office and studio working hard. Which is why you'll often see new releases from me both here and on my art website on Monday morning...because I've worked all weekend. :) 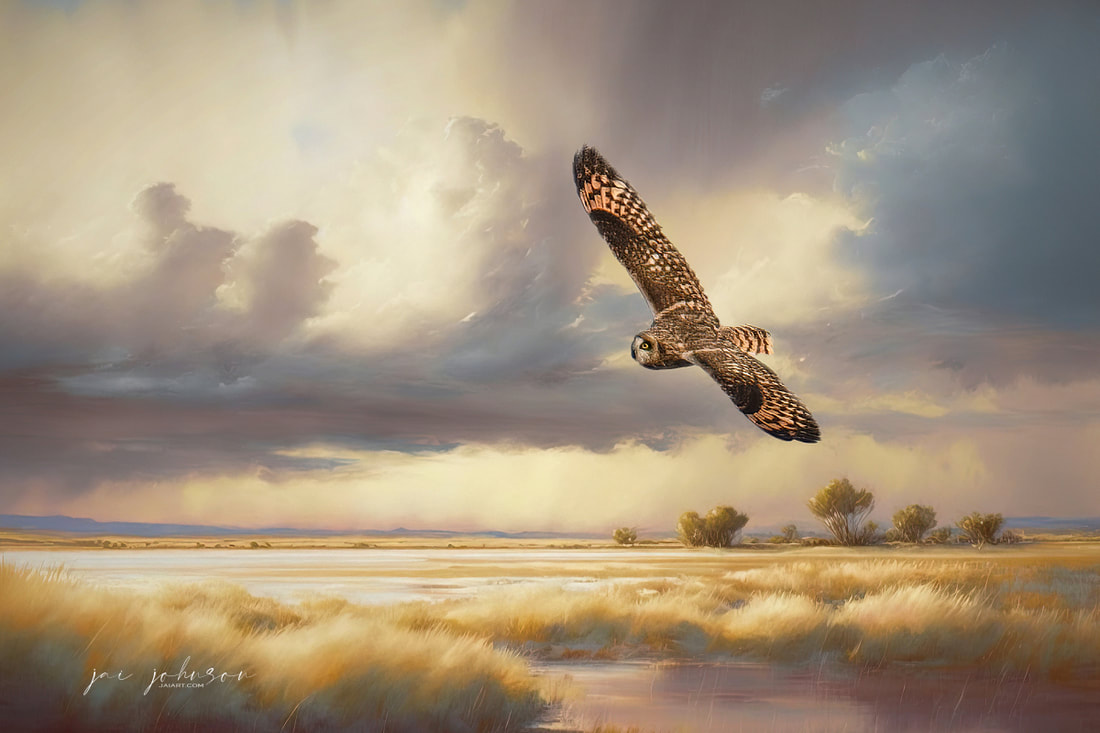 Wildlife photography is a competitive field, with photographers striving to capture unique and beautiful images of wildlife in their natural habitats. While this competition can be healthy and motivating, it is important for photographers to treat each other with respect and professionalism. Here are some tips on how wildlife photographers can maintain positive relationships with their colleagues: Respect each other's space: Wildlife photography often takes place in remote and sensitive environments, where photographers need to be mindful of their impact on wildlife and the surrounding ecosystem. Photographers should respect each other's personal space and avoid getting too close to each other or the wildlife they are photographing. Share knowledge and tips: Wildlife photography can be challenging, and photographers can benefit from sharing their knowledge and experience with each other. This can include tips on camera techniques, equipment, or best practices for working in specific environments. It can also include sharing locations with other photographers who love photographing the wildlife as much as you do, as long as sharing that information doesn't lead to overcrowding, disturbing the wildlife, or harm to the wildlife being photographed. Be gracious in defeat: Wildlife photography is often a game of chance, and one photographer may capture a shot that another photographer was hoping to get. It is important to be gracious and congratulatory towards fellow photographers, even when they get the shot you wanted. This point here is probably the one I've noticed other photographers have the most difficulty with. I have experienced being on the other end of a jealous photographer on more than one occasion, and have often been treated badly simply because I was lucky enough to be in a good spot at a particular time. And believe it or not, I have been treated badly by other photographers because of the fine art I create from my images! Avoid negative criticism: Negative criticism can be hurtful and unproductive. Instead of criticizing each other's work, photographers should offer constructive feedback and suggestions for improvement -- but only when asked! Unwanted criticism, even something you consider "positive", is sometimes not welcome. Collaborate: Collaborating with other photographers can be a great way to improve your skills and create new opportunities. Photographers can work together on projects, share resources, or mentor each other. By following these tips, wildlife photographers can maintain positive relationships with their colleagues and create a supportive community within the field. This can lead to a more fulfilling and enjoyable experience for everyone involved. **Art at the top of this post was created by pairing my photo of a short eared owl with the Glow Over The Marsh painted background.
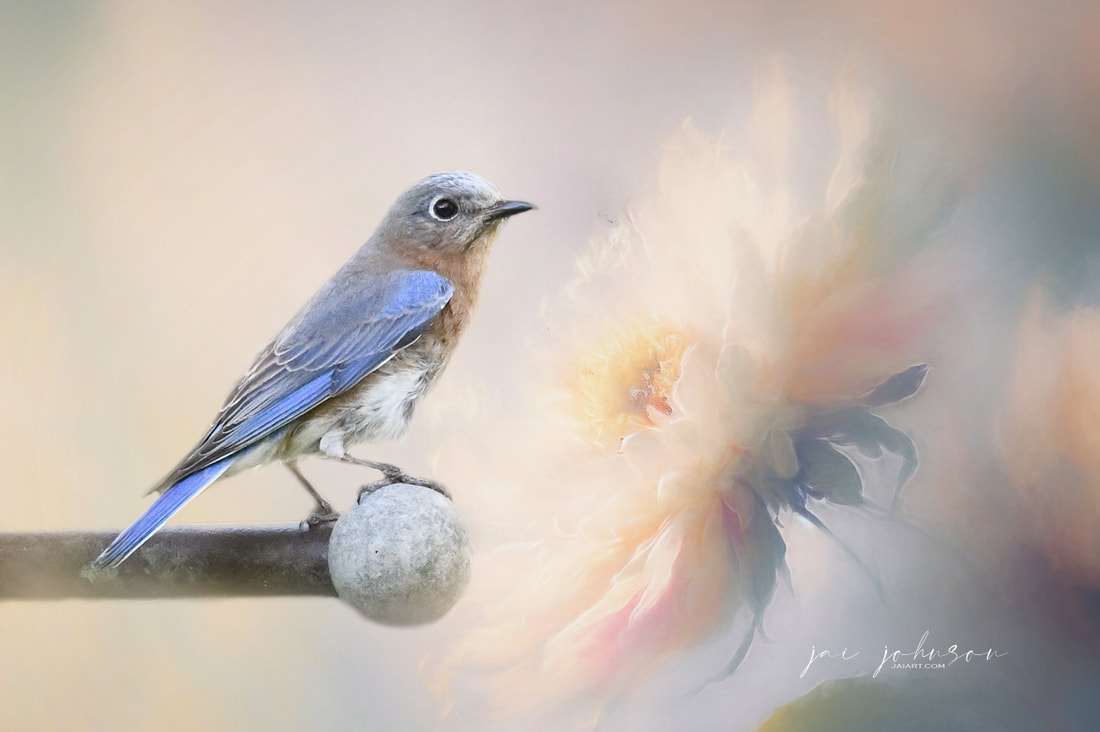 Photographing wildlife is a challenging and rewarding pursuit, and the weather can greatly impact the quality of your images. While sunny days may seem like the perfect time to capture wildlife, cloudy days can actually be much better for wildlife photography. And here's why:
In conclusion, cloudy days offer numerous benefits for wildlife photography, from the soft and even lighting to the better conditions for wildlife. So next time you're planning to head out for a wildlife photography session, consider opting for a cloudy day for the best results. **Example art above was created with a cloudy day photo and one of the floral backgrounds from the Pastel Floral Collection.
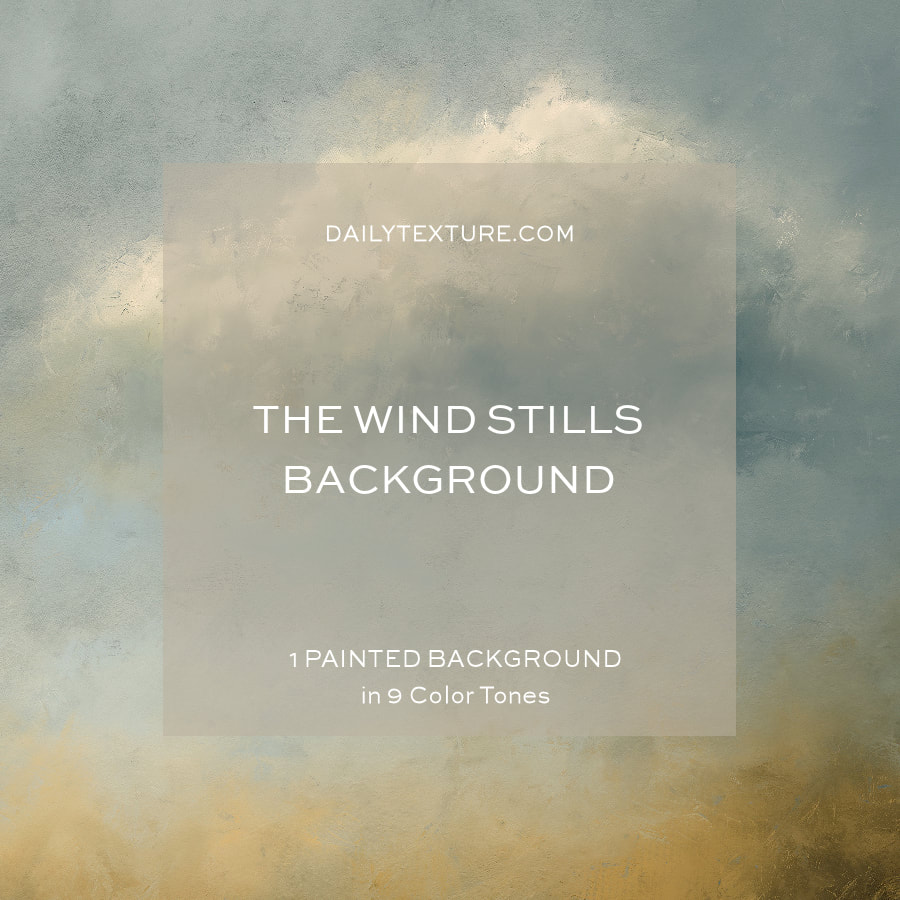
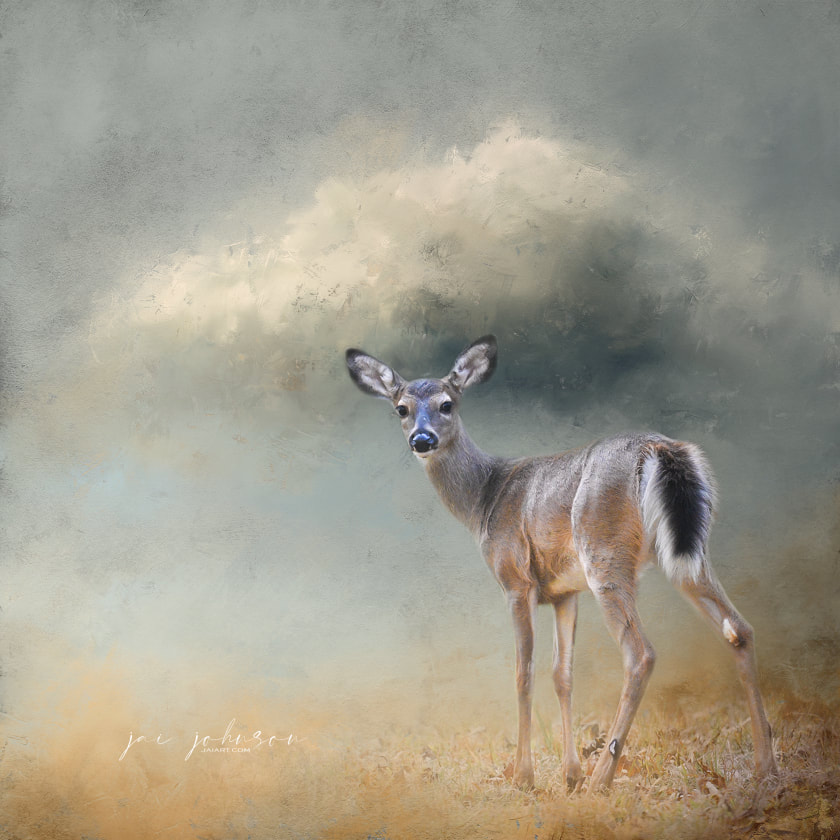
It's so easy and fast to mask your photo right in with the new Altered Collection textures! In the video below, I show you how I create an artistic bobcat portrait in under 15 minutes using this collection. The Final Art: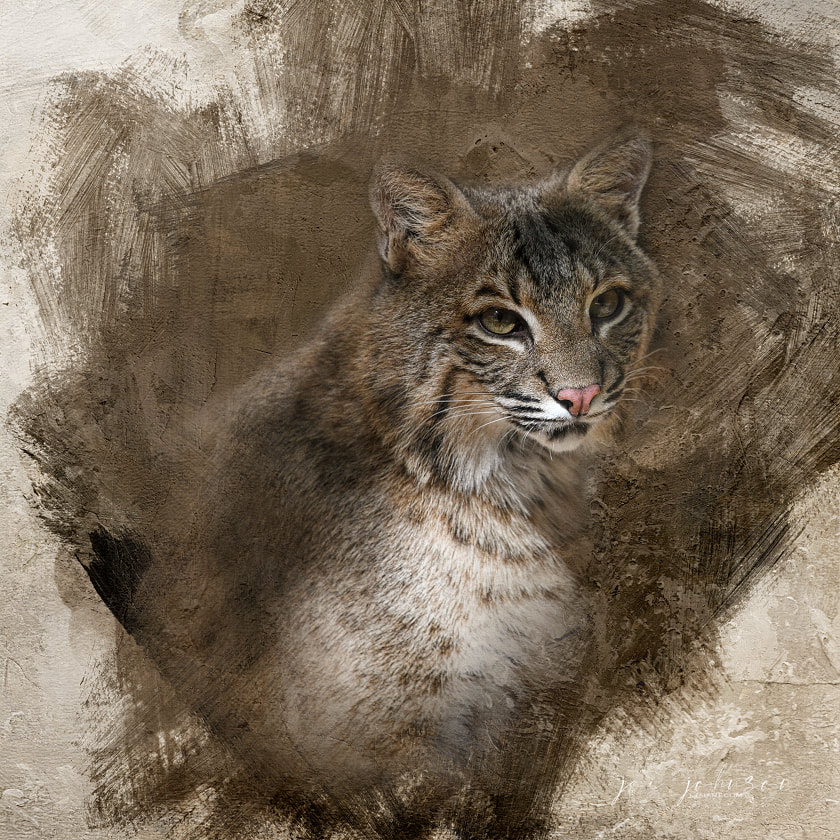 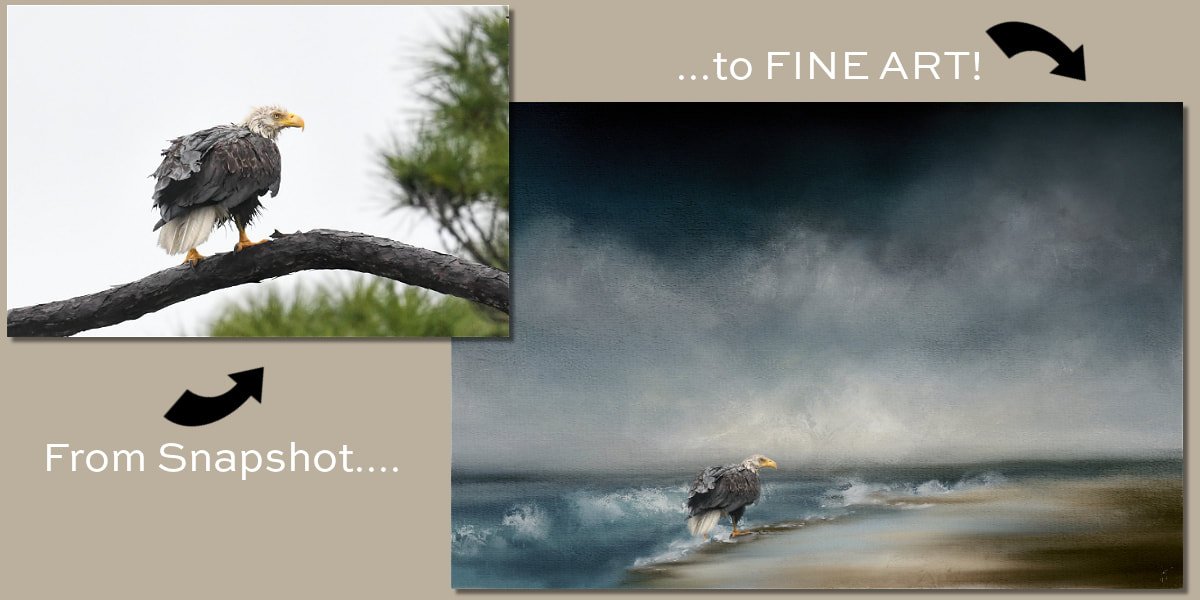 Video Process:In this video, I demonstrate using the Forgotten Coast background with a snapshot of a wet bald eagle on a dreary day. 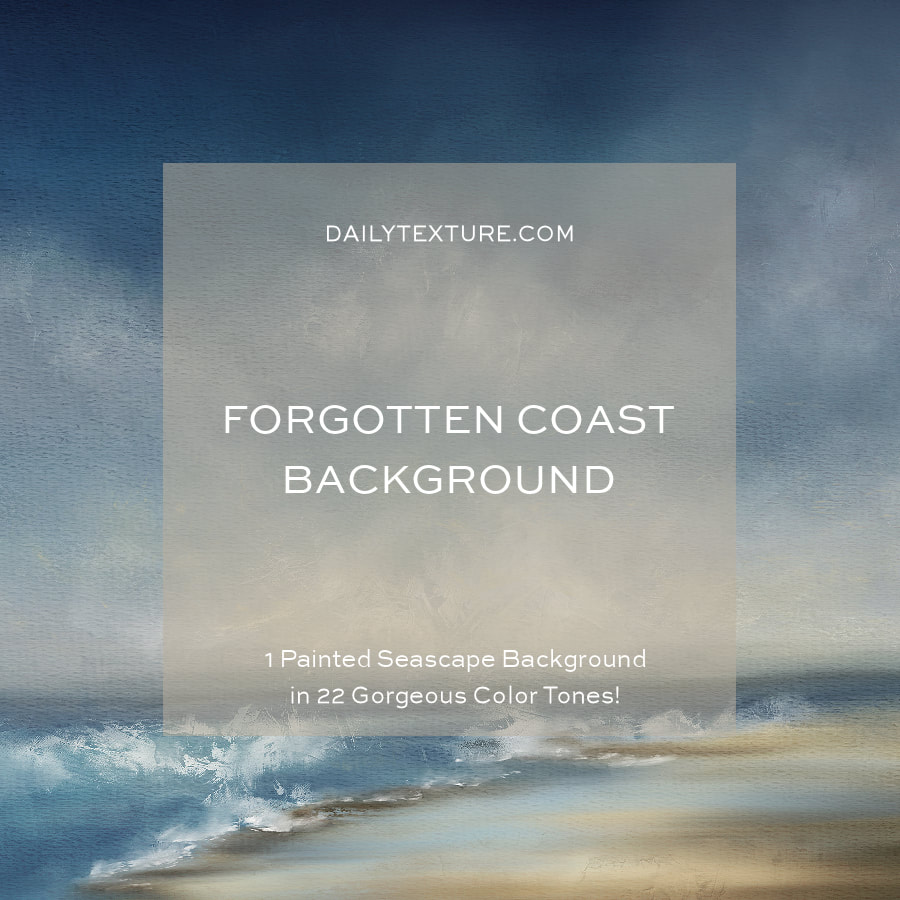 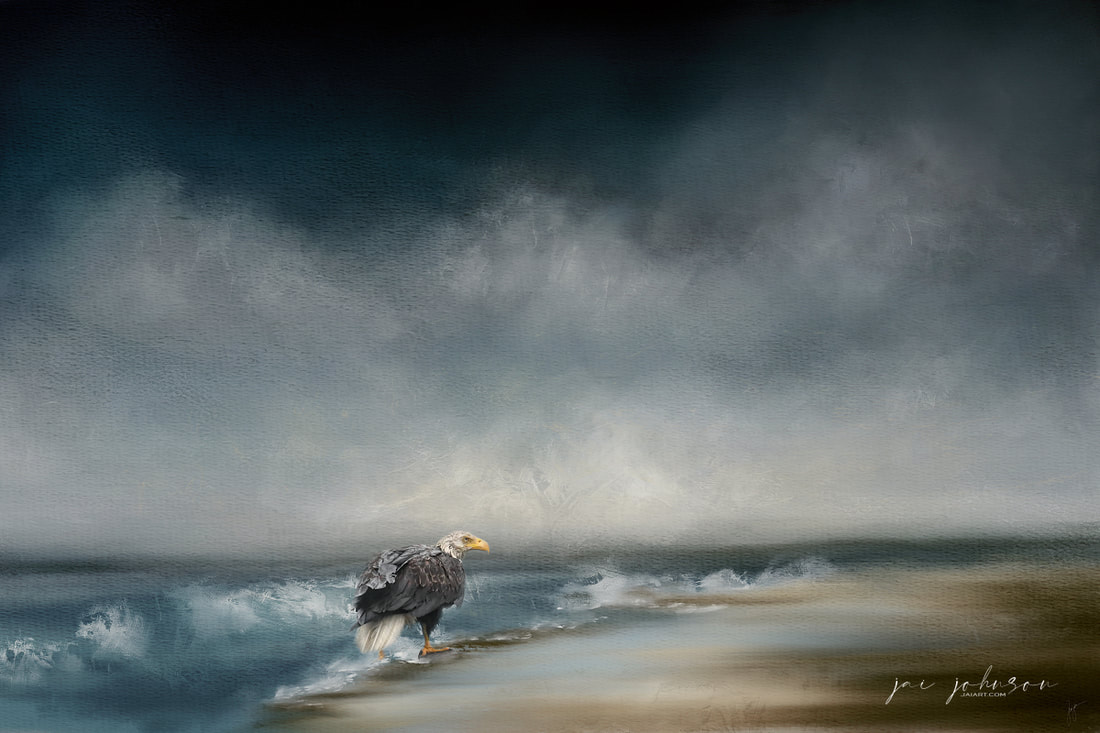 Storm Scavenger This morning I created a new work of art featuring one of our sweet fawns who is ready to begin the journey into the world. I use the new "The Wind Stills" background for this art. I hope you enjoy the video! The Wind Stills
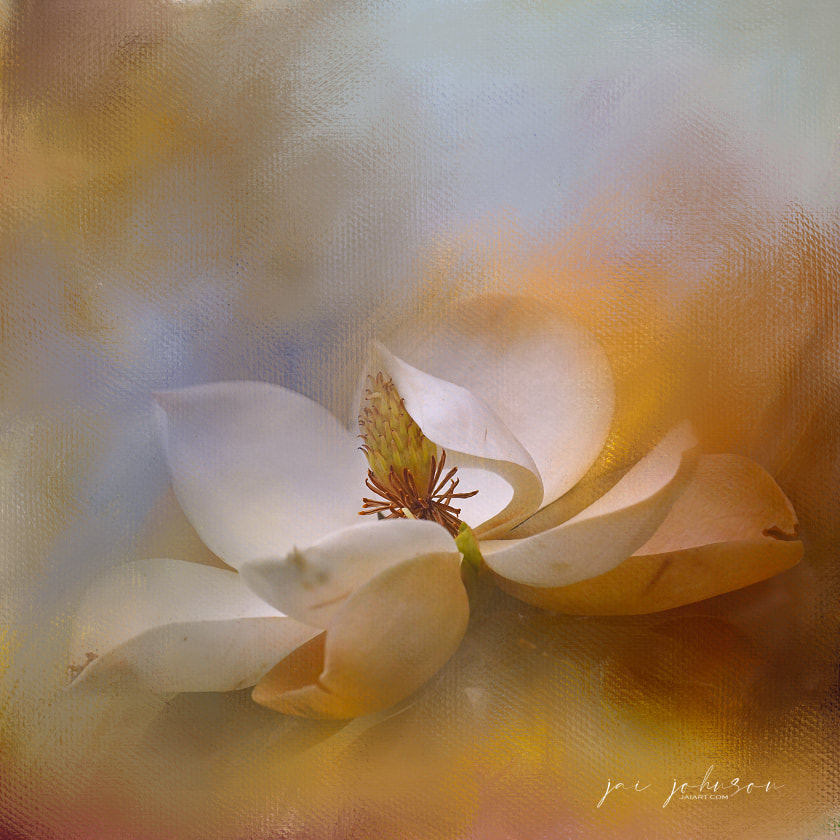
Good Morning! Fall is in the air here in Tennessee, and believe it or not, I still have a few magnolia flowers blooming. A customer asked me recently about creating flower art and how I get the softness and cloud-like look. So I decided to do a short video for you guys. I hope this is helpful! Key Points: • It's all in the masking! Flower on top of texture, mask away edges using a large, round, soft brush. • Mask right over the edges of petals and leaves, varying size and opacity of the brush • Duplicate the bottom texture layer and put it on top - try various layer modes and opacities for that layer. This brings the color and texture of the actual texture right into your flower • Use textures from different collections if desired. Mask away parts of the texture layer if necessary. The Collections I Used:
 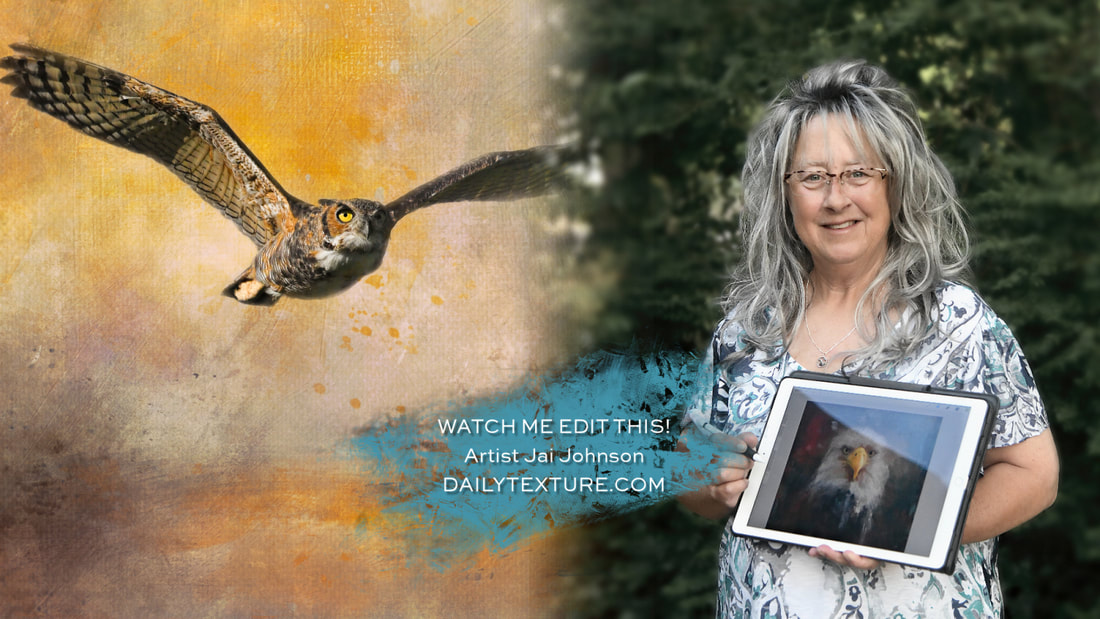 In this video, I create another work of Great Horned Owl art, this time using one of the backgrounds from the Moods 2 Petite Collection. Enjoy! 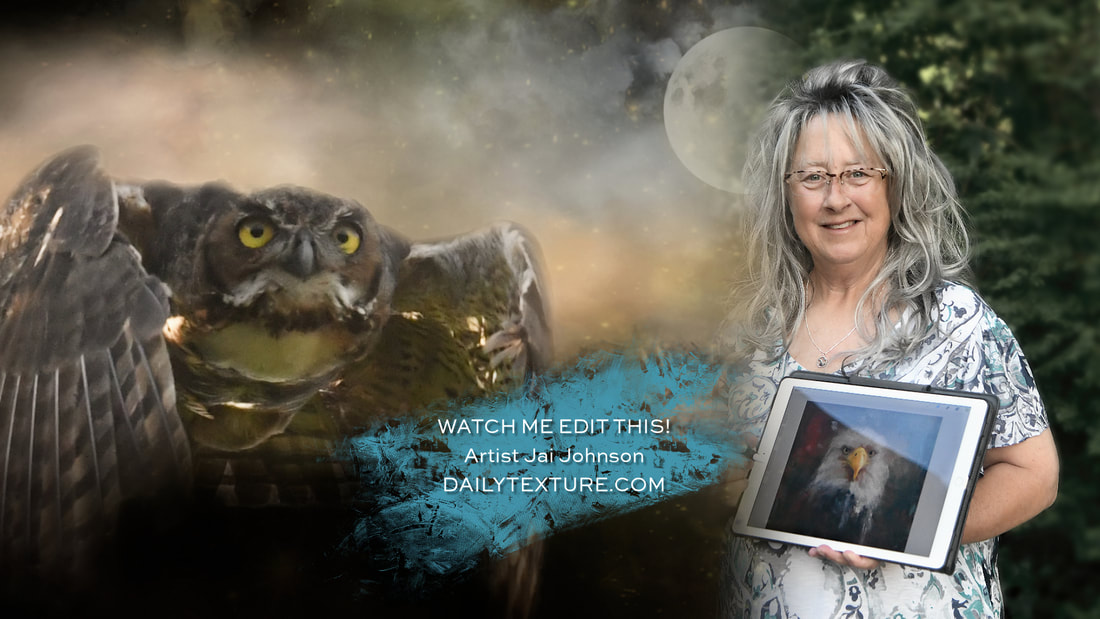 For this piece, I blended one of my recent owl photos with backgrounds and textures from the Stormscapes and Starry Skies collections. Watch the video below! |

Be sure to join the Daily Texture Mailing list to keep up to date on new collections!
You may find these two links useful: • Frequently Asked Questions • Helpful Links and Information  In most of my videos, I use older software which I've used for years. Unfortunately, the software I use isn't being sold anymore.
Many of you have asked me to teach in Photoshop -- but I am just learning myself in that software. In my learning, I have discovered the best Photoshop training on the planet, and I have secured a special offer on this same training JUST FOR YOU! Click the button below to learn from my same trainer, and to save a HUGE amount on this lifetime access course: Please note: Some collections shown in older blog posts have been retired and are no longer available. The blog posts have been left for you to view for learning purposes and examples of what can be done using the Daily Texture resources. As always, for the most current available collections, please visit the store here.
Archives
April 2024
|


 RSS Feed