|
OK, how do I say this nicely...I'm not sure there is a way. But I will try...
On a recent Youtube video someone left me a smart alec comment, once AGAIN complaining {this person has sent multiple emails over the years saying the same darn thing!}, that I use an "obsolete software", and that I "should be" doing videos in Photoshop, On1, Luminar Neo, etc. This is a person who has been with me for years, and is one of the few I have that seem to always have to complain about something, and often the same thing over and over again -- as if those nasty comments are going to encourage me to do what they wish. This person obviously has not learned my VERY SIMPLE process of how I work, despite the fact I've done almost 100 FREE VIDEOS throughout the years, as well as made multiple blog posts and even given written "recipes" for a while. People like this who complain and demand I demo every software out there just to appease them really irritate me. I'm sorry, but they do, because I am not a "software" teacher. I am an ARTIST and a PHOTOGRAPHER. I make backgrounds to offer to you which you can use with your photos just like I do. I have shown repeatedly how I do it. I am an ARTIST and a PHOTOGRAPHER, not a software instructor. If someone has truly learned my process, it doesn't matter WHAT software they use. The software has to have two functions: LAYER ABILITY and MASKING ABILITY. The process is VERY simple: 1) Put texture on bottom layer 2) Photo photo on layer on top of that 3) Mask background away from the subject on the photo layer. Do not erase, do not "cut out" -- MASK, using a soft round masking brush, varying the opacity of the brush depending on how much of the original background you wish to remove. Want to remove the whole background? Mask at 100%. Want to leave a hint of the background showing? Mask at maybe 30% or 50% opacity. It's all about what YOU want for your finished work. That's it. Very simple. When choosing a software to use in order to do what I do, it's important to see if you can 1) Layer and 2) Mask using that software. Can't do those things? Don't use that software. Pick a different one that DOES do those things. Do I often add textures on top as well in different layer modes? Yes. But that's extra to the basic process above. And as long as you have layering ability, you can do that as well. As for MY software choices {I use two VERY old, yes "obsolete", programs on my desktop}, the reason I continue to use my older software is that it's what I'm most comfortable with and have been using for many years, allowing me to maintain a consistent workflow. I mean think about it, if I am out there buying and learning EVERY SOFTWARE and doing videos on how to use them, that makes me a software instructor instead of an artist. That means I have no time to complete my own art projects, nor do I have time to make backgrounds and textures for YOU to use as well. I don't "need" to be a software instructor. There are already MILLIONS and if someone would just search Youtube for what they wish to learn in their particular software of choice, they will find someone to show them how to do what they need to do. I don't need to be the one to show everyone how to layer and mask in every imaginable software and app available. That is not what I do. I HAVE done a couple of examples in other software on my LEARN page, which despite me directing people to, it seems many ignore it. On that page, I have a video on how to blend a texture with an image in Photoshop. It's a very simple video. It goes over the process. There is no need for me to do a video on very piece of work I create in a software I don't regularly use. As I said above, I am not a software instructor. I do recommend a GREAT course, also on my LEARN page to learn EVERYTHING about Photoshop from a software instructor. Whether people decide to take the course is up to them, but I can assure you, I am NOT going to be teaching it. And frankly the more people who leave me nasty comments or send nasty emails chewing me out because I don't use that software or whatever else they "think" I should be using, the more firm I stand in my position that I will NEVER use those software applications. I have my favorites, they fit my workflow, and they will be what I continue to use to get done what I need to in the fastest way possible for me. So, all that being said, I encourage everyone to use the software they feel most comfortable with or find suitable for their needs. The key aspect of my tutorials is to showcase the blending technique and inspire creativity rather than focusing solely on the software used. Anyone in the future who wants to spend their time leaving me nasty comments or sending emails "demanding" I use a different software will simply be referred back to this post {if I even respond}, as I am done discussing it. -- Jai
Photography is an art form that has the power to capture moments in time and convey emotions in a way that words cannot. However, some photographers may find themselves stuck in a comfort zone when it comes to creating art with their photos. They may feel limited by the real-life environments they shoot in or feel bound by the rules of accurate representation.
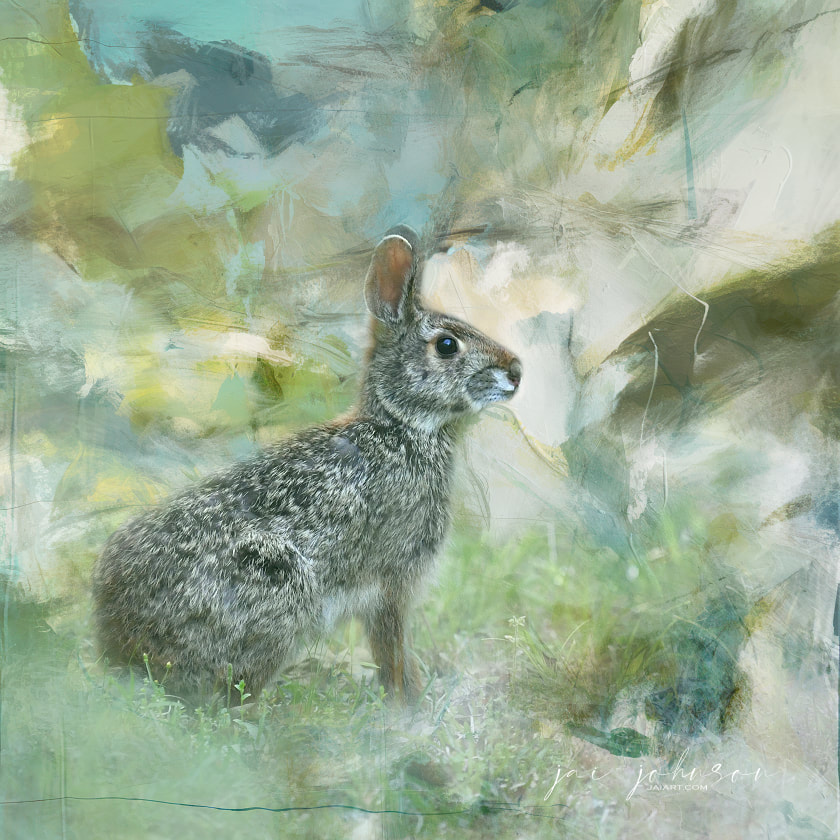
It's important for photographers to realize that everything doesn't have to be as it is in real life when creating art. Stepping out of their comfort zone and letting creativity lead them can result in new and exciting scenes and presentations. In fact, the most creative and interesting art often comes from taking risks and pushing boundaries. One way to create photo art is to experiment with different techniques for blending photos with textures and backgrounds. By blending photos with different textures and backgrounds, you can create a unique and interesting look that sets your work apart. You can take a simple photo of a bunny rabbit in sitting in the grass, for example, and turn it into a piece of work with an abstract and more freeform feel, simply by blending the photo with a few textures as in the example shown above. Before you start experimenting with textures and backgrounds, it's important to start with a strong foundation. To create compelling photo art, you need to pay attention to lighting, composition, and color when you take your photos. You want your base image to be something that can stand on its own, but that also has the potential for further creative exploration. Once you have a strong base image, you can begin to experiment with different techniques for blending it with textures and backgrounds. When creating ART with your photos, remember everything doesn't have to be accurately portrayed. Use your creativity to play with reality and create scenes and presentations that are outside of the norm. You could take a lion out of its natural environment and put it in a place it would never be in real life, or you could create a surreal landscape that doesn't exist in reality. Let your imagination run wild and see where it takes you. Don't be limited to what the photo gives you straight from the camera, or how a subject would "normally" be seen. Digital painting techniques are also a fantastic way to create artistic images. Digital painting is a powerful tool that allows you to take your photos in new and unexpected directions. This can involve anything from adding color and shading to painting new elements into the scene. Digital painting is a great way to turn a photo into a work of art that is truly unique and unexpected. The most important thing when creating photo art is to let your creativity run wild. Try new things and push the boundaries of what photography can do. Try combining different photos to create surreal or dreamlike scenes, or use digital painting to turn your subjects into something entirely new if you wish. Sometimes the most interesting and unique art comes from pushing boundaries and taking risks. Don't be afraid to make mistakes or experiment with unconventional techniques and artistic choices. With a strong foundation and a willingness to explore new creative possibilities, you can create stunning works of art that push the boundaries of what your camera portrays. So don't be afraid to step outside of your comfort zone and try something new – you never know what amazing results you might achieve! NEW:
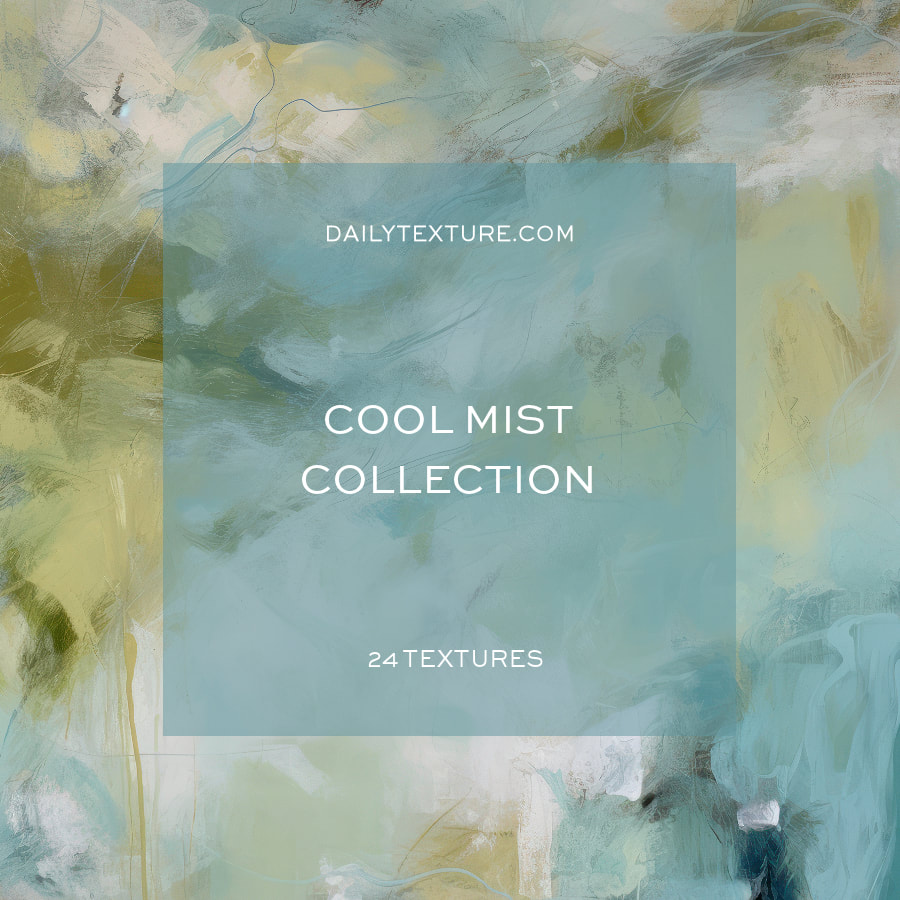
P.S. Watch me create the first art pieces which inspired the Cool Mist Texture Collection in the video below!
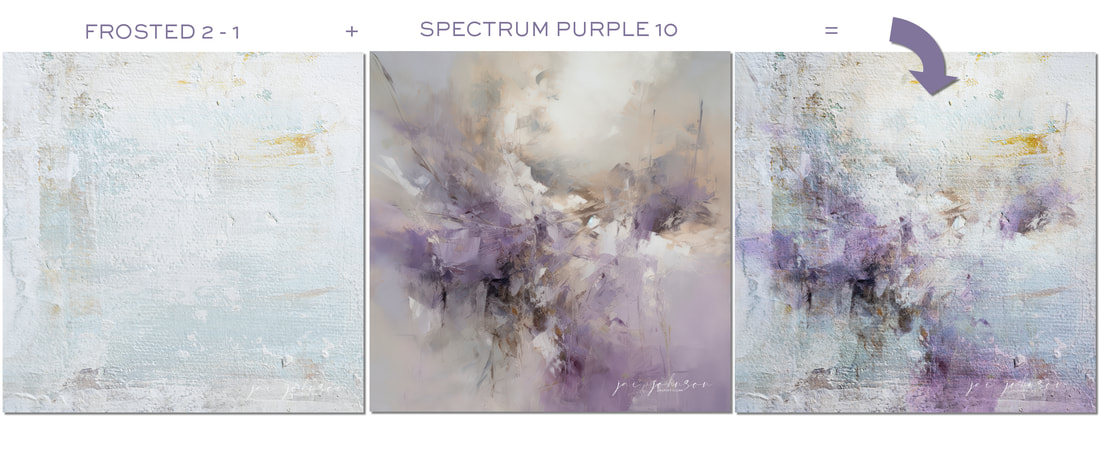
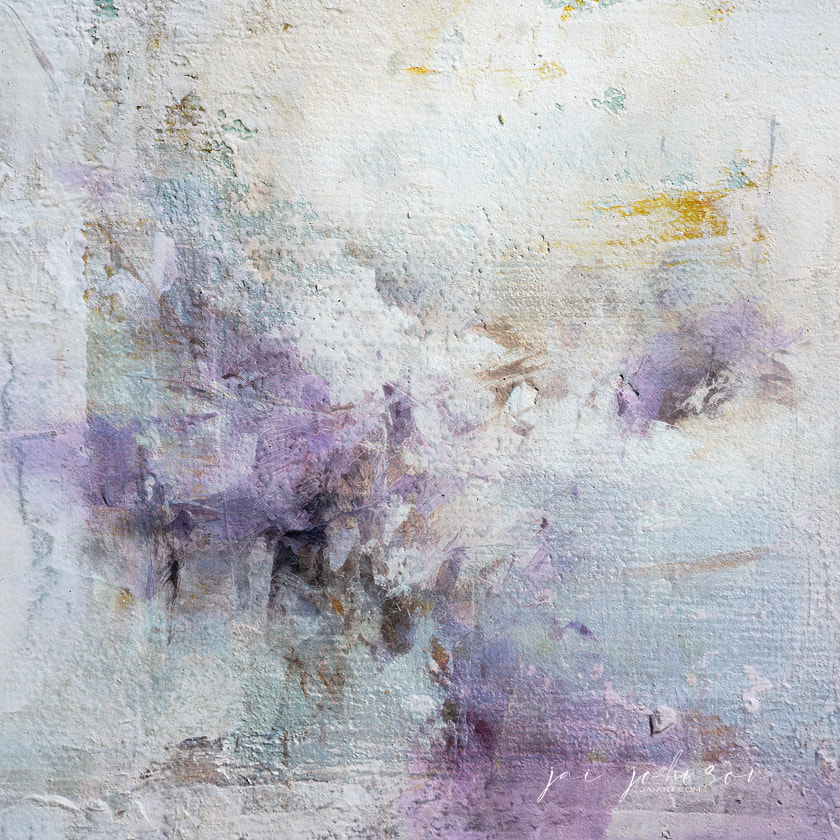
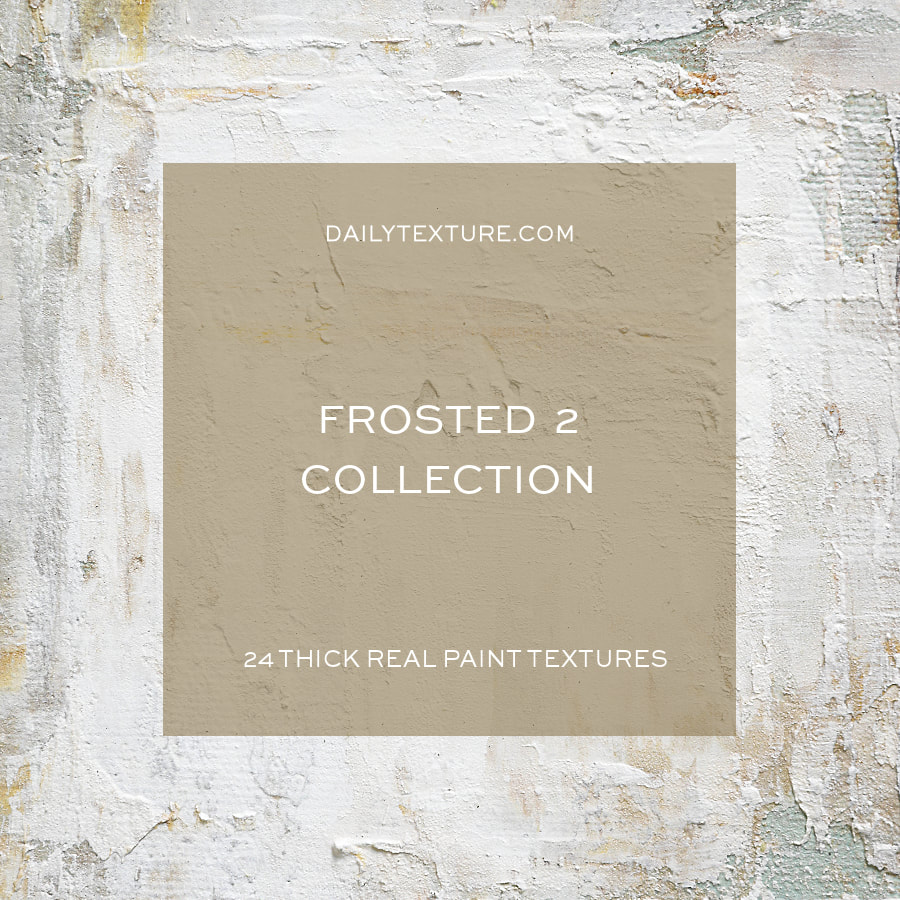
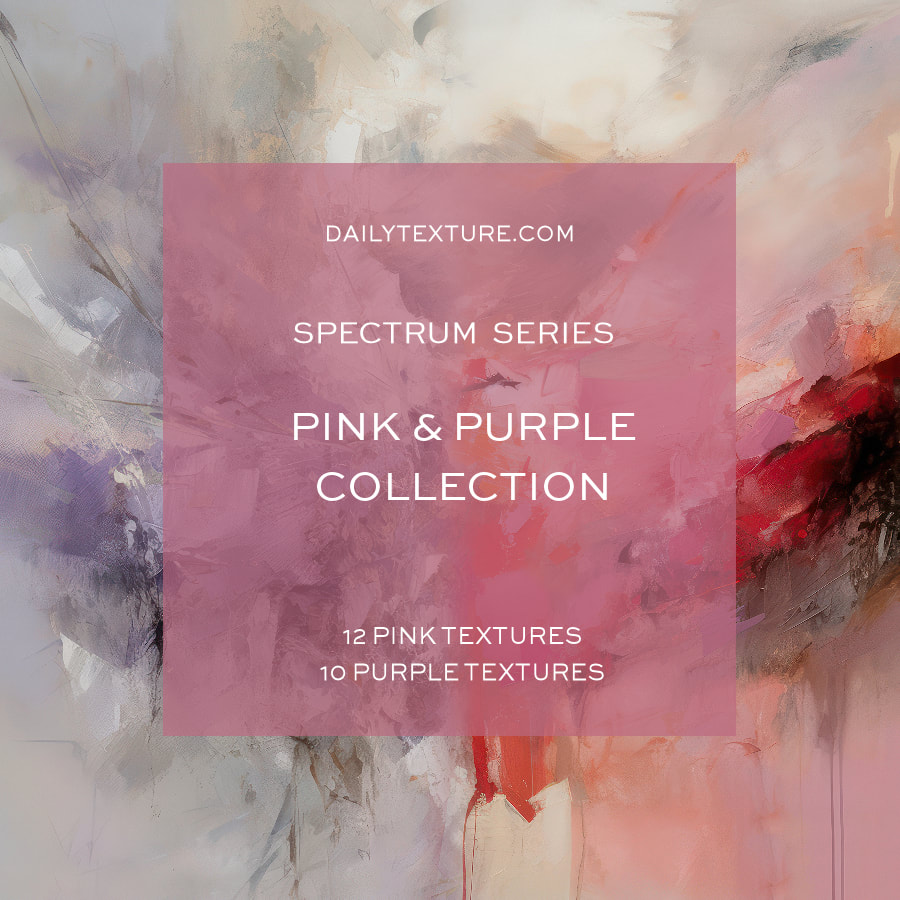
One thing I love to do when I'm feeling a lack of creativity is to build a new background from existing backgrounds. Of course, the backgrounds I create are always ready for you to blend with your photos and digital paintings right "out of the box" - it makes it super easy for you to create new works of art quickly. Sometimes I don't know WHAT I want to create, however, and I feel a bit stuck. I may have a color or texture or some vague vision in mind, but just don't know where to go. This is when I do a short creative exercise to build a new background. I usually start by opening up two texture sets and choosing two different textures. Bringing them into my photo editing software, I will then begin to work on layering and blending the two choices. In the example below, I chose one of the Frosted 2 textures and one of the Spectrum Purple textures to work with. I felt like I wanted to so something with some heavy texture, and the Frosted 2 collection is full of heavy texture. But purple and lavender colors have been on my mind, because I have some purple flowers growing here. This is what I came up with: Here's a rundown on my layers list for the above, from top to bottom: Layer 5 - Frosted 2 (1) - Soft Light layer mode @ 50% Layer 4 - Frosted 2 (1) - Multiply layer mode @ 100% Layer 3 - Spectrum Purple 10 - Hard Light layer mode @ 100% Layer 2 - Spectrum Purple 10 - Multiply layer mode @ 30% Layer 1 - Frosted 2 (1) - Normal layer mode, full opacity. Here's a closer look at the new background texture I've created, which I can now blend with anything I wish: Blending some of your purchased backgrounds together can be a great way to create a unique and personalized design. It allows you to combine your own artistic style and vision with the versatility and complexity of the texture backgrounds, as well as creative something a little different only you may think of. Here are the steps for blending your backgrounds together to create a new design: Step 1: Choose Your Backgrounds Choose the painted backgrounds that you want to blend together. Look for backgrounds that have complementary colors, textures, and styles. This will help you create a cohesive and visually appealing design. Step 2: Overlay the Backgrounds Once you have chosen your backgrounds, overlay them in your design software. Position the second background on top of the first background. Adjust the opacity and/or layer mode of the second layer until you can see both backgrounds together. Repeat this step for each background that you want to blend together. Step 3: Adjust the Blend Mode Adjust the blend mode of each layer until you find what works well with your vision. Experiment with different blend modes to achieve the desired effect. You can also adjust the opacity of the top layers to fine-tune the blending. Step 4: Refine the Blending Use layer masks to refine the blending of the painted backgrounds. You can use the layer masks to hide or reveal parts of a top layer. This will allow you to blend the two textures together seamlessly and create a new design that is unique to you. Step 5: Repeat the Process If you want to add more backgrounds to your design, simply repeat the process. Overlay the third background on top of the first two, adjust the blend mode, and refine the blending. You can repeat this process as many times as you like until you achieve the desired result. Blending your own painted backgrounds together to create a new design is a great exercise to get your creative juices flowing! It allows you to experiment with different colors, textures, and techniques to create a unique and personalized design. By overlaying the backgrounds, adjusting the blend modes, and refining the blending if needed, you can create a new design that is different from using your backgrounds "straight out of the box". So, go ahead and experiment with blending your backgrounds to create something new and exciting, exclusive to you! P.S. Be sure to SAVE your new background with a new name, so you can use it again in the future for your artistic projects! Collections Used: |
Be sure to join the Daily Texture Mailing list to keep up to date on new collections!
You may find these two links useful: • Frequently Asked Questions • Helpful Links and Information In most of my videos, I use older software which I've used for years. Unfortunately, the software I use isn't being sold anymore.
Many of you have asked me to teach in Photoshop -- but I am just learning myself in that software. In my learning, I have discovered the best Photoshop training on the planet, and I have secured a special offer on this same training JUST FOR YOU! Click the button below to learn from my same trainer, and to save a HUGE amount on this lifetime access course: Please note: Some collections shown in older blog posts have been retired and are no longer available. The blog posts have been left for you to view for learning purposes and examples of what can be done using the Daily Texture resources. As always, for the most current available collections, please visit the store here.
Archives
April 2024
|
 RSS Feed