|
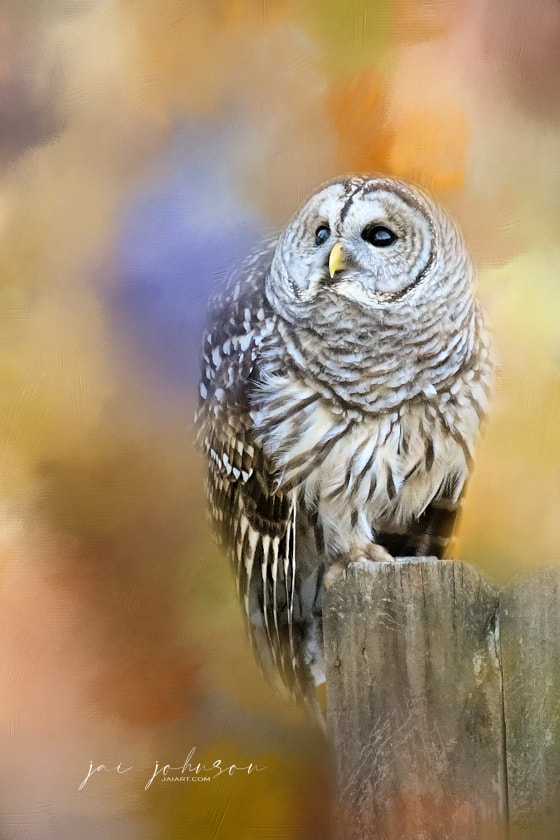
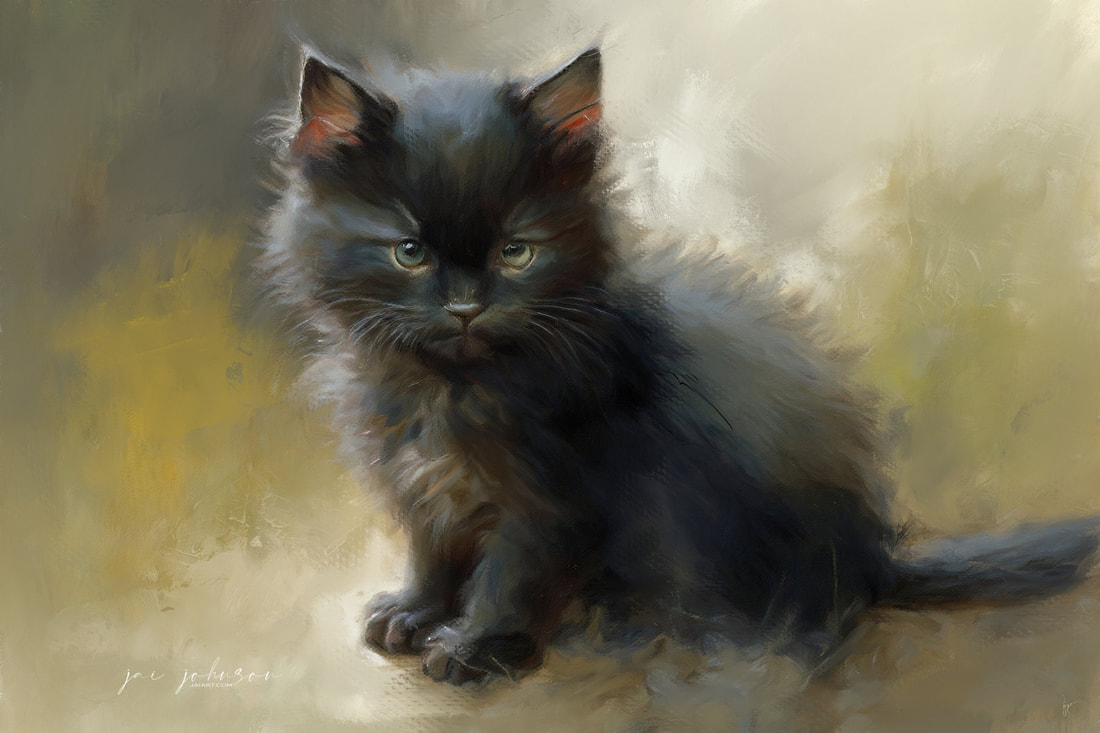
There's really no "right or wrong" in choosing the right background texture, but some people find it difficult. So in the video below, I've completed the above image, and I take you through some of my decisions and thoughts as to how I chose the background. I cover cropping, mood, color choices, soft edge blending to create lost edges, and what is important to keep and what to leave from the original photo, and why. I hope you enjoy the video! Collections Used:Digital painting has become a popular practice among artists and hobbyists alike, and one trend that has emerged is the practice of painting photos using digital software. This involves taking a photograph and transforming it into a work of art through the use of digital painting techniques. But why would someone want to paint their photos using digital software? Here are a few reasons: 1. Creative expression One of the main reasons people choose to paint their photos using digital software is for creative expression. Digital painting offers a wide range of creative possibilities that may not be possible with traditional media. By painting your photograph, or a photograph which you have edited by adding textures, new backgrounds, and creative lighting changes, artists can add their own personal touch to the image, whether it be through the use of color, texture, or subject matter. This can allow them to explore their own artistic vision and create something truly unique. For example, an artist may choose to paint a landscape photo and add their own interpretation of the scene, creating a more expressive and stylized representation of the original image. They may also use digital techniques to create a sense of depth and atmosphere that goes beyond what is possible with a simple photograph. 2. Preservation of memories Another reason someone might choose to paint their photos is for the purpose of preserving memories. Photographs are a common way of capturing important moments in our lives, but they can be easily forgotten or lost over time. By transforming a photograph into a piece of art, the image becomes more than just a snapshot of a moment in time – it becomes a more lasting and meaningful representation of the moment captured in the photo. For example, an artist may choose to paint a photo of their wedding day, adding their own unique interpretation of the event and capturing the emotions and atmosphere of the day in a way that a simple photograph may not be able to do. People are more inclined to have a print created of a painting they created based on a memorable photo, and the print can then be framed and displayed for a lifetime to commemorate an event or pay tribute to a special person or pet. 3. Exploration of new techniques Digital painting allows artists to experiment with a wide range of techniques and effects that may not be possible with traditional media. By painting a photograph, they can explore different styles, textures, and color palettes without the fear of making permanent mistakes. This can be a great way to develop new skills and techniques that can be applied to other forms of art. For example, an artist may choose to experiment with a new color palette or texture on a photograph, allowing them to explore the potential of these techniques before applying them to other works of art. An artist may give the original photo a totally different style when exploring different painting techniques, which once again can create a work of wall-worthy art. 4. Commercial opportunities Finally, painting photos using digital software can also present commercial opportunities for artists. For example, they may be able to sell their painted photos as prints, license them for use in commercial projects, or create custom pieces for clients. This can be a great way to turn their passion for digital painting into a profitable business. I personally know many pet photographers who have taken their business to a whole new level by offering painted pet portraits! Another example is the artist who chooses to paint a photo of a popular tourist destination and sell prints of the painting to tourists visiting the area. The painting may also be able to be licensed for use in travel brochures or other commercial projects. In conclusion, there are many reasons why someone might choose to paint their photos using digital software. Whether it's for creative expression, preservation of memories, exploration of new techniques, or commercial opportunities, this practice can be a rewarding and fulfilling way to transform ordinary photographs into works of art. So why not give it a try? You may discover a new passion for digital painting that you never knew you had! I teach others how to paint their photos in Procreate on the iPad. When you join Skillshare, you can have access to all of my classes here!
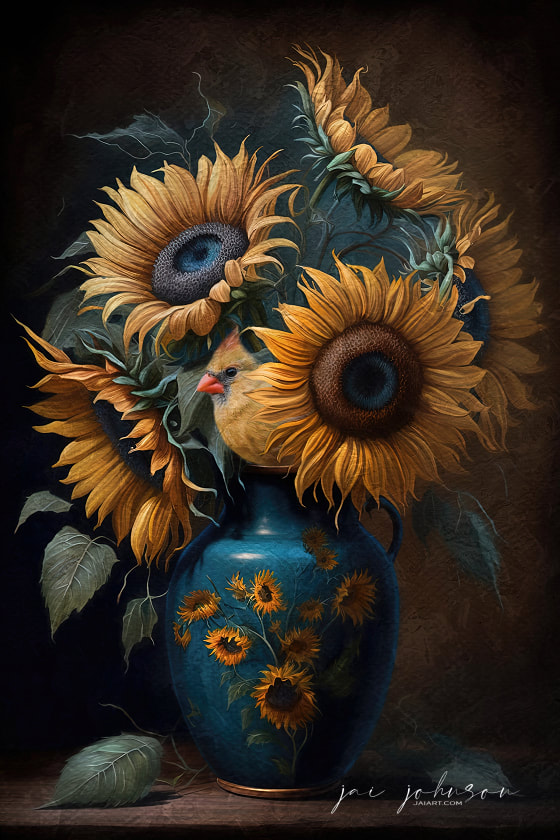
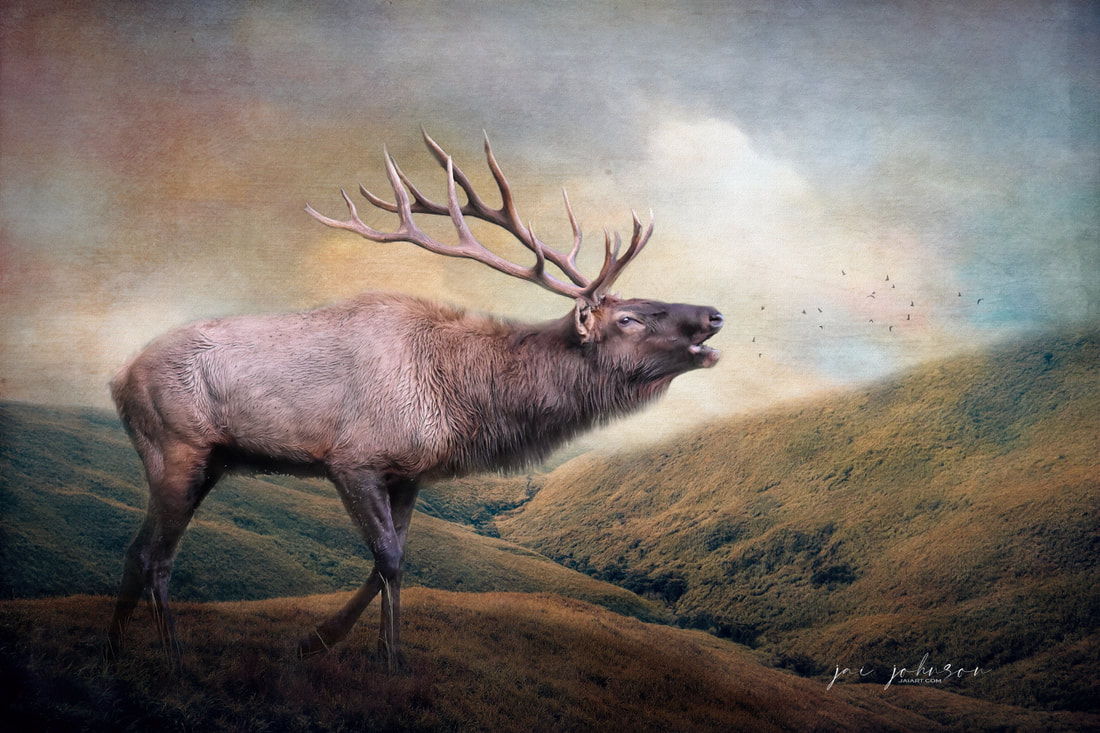
Blending songbird photos with still life photos of flowers in vases can result in beautiful and unique artwork. Here are some tips on how to blend these types of photos together: Step 1: Choose Your Photos Start by choosing your songbird photo and one of the still life floral backgrounds. Make sure the colors in both photos complement each other well. You might consider choosing a photo of flowers that have similar colors to the bird's feathers or that contrast nicely with the bird. Step 2: Edit Your Photos Before blending together, make sure to edit them first. You can adjust the brightness, contrast, and saturation of each if necessary to create a cohesive look between the two. Step 3: Blend Your Photos Using photo editing software, blend the photos together. You can place the bird in the vase among the flowers, perch it on the edge of the vase, or have it fly above the vase if your photos is of a flying bird. To make the bird look like it is a part of the still life, adjust the lighting to make the shadows and highlights match. Step 4: Add Final Touches To enhance the final image, you can add additional elements or effects. You might add a filter to create a vintage look or add text to the image, or add one of our many textures on top to give a whole new look to your art. You can also crop the image to emphasize certain parts of the composition or adjust the saturation to make the colors pop. Step 5: Share Your Artwork Finally, once you're satisfied with the final result, you can share your artwork on social media, in online galleries, or even in physical galleries or exhibitions. You can also print your artwork as a canvas or a framed print. Blending songbird photos with still life photos of flowers in vases can result in stunning works of art that showcase the beauty of nature. It's a great way to give a new look to songbird photos! Also consider adding butterflies and other small insects, or even small reptiles, like cute little tree frogs, into your designs. By following these steps, you can create a unique composition that is both creative and visually striking. Good luck and have fun creating! Collections Used To Create The Above Art:As photographers, we often strive to capture the perfect image. When it concerns wildlife, often the original backgrounds are less than stellar, since they may have cars, people, unwanted buildings, power lines, and other objects which can detract from the subject. But what happens when we take the main subject of those images and transform them into something new and unexpected? That's the idea behind creative reimagining, a process of artistic transformation that involves adding new backgrounds and textures to existing photos to create something new and unique. Creative reimagining is a form of mixed media art that combines photography with digital and traditional art to create visually striking images. By adding new backgrounds and textures, we can give the image a different mood or atmosphere, tell a story, or suggest new meanings or narratives. The process of creative reimagining begins with selecting the right photograph. The ideal photo will have a strong composition and interesting subject matter, but may lack the visual impact we're looking for. It could be a portrait, a landscape, or any other type of photograph. Once the photo has been selected, we can begin the process of adding new backgrounds and textures. This can involve a range of techniques, from simple color correction and cropping to more complex layering, masking away unwanted elements, and blending of multiple images. One approach to creative reimagining is to think about the mood or atmosphere we wish to convey. For example, a portrait of a person might be transformed into a surreal landscape to create a dreamlike, otherworldly image. A street scene might be reimagined as a futuristic cityscape to suggest a vision of the future. A beautiful wildlife subject in captivity can be placed into a scene which is more suitable and natural for the animal or bird. Another approach is to use backgrounds and textures to suggest new meanings or narratives. For example, a photo of a bird might be transformed into a symbol of freedom by adding a big sky background filled with clouds. A photo of a person might be transformed into a representation of an emotion or state of mind by adding an abstract texture. The key to creative reimagining is experimentation and exploration. By trying out different combinations of photographic elements and backgrounds, we can discover new possibilities and create something new and unique. It requires a high degree of artistic skill and vision, as we must have a clear idea of what they want to achieve and how to achieve it. In conclusion, creative reimagining is a process of artistic transformation that allows photographers to explore new possibilities and create something new and unique from existing photographic elements. By adding new backgrounds and textures, we can give the image a different mood or atmosphere, tell a story with our subjects, or suggest new meanings or narratives. It's a form of mixed media art that combines photography with digital and traditional art, and requires a high degree of artistic skill and vision, which as creative people, we all have! If you're a photographer looking for a new creative challenge, try your hand at creative reimagining and see where it takes you! Visit the learn page here on the website to get started! :) NOTE: The background image used with the elk photo above is from the Hills Of Glory Background Collection.
Blending Wildlife Photos with Painted Backgrounds: The Art of Matching Cool and Warm Colors2/9/2023
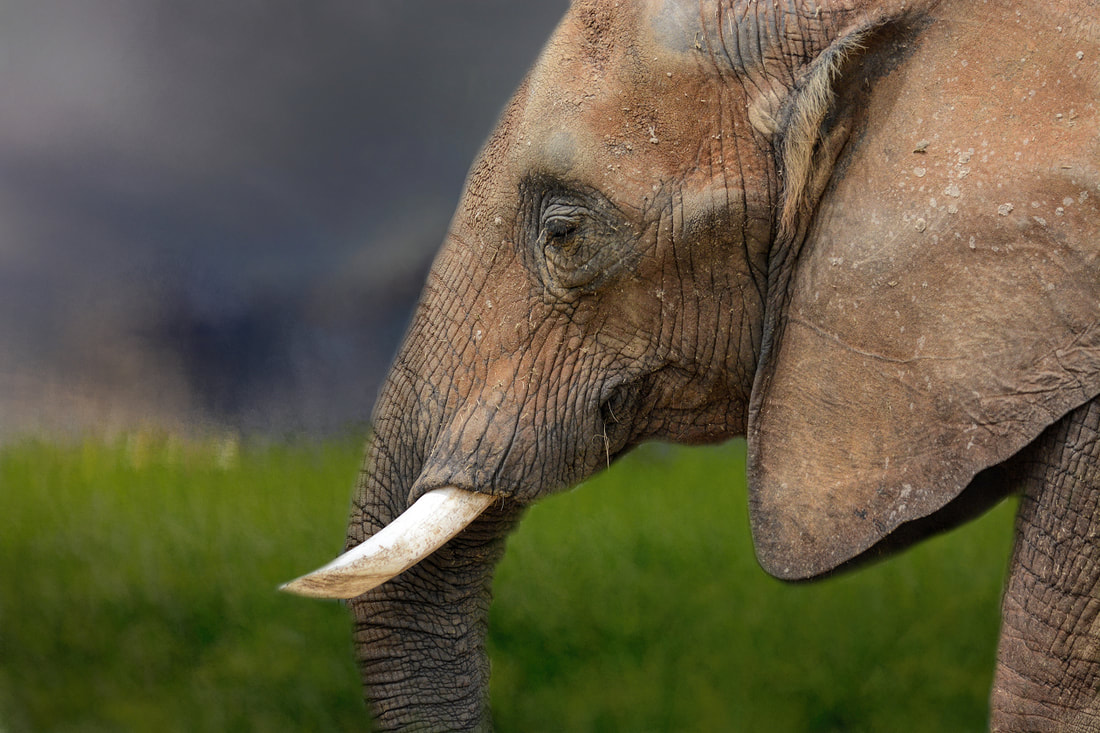
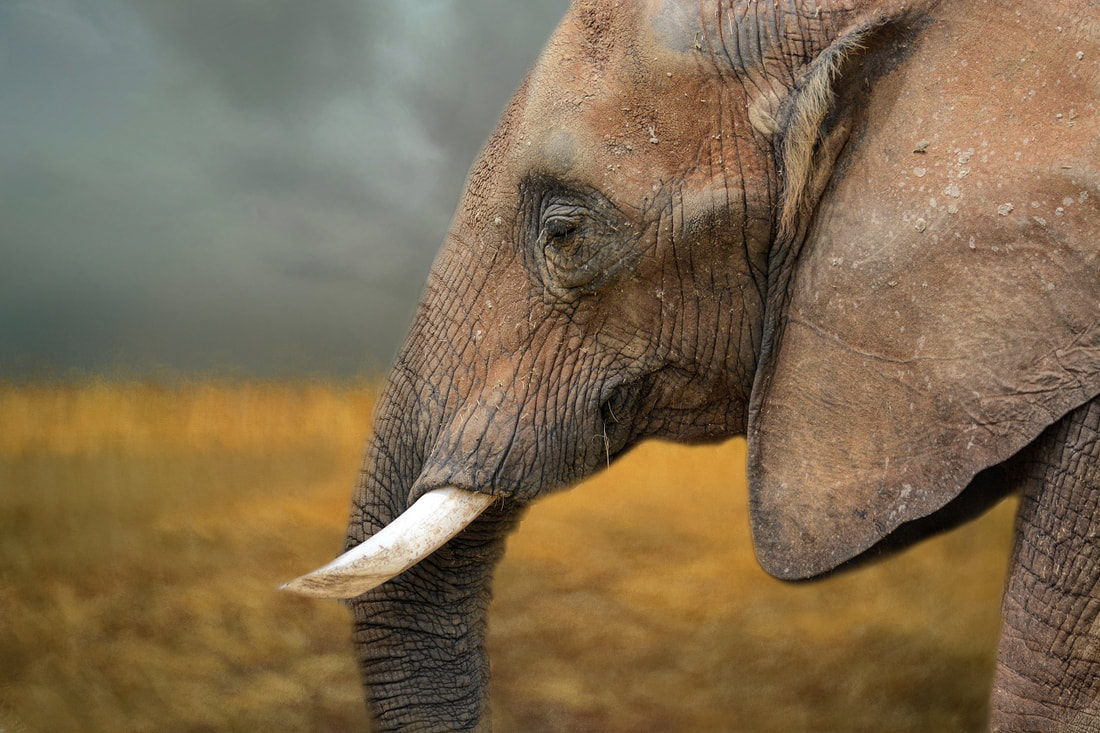
Above: Elephant blended with a cool background {left} and a warm one {right} Wildlife photography is a beautiful and challenging form of photography that captures the essence and beauty of the natural world. However, simply taking a great photo of wildlife is only half the battle; adding a painted background can take your photos to the next level and create truly unique and artistic images. One important aspect of blending wildlife photos with painted backgrounds is understanding the use of cool and warm colors and how to match them up. Cool colors, such as blue and green, are often used to evoke a sense of calm and serenity, while warm colors, such as red and yellow, are used to evoke a sense of energy and excitement. When blending wildlife photos with painted backgrounds, it's important to choose a background color that complements the subject and enhances its natural beauty, and also portrays the mood you wish to share with the world. For example, my photo of a majestic elephant at the zoo can be blended with a warm, orange-hued painted landscape, creating a harmonious and natural-looking environment. On the other hand, the same photo of the elephant can be blended with a cool, blue-hued painted landscape, creating a calm and peaceful atmosphere. In addition to color, it's also important to consider the lighting in the photo and how it will interact with the background. If the photo has warm, golden hour lighting, for example, it may be better to choose a warm, complementary background color, such as a red or orange hue. On the other hand, if the photo has cool, blue-hued lighting, a cool, blue-hued background may be a better choice. In the above two examples, I actually prefer the elephant blended with the warmer toned background, because I feel since the tones of the photo and the background match up, it makes for a better presentation. But either way can be acceptable, depending on what you wish to portray and how your final art is going to be used or displayed. When blending wildlife photos with painted backgrounds, it's important to experiment and find what works best for you. Try combining different cool and warm colors and see how they interact with each other and with the subject. Remember, there are no hard and fast rules, and the goal is to create a harmonious and visually appealing image that enhances the natural beauty of the wildlife subject. In conclusion, blending wildlife photos with painted backgrounds is a unique and artistic approach to wildlife photography that offers endless creative possibilities. By understanding the use of cool and warm colors and how to match them up, you can create truly unique and visually stunning images that showcase the beauty of the natural world. Note: Backgrounds used above are from the Spring Storms Collection.
|
Be sure to join the Daily Texture Mailing list to keep up to date on new collections!
You may find these two links useful: • Frequently Asked Questions • Helpful Links and Information In most of my videos, I use older software which I've used for years. Unfortunately, the software I use isn't being sold anymore.
Many of you have asked me to teach in Photoshop -- but I am just learning myself in that software. In my learning, I have discovered the best Photoshop training on the planet, and I have secured a special offer on this same training JUST FOR YOU! Click the button below to learn from my same trainer, and to save a HUGE amount on this lifetime access course: Please note: Some collections shown in older blog posts have been retired and are no longer available. The blog posts have been left for you to view for learning purposes and examples of what can be done using the Daily Texture resources. As always, for the most current available collections, please visit the store here.
Archives
April 2024
|

 RSS Feed