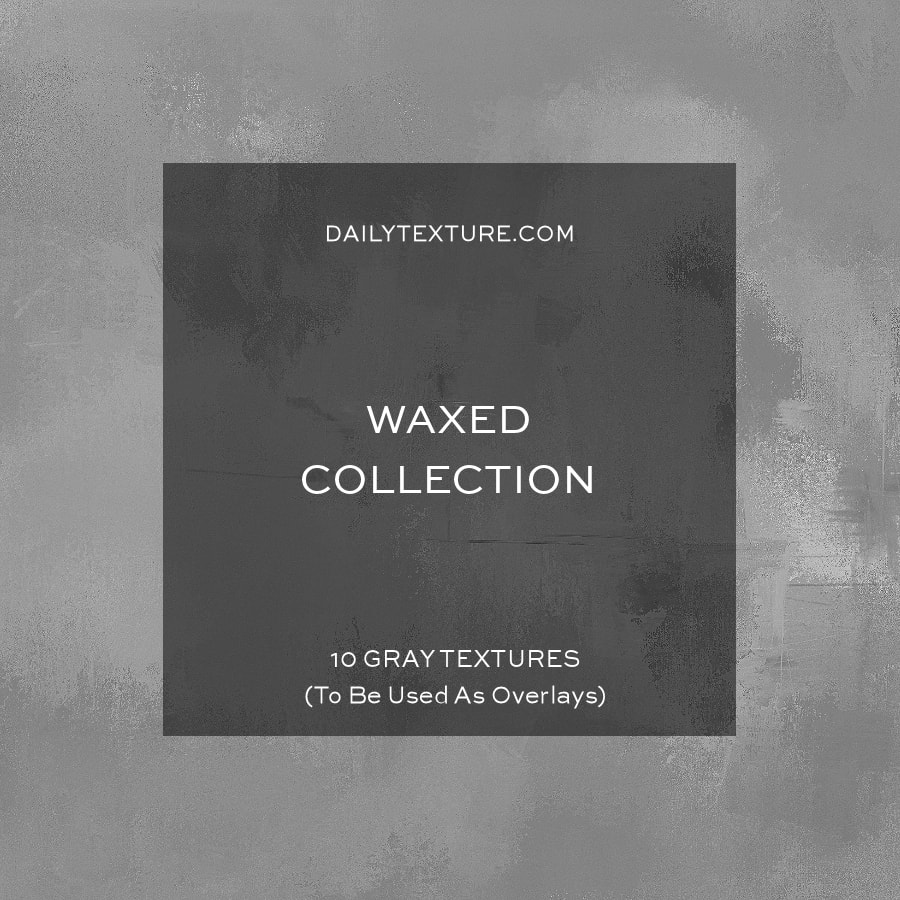
 It's been a while since I've done any new videos...so I thought you might enjoy seeing me work with the new Fragile Collection and just how easy it is! Also, I'm posting more of the art I create with my resources on my instagram account nowadays...I invite you to follow me on Instagram here. See the video below: I've been playing with the new "Waxed" Overlay Collection, which is a group of textures designed to be used as layers on top of your photos to give them a misty, ethereal, encaustic, waxy look. Below are a couple of recent landscapes I've created using Waxed, as well as some other textures, to take my landscape snapshots taken from the car and turn them into works of fine art. I've done an overview video of the second image in an effort to show you how I've worked with these textures {and a few others} to give these images their new looks. I hope you enjoy the video and will love experimenting with the Waxed Textures as much as I do! :) 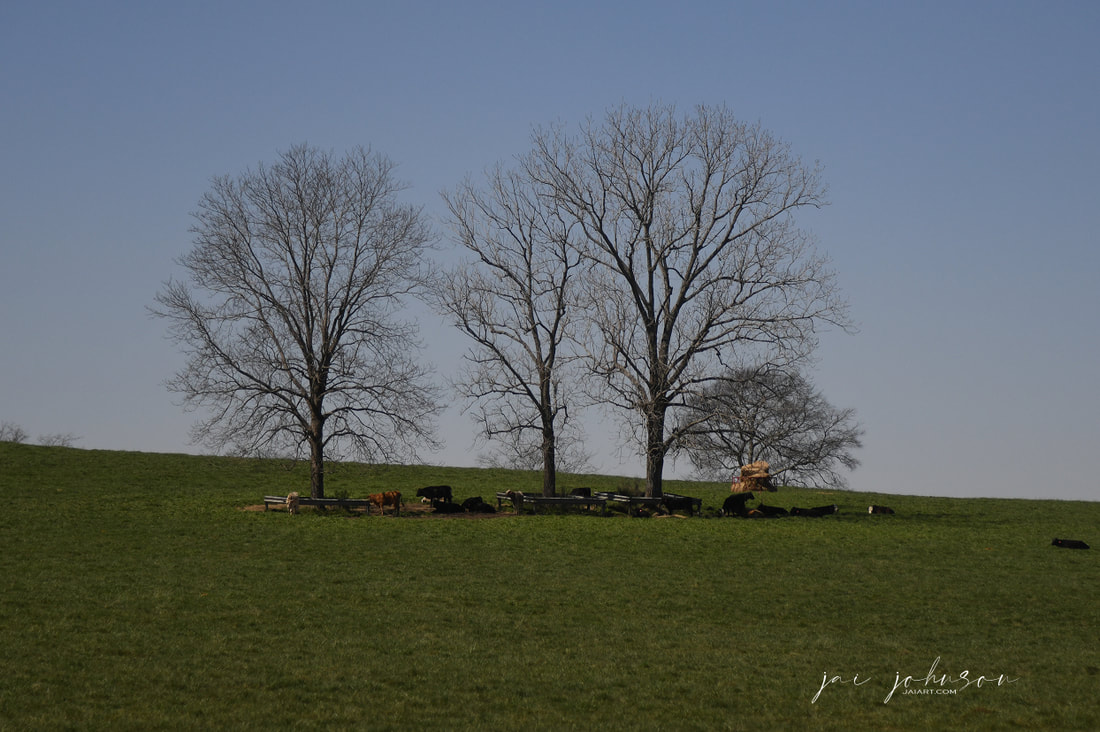 Original photo 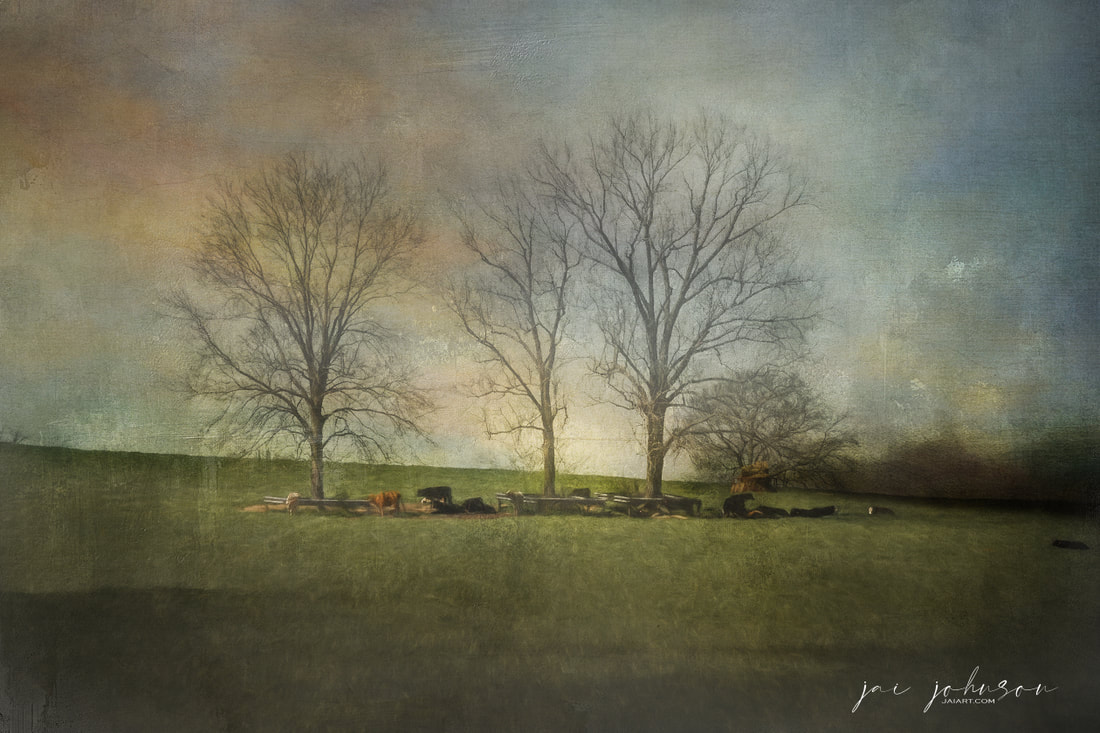 Finished Art 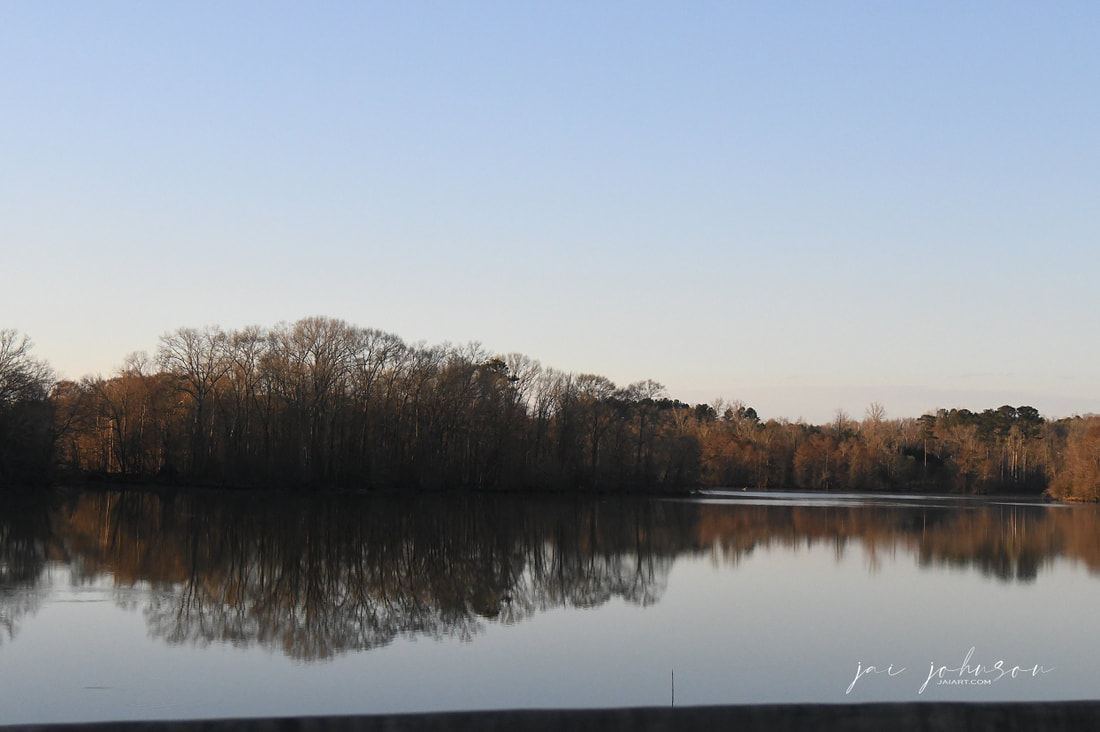 Original Photo 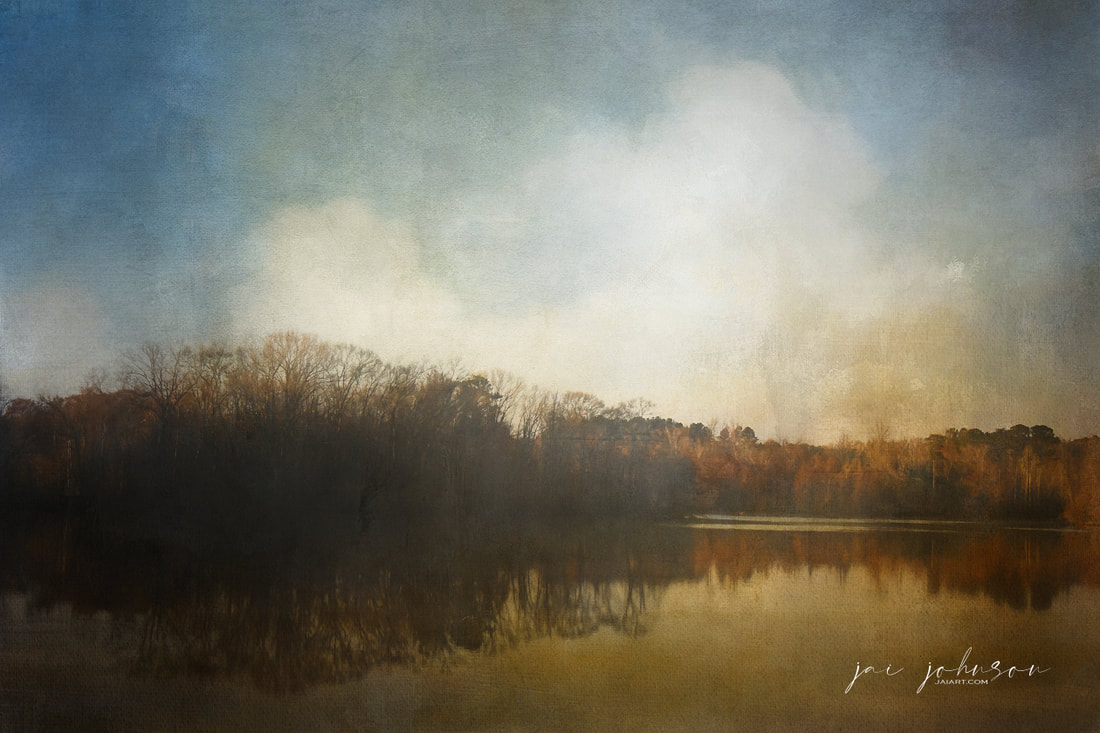 Finished Art Collections Used:
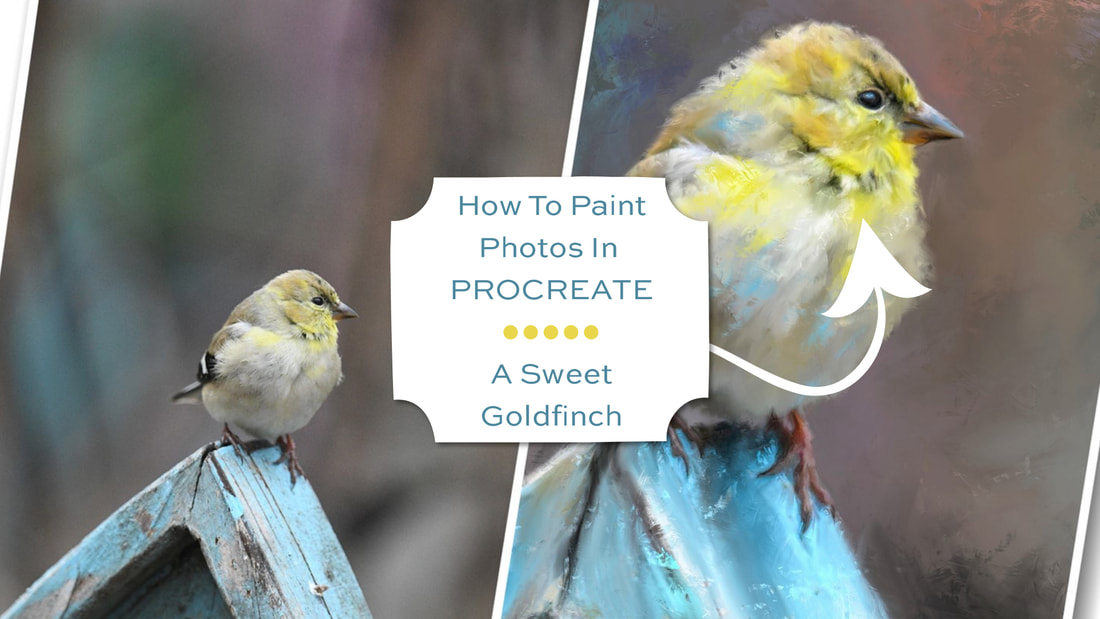 Hi everyone, I wanted to take a moment and introduce you to my very first Skillshare class. How To Paint Photos In Procreate: A Sweet Goldfinch is live on Skillshare now. If you haven't checked out Skillshare, and you're interested in learning a variety of creative and artistic things, come by and give it a try - there's THOUSANDS of classes covering a huge variety of creative techniques, from digital art to traditional art and so much more! My Sweet Goldfinch class is already becoming quite popular and a few students have put up amazing examples of their work. I plan on creating a wide variety of classes for this community, so please give me a follow when you visit.
What is Skillshare? It's an awesome learning community, with over 35,000 classes, including a wide variety in the creative arts. When you join the Skillshare community, you get access to all the learning your heart desires! Part of the fun of doing what I do is being able to take my subjects to different places, different environments, and use different styles. In the video below, I take you through a little bit of my process on how I create multiple pieces of art by masking away my subject's background and placing different backgrounds and textures underneath her, to create a host of unique looks. Here's a slideshow of all the images I created! 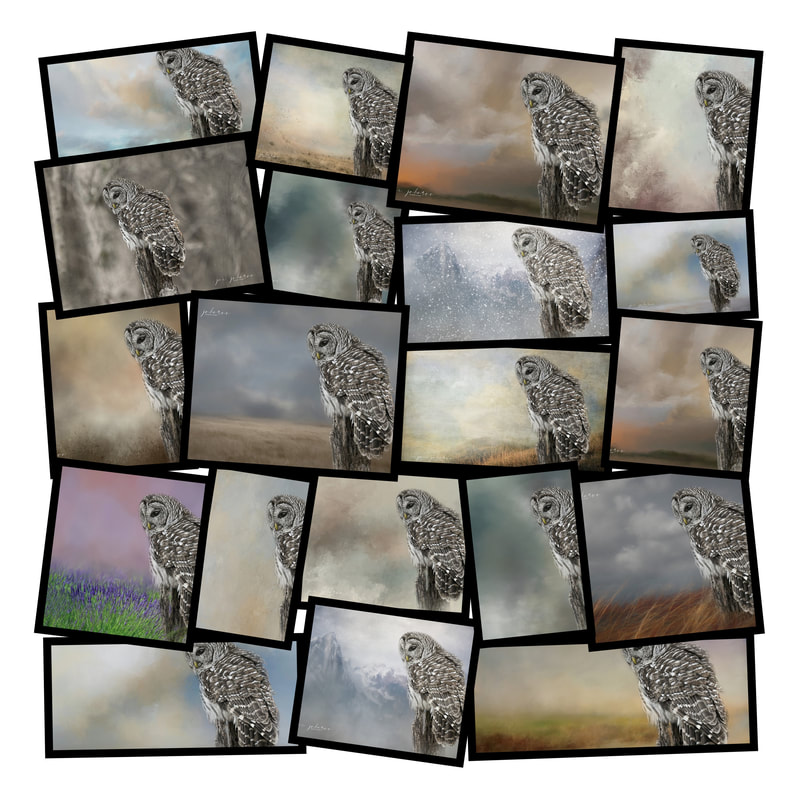 "Today's Recipe" is a new project I've started sharing on The Daily Texture Facebook page. Please follow the page and make sure to comment on the recipes so Facebook will continue to show you the new posts! Today, however, this image was one I felt I needed to explain a bit more than could be shared on my recipe sheet. So I've created a video for you, going over in detail what I've done on "Christmas Chickadee". I hope you enjoy it! P.S. If you're working in Photoshop, and wish to learn how to do masking, color changes, and SO MUCH MORE in that software, I highly recommend the Photoshop Artistry course. You will become a master at using that software in no time with this amazing course!
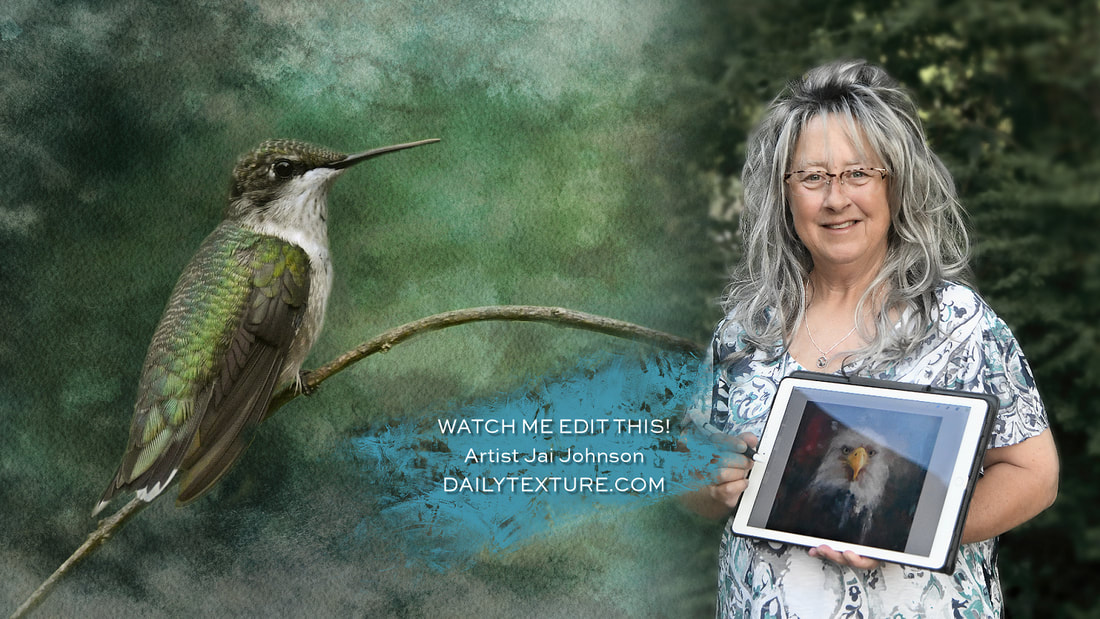
One of my customers made the strangest statement last week...she said, after posting an incredible piece of work she completed with one of the backgrounds, "I'm not an artist". I've been thinking about that remark ever since I heard it, and to be honest, I have to say, I totally disagree! No, she may not be a trained "painter" or have experience with what people traditionally call "art", but to do what she did with her photo, to blend it with the background she chose, to create that wonderful final image from her vision she had - THAT IS ART, my friends! As soon as you have the initial vision of what you can do with that photo, you have started the artistic process. This is the point when you move from PHOTOGRAPHER to ARTIST. That is when the journey begins! 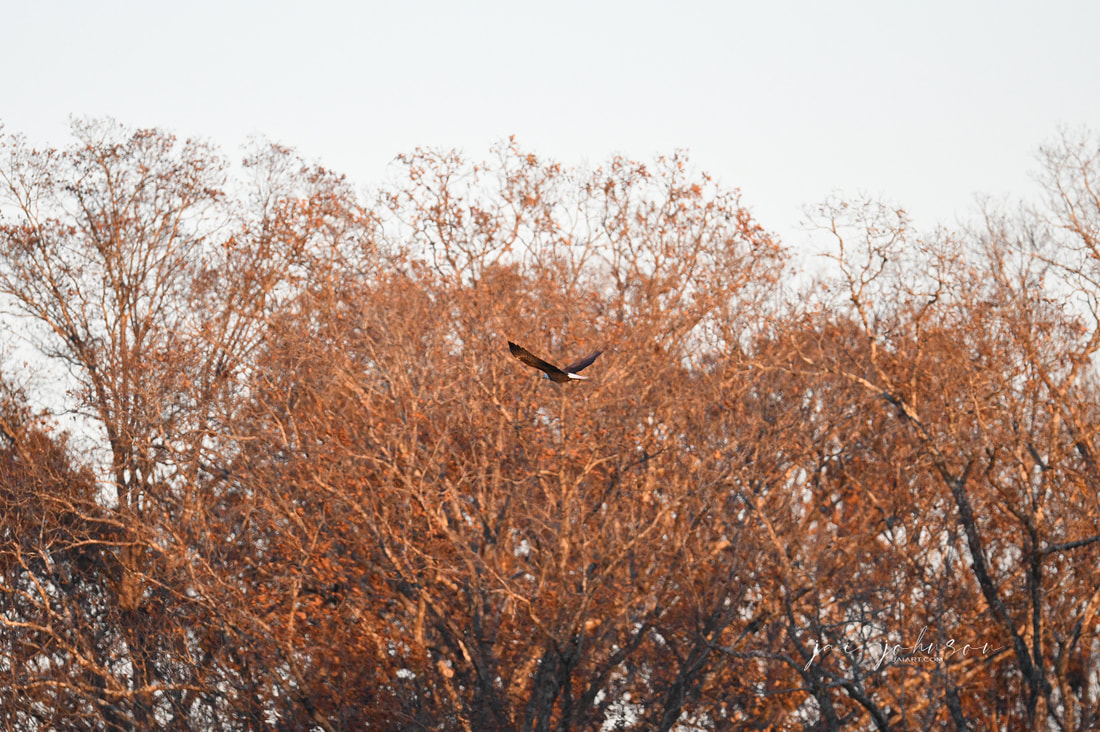 When I took the above photo, I wasn't thinking about "getting the perfect shot". To be honest, I was firing off a ton of shots of the eagles in motion. The next shot after this was the second eagle, against a totally blown out sky, just like the above photo. Most excellent photographers would have trashed this shot because of the sky. Since "out of camera", it wasn't perfect. Well, I don't consider myself an "excellent" photographer. But I did have a VISION when I saw this photo, and that's when I went from photographer to artist in this process. My vision involved getting the next photo of the second bird into this photo, which was quickly accomplished with placing the second photo on top of this photo as a new layer, and masking the background from the second photo away, leaving only the bird in the sky. The next part of my vision involved taking a background from the Big Sky Collection and placing it on top, in multiply mode. Boom! I now had a dramatic sky. The bottom of the image over the trees became a bit too dark, so I simply masked some of that off the texture layer to reveal the original color of the trees better. And that's it, I was done. Below is the resulting final art: 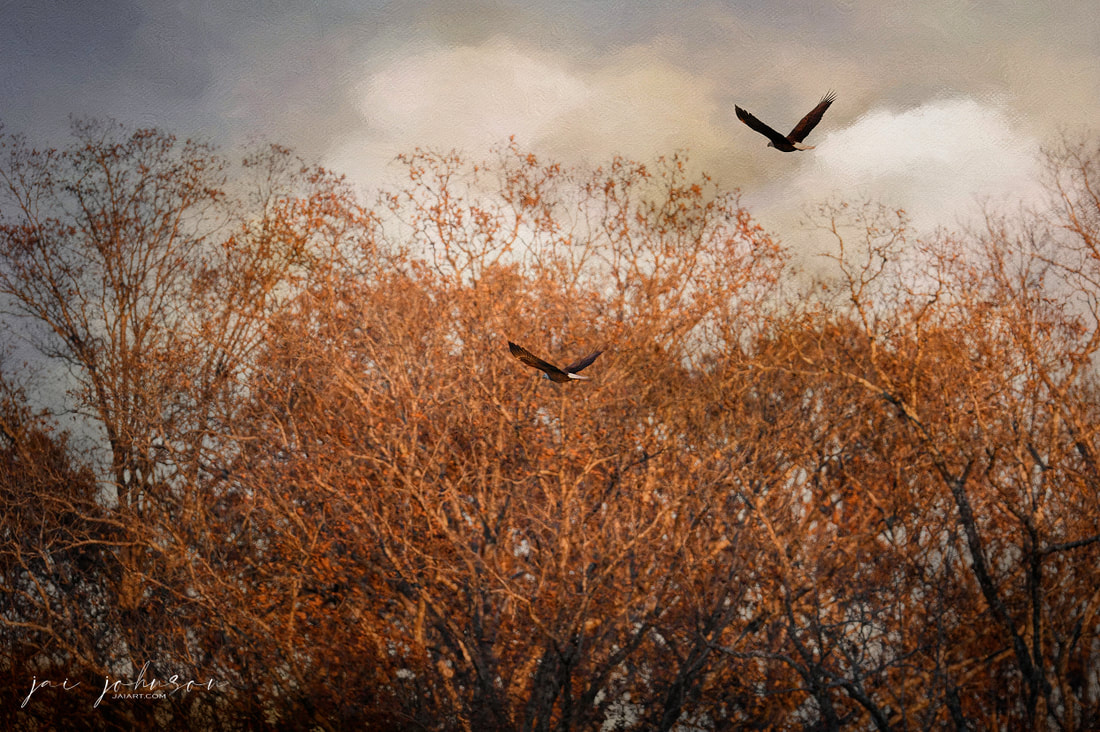 Because I had a vision, which propelled me into ART mode, I've now created a scene which tells a story in a moody way. No one else may know this story except me, but I know exactly what this image represents to me. And what it represents to me is unimportant, because the viewer of the image will form their own story as to what it might represent to them.
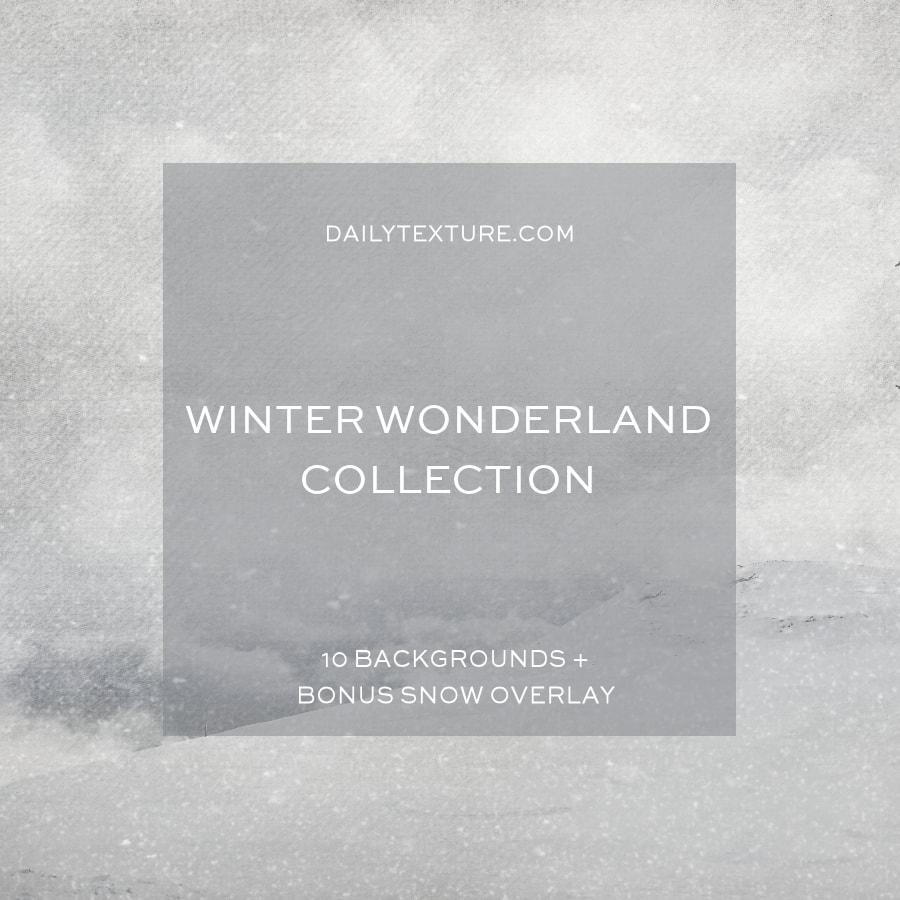
These otherwise "non-usable" photos have now become the integral part of the story. When before they may have simply taken up hard drive space, or been trashed altogether. I love being an artist...I love taking the unusable and turning it into something worthwhile. The fact I can do that makes me an ARTIST -- and it does you, too. Remember that when you transform your photos - YOU ARE AN ARTIST. Claim it! In this short video, I give you a quick way on how to bring dynamic light into your final art, and get your viewer to focus more on your subject. This is the final art I completed by using this little trick in the video: 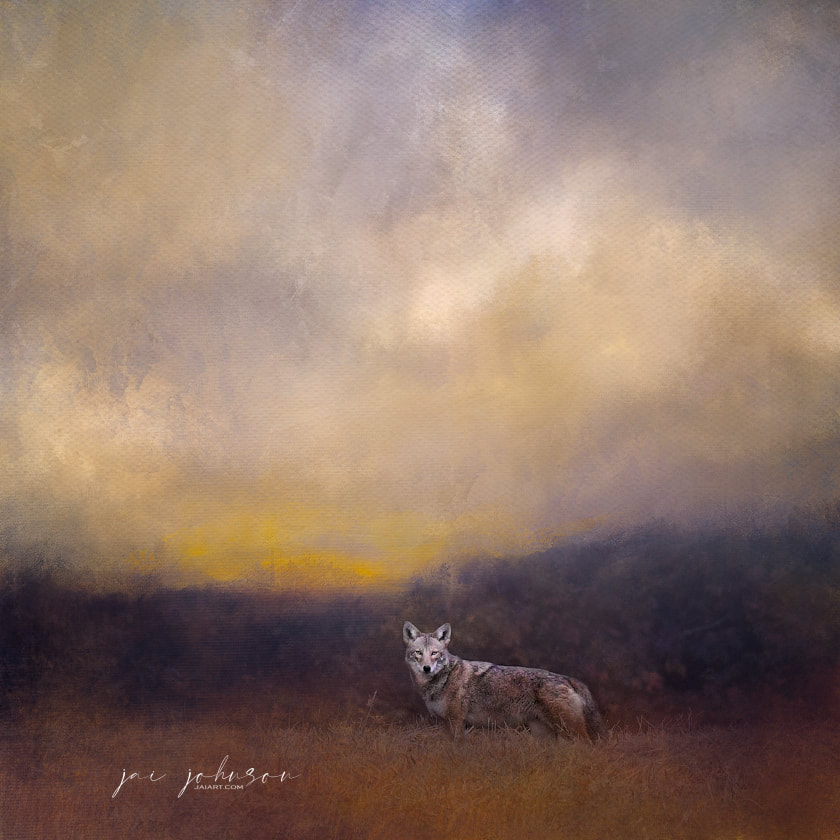 The Video:Enjoy this video showing the creation of this art, Winter Wonderland Fawn, using the new Winter Wonderland Collection of backgrounds. 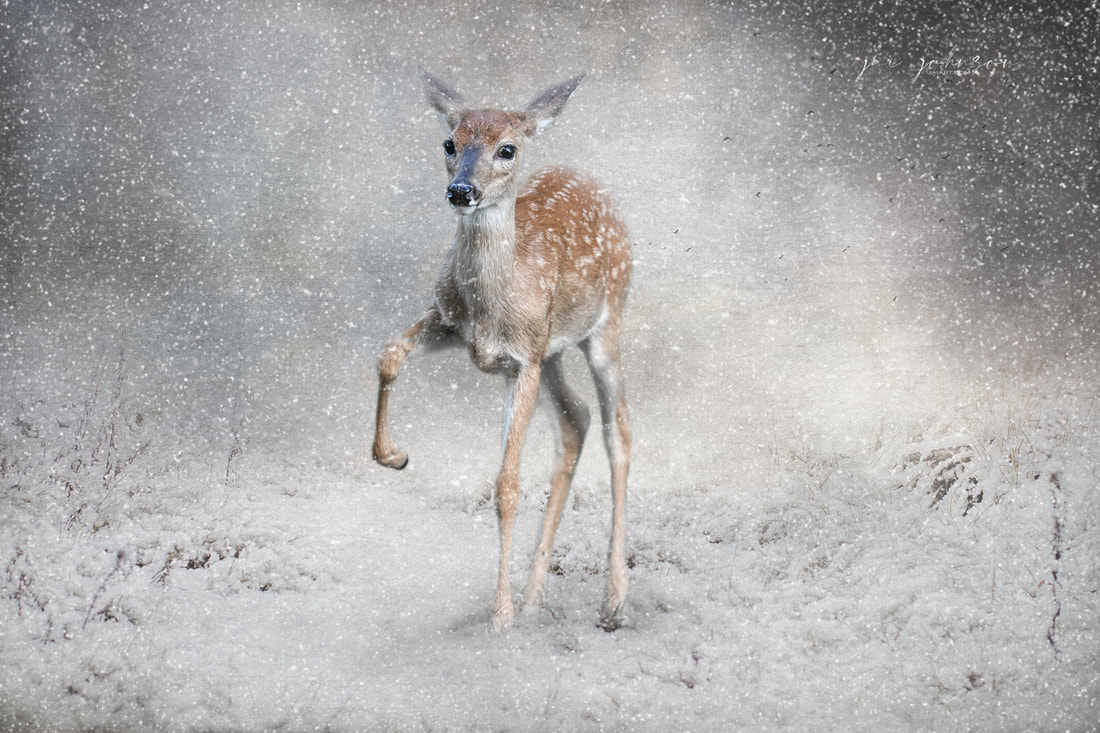 The Video:New Backgrounds!
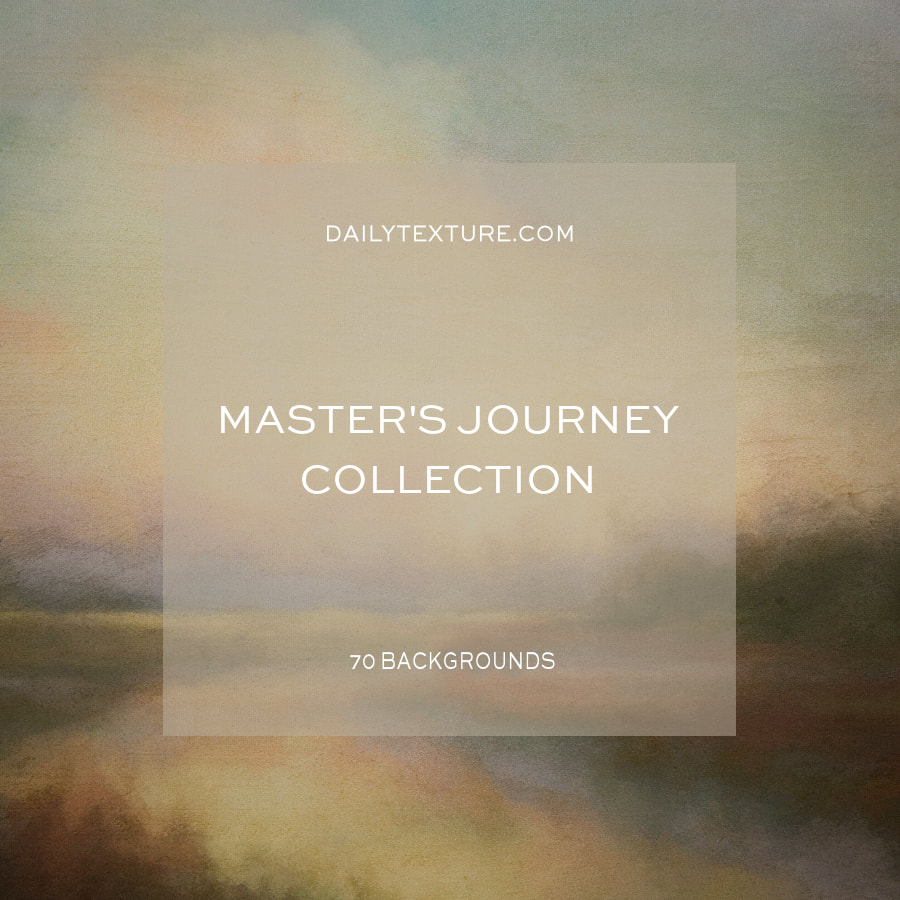
I'm asked frequently, "What collections do you recommend?" And of course it all depends on what kind of art you wish to create, whether you're doing a portrait or full scene, whether you're looking to create realistic art, or more expressive art with an abstract feel. But as you know, I do a ton of wildlife art scenes like this: 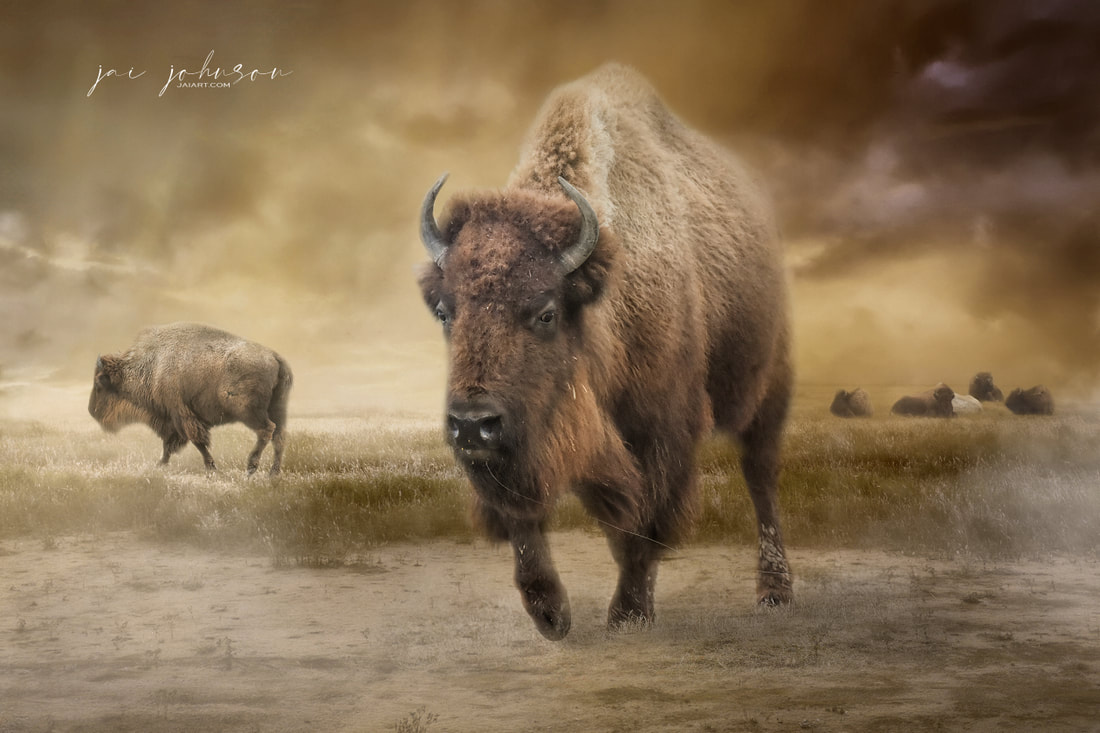 To create a scene like this, I would begin by looking at some of these collections: Moody Earth
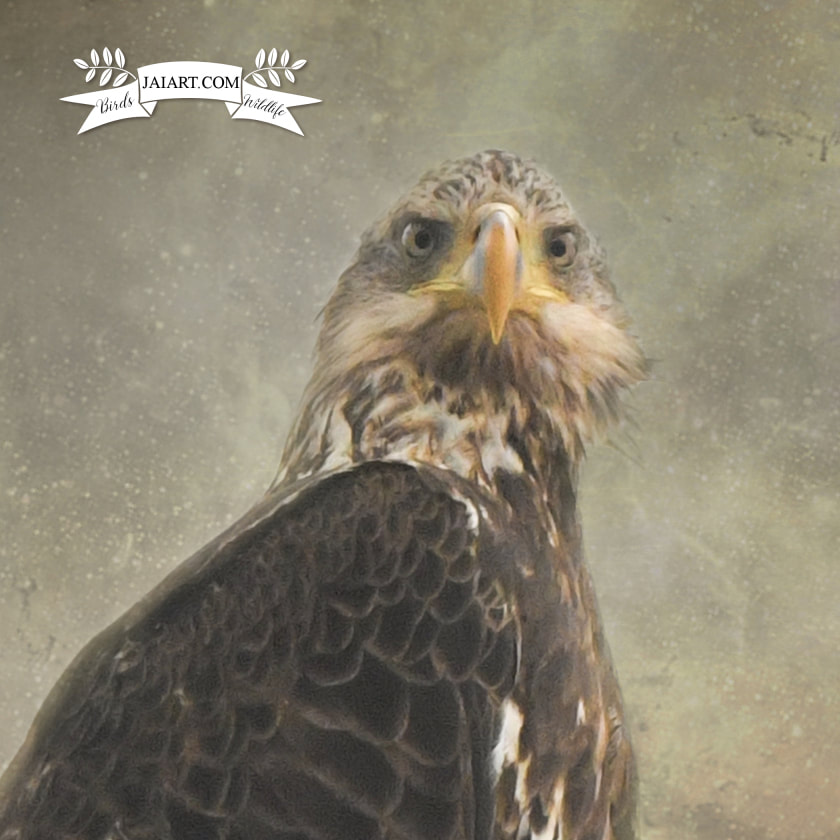
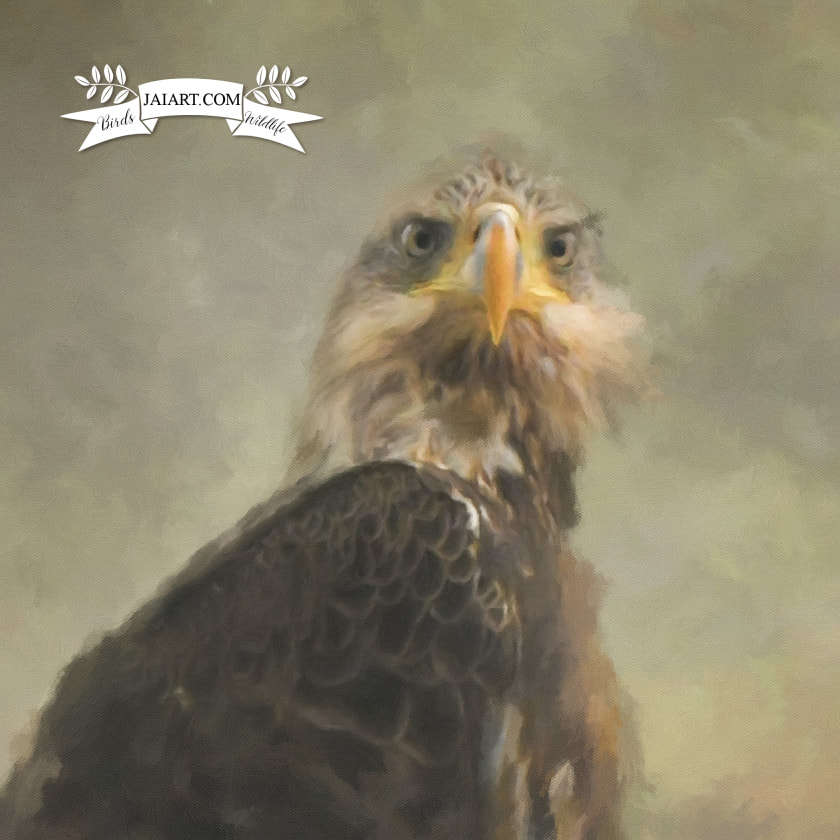
Big Sky Collection Stormscapes Horizons Scenic Mix Perfect Journey Master's Journey Bundle Perfect Calm Wild Kingdom Create A Wildlife Masterpiece To add dramatic light to your art, consider these collections: Let There Be Light Cumulus Collection Illumination 1 Illumination 2 Immersed in Light Savoring Light Petite Collection If you're in need of CLOUDS to give your skies some added interest, check out: Shiloh Clouds Storm Clouds Big White Fluffies Impresso Pro by Jixipix is a fun program I found to create paintings out of photos. You can get Impresso Pro here. This program is an automatic painting program, and has a variety of presets included to give you different looks for your finished art. I usually use the program to get a beginning simple painting effect, and then I take the painted image over to Procreate on my ipad to further refine it, or even totally repaint it in some cases, to create my paintings. In the video below, I show you how to set up the exact preset I use to start my portrait style paintings in this software. I've included 3 screenshots of the 3 different layers, which you may wish to print out or refer back to when setting up your own preset to match mine. Note: Make sure to save the preset after you set it up, so you'll have it for the future! I show you how to do this in the video. :) This is the image I painted in the video:The preset settings I give you in the video work well for a portrait style painting such as this one of my eagle. I had already blended my eagle photo with a background from the new Art Journal Series 3 Collection before starting my painting.
The Video:Preset Layer Images:The Canvas Layer settings: 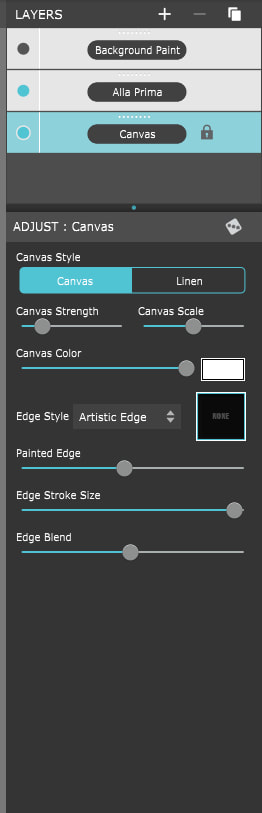 The Alla Prima Layer Settings: 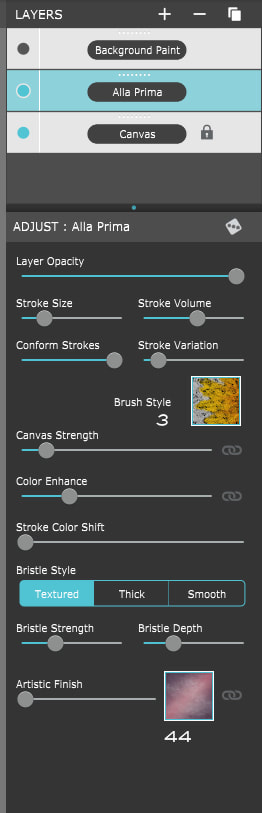 The Background Paint Layer Settings: 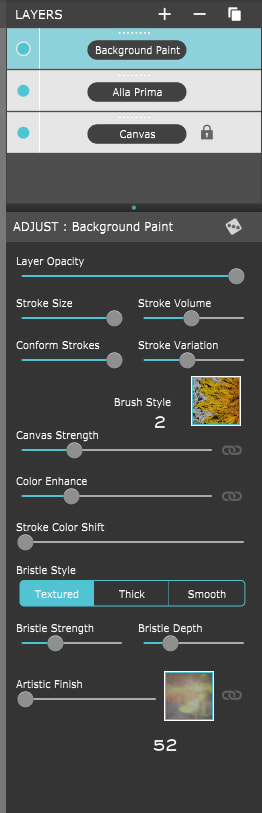 |

Be sure to join the Daily Texture Mailing list to keep up to date on new collections!
You may find these two links useful: • Frequently Asked Questions • Helpful Links and Information  In most of my videos, I use older software which I've used for years. Unfortunately, the software I use isn't being sold anymore.
Many of you have asked me to teach in Photoshop -- but I am just learning myself in that software. In my learning, I have discovered the best Photoshop training on the planet, and I have secured a special offer on this same training JUST FOR YOU! Click the button below to learn from my same trainer, and to save a HUGE amount on this lifetime access course: Please note: Some collections shown in older blog posts have been retired and are no longer available. The blog posts have been left for you to view for learning purposes and examples of what can be done using the Daily Texture resources. As always, for the most current available collections, please visit the store here.
Archives
April 2024
|

 RSS Feed