|
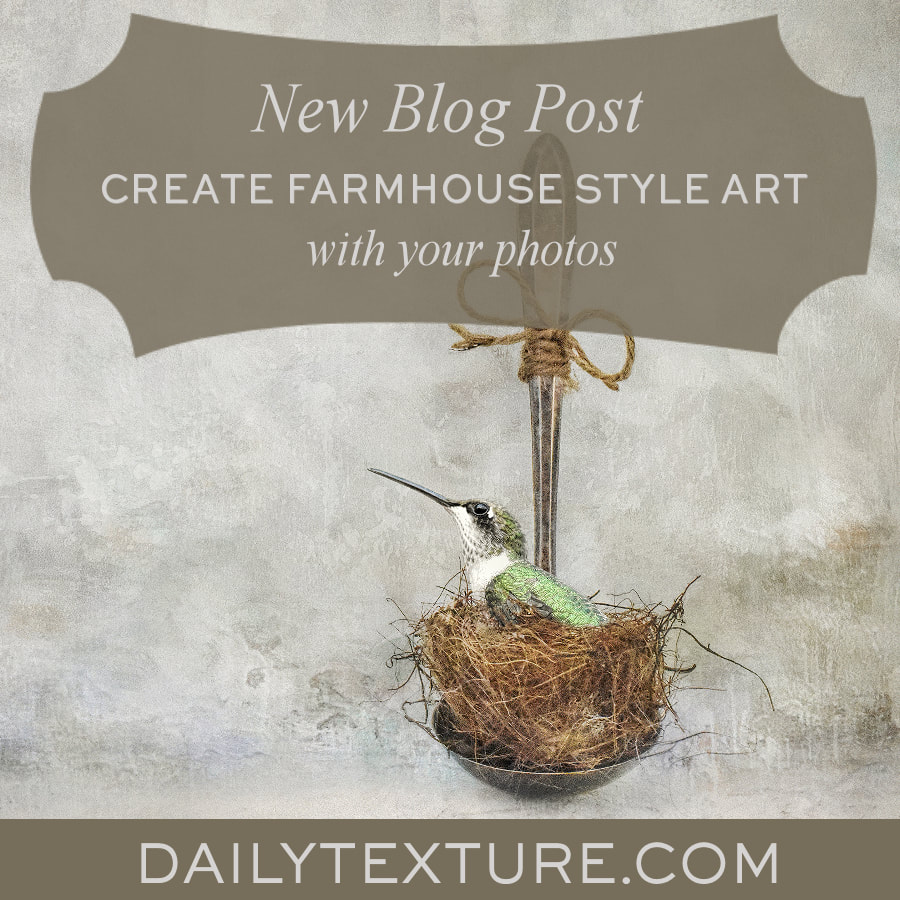
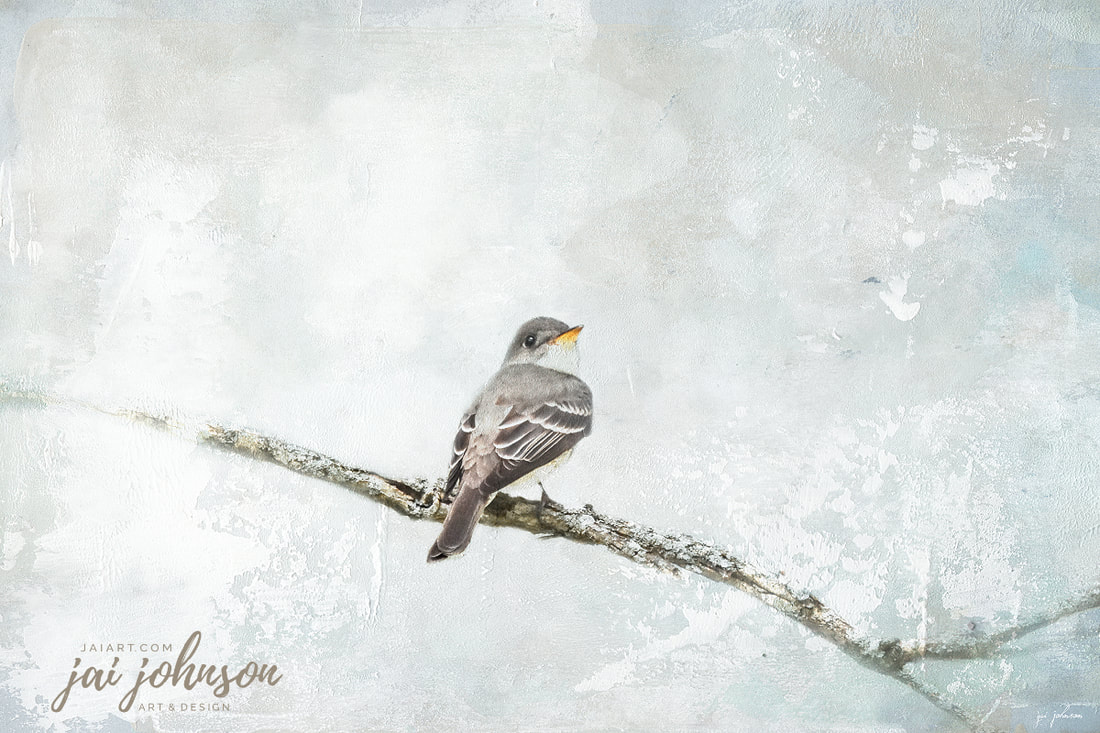
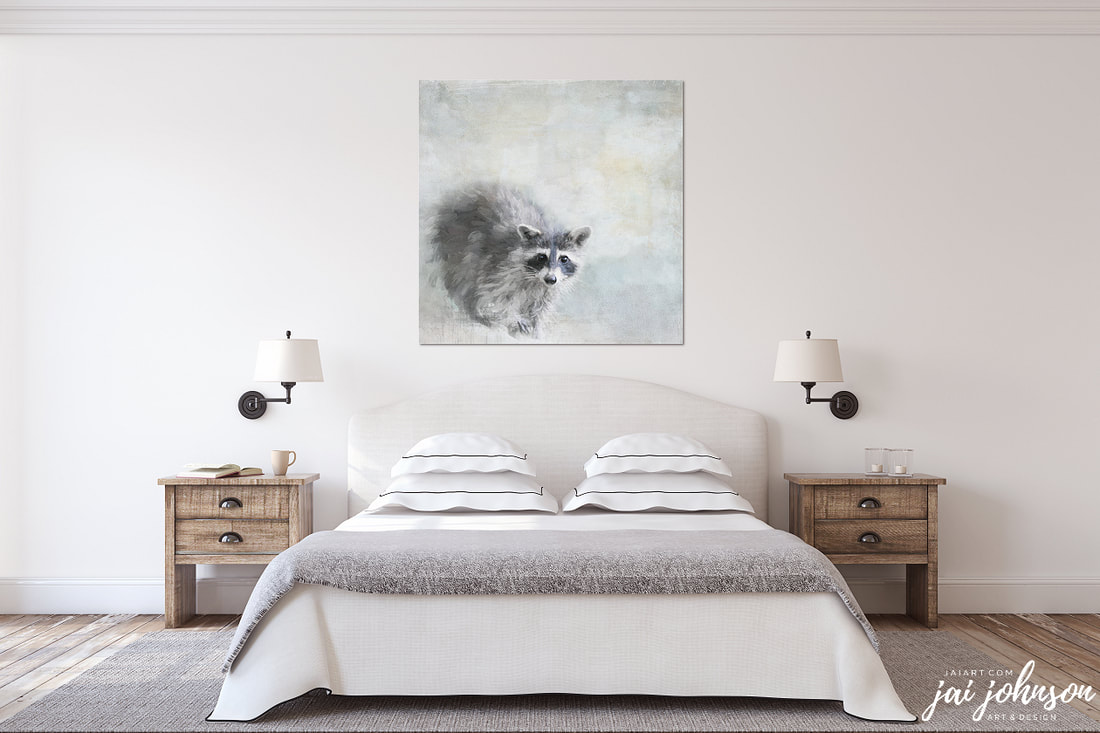
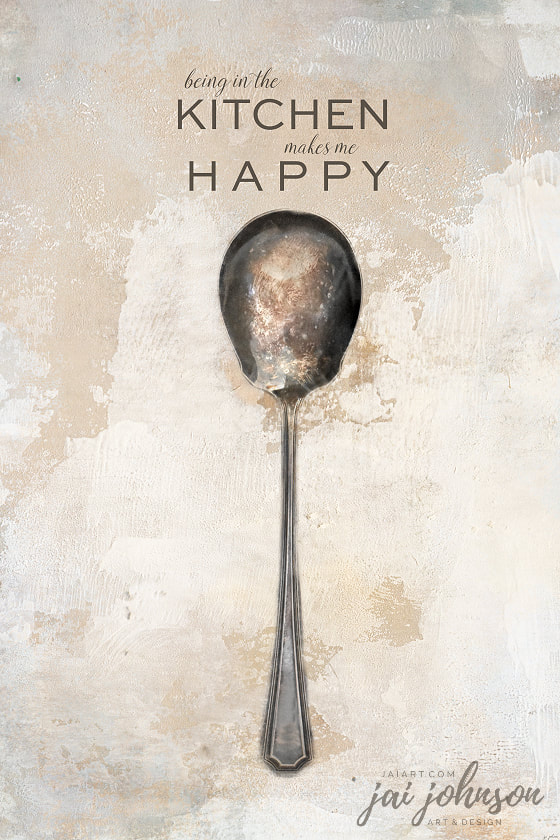
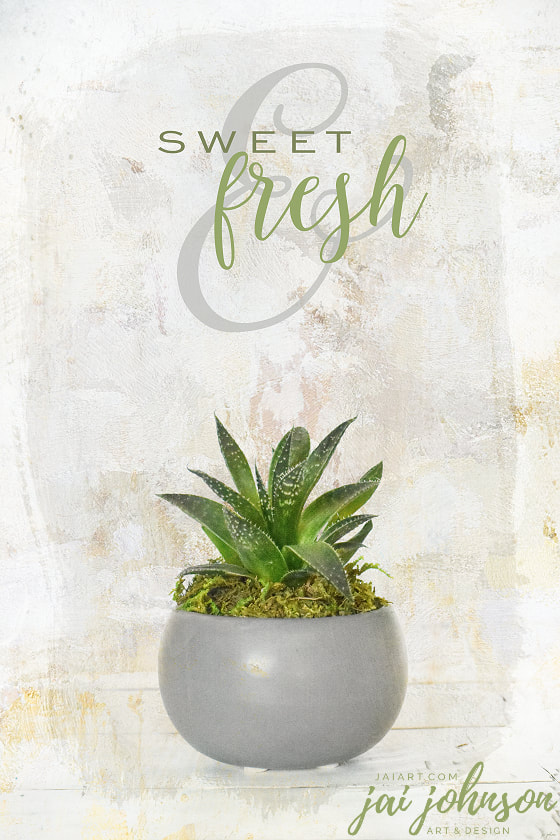
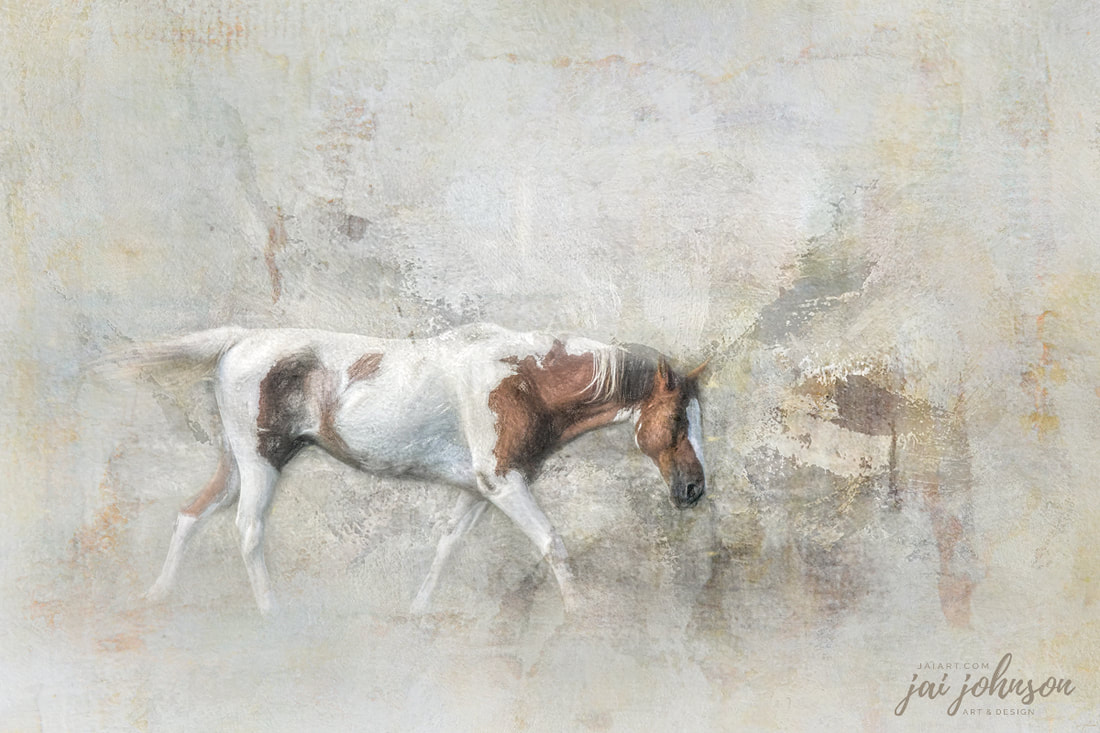
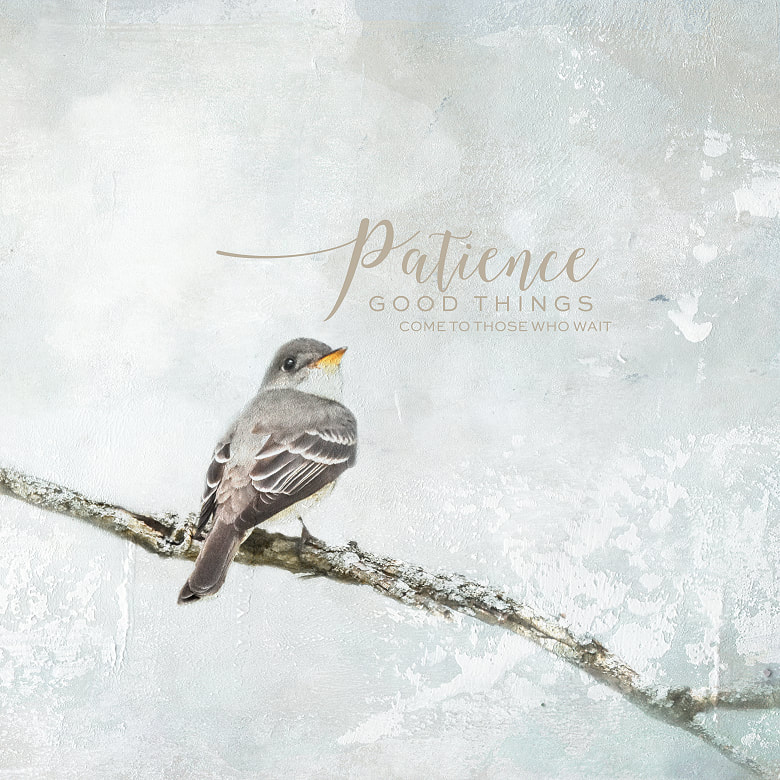
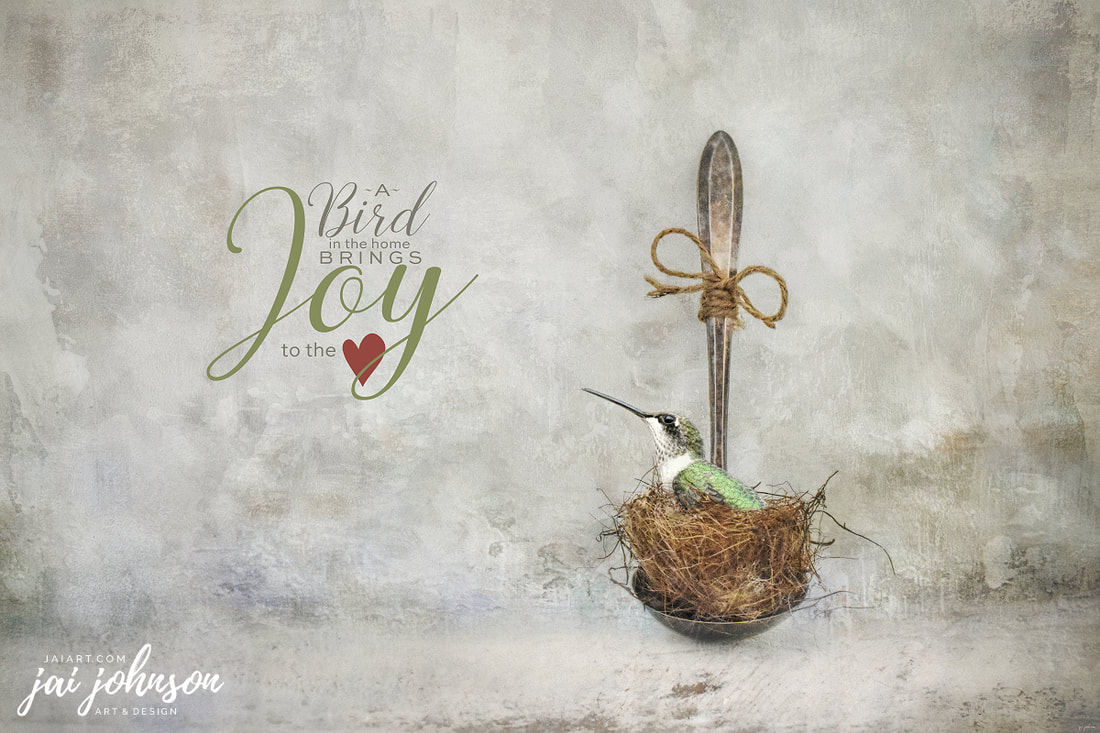
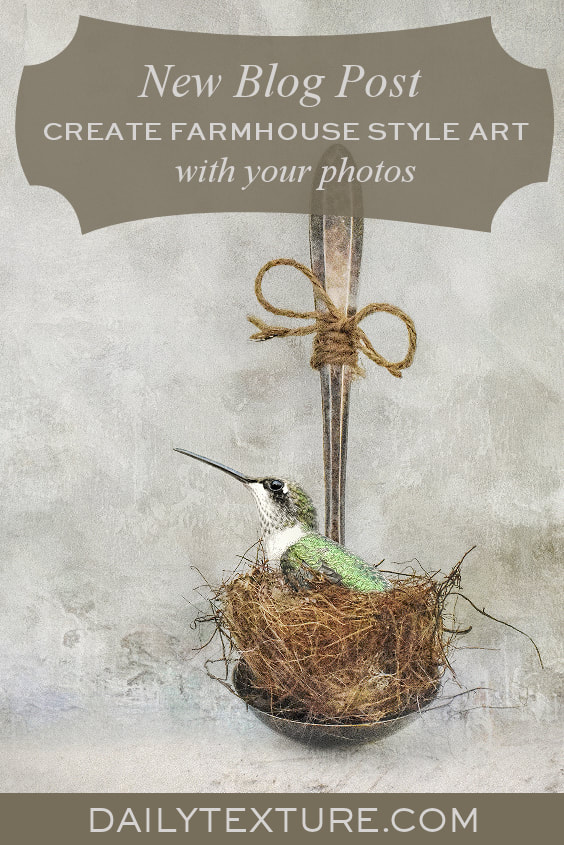
For me, the Farmhouse style is not necessarily about being on a farm. It's more about focusing on the simplicity of life without all the busy-ness and hustle and bustle present in our world today. It's more about a peaceful feeling, like sitting on the front porch with a glass of tea and listening to the sounds of nature as night begins to fall. It's about standing in front of a wide open space and realizing the world is a big place, and I'm just a small part of the vastness. It's about walking into a bright, light-filled kitchen in the morning and having a cup of coffee as I stand in front of an open window with a cool breeze, inhaling the cool, brisk, morning air. It's about watching the birds as they fly around the garden and it's about seeing the glitter of a drop of dew on a flower petal. I love creating art which I feel will fit the moods and moments I described above. Being as I usually create my photo art darker, and more saturated with color, I've found creating in this refreshing style a challenge! I designed The Farmhouse Collection texture and background set to help me in my quest to create farmhouse style art with my photos. I've come up with a list below of things I like to think about when in the creation process, and I hope you will find these ideas helpful, too! Think simple and isolate the subject.All that extra stuff in the photo isn't necessary. It's time to mask away those backgrounds, isolate the subject, and integrate it with the backgrounds and textures. I do this already with most of my work, but it's a bit more challenging when going lighter because many of my subjects {wildlife and birds} have dark shadows present in the background of the photo. If several subjects are present in one photo, isolate them, and prepare separate images for each -- this actually helps to create a quick series of art {usually 4 makes a good series}, which can be useful when creating a focal wall of art or when spreading the art throughout the decor of the home. A farmhouse style home is full of texture and layers throughout the home, but the art doesn't necessarily need to be loaded with it. I'm not a big fan of stark white backgrounds behind subjects, however, so I try to integrate some texture and layers where it will enhance the subject, but not overpower it. Choose a unique angle or perspective.I've noticed when I've viewed other art created in this style, the more unique the angle of the subject, the more interesting and whimsical the art will become. Getting up close and personal and face-frontal is ok! Being half out of the frame is ok! Looking down or up to a subject adds to the interest and works well in this style. Being small with big open spaces gives breathing room for the subject and the viewer. Tone down your colors.This has to be the most difficult one for me, because I love, love, love bright, saturated color and dark, dramatic scenes! In this style however, it just doesn't fit. I've found by toning down by colors by using desaturating sliders in my software, it really helps my work fit the style more, and get closer to that lighter, fresher look. If you'll notice by looking at Farmhouse style color palettes, the colors are soft and neutral and very subdued. Natural colors work best, although a pop of a brighter color here and there can draw the eye and add nicely to the design. Go brighter.After toning down my colors, I often find the work can appear a bit dull. This is the time when I adjust brightness and contrast. By raising up those two, it suddenly brings the work to life, and gives it a burst of freshness, like biting into some fresh mint. :) And speaking of mint, there is one color which stands out to me. If there's going to be a super bright color present as an accent in this work, I've found GREEN to be that color. Fresh, garden, grass GREEN. Go sketchy.Sometimes photographic isn't the best for the art. And sometimes a heavy painterly application {such as what one can creating using a program like Topaz Impression} also doesn't work for the subject. If using a painting program or photo filters, I've found the black and white or charcoal sketch filters to work really well on the subjects when blending them with the textures. Color pencil works well too, as long as the color is kept more subdued. You may notice when studying farmhouse style art, there are lots of old vintage drawings and botanical style prints shown in the decor in different rooms. This look can be created from photos by using sketchy style filters and applications. Leave room for words.I like to leave some open space around my subject on my work, and I will often move my subject layer pretty far off center in the art. This leaves me room to add words if I desire. Sometimes, I think of words, little sayings, and inspirational quotes which will work with the subject, and this gives me a place to put them. I always save my image both ways - without and with words - so if a customer sees the one with words yet doesn't want the words, I can provide them with a "word-free" piece of art. Alternatively, often customers will request different words - by having the image saved without the words as well, I can always create exactly what they want for their space. Pair your subject with unusual objects.One fun thing I like to do when creating this style of art with my birds and wildlife photos is to pair the subject with another object. For example, this hummingbird art was created by pairing the bird with a nest I photographed resting on an old vintage spoon. {see video in this blog post} I have tons of little objects I've collected and they are fabulous for adding a bird or small animal to. For larger animals, don't be afraid to get a bit whimsical and add a flower in the mouth of the animal, or a hat on top of the head. This makes for more interesting and unusual art. Pick a type of object which you can photograph multiple versions of, and then add the different ones in with your different animals to create a fun series of art. While the farmhouse style oozes simplicity, it doesn't have to be boring. :) I'd appreciate it if you'd
P I N T H I S P O S T Comments are closed.
|
Be sure to join the Daily Texture Mailing list to keep up to date on new collections!
You may find these two links useful: • Frequently Asked Questions • Helpful Links and Information In most of my videos, I use older software which I've used for years. Unfortunately, the software I use isn't being sold anymore.
Many of you have asked me to teach in Photoshop -- but I am just learning myself in that software. In my learning, I have discovered the best Photoshop training on the planet, and I have secured a special offer on this same training JUST FOR YOU! Click the button below to learn from my same trainer, and to save a HUGE amount on this lifetime access course: Please note: Some collections shown in older blog posts have been retired and are no longer available. The blog posts have been left for you to view for learning purposes and examples of what can be done using the Daily Texture resources. As always, for the most current available collections, please visit the store here.
Archives
April 2024
|
 RSS Feed