|
In this video, I demonstrate using the new Spectrum textures with one of my goldfinch photos. I hope you enjoy it! The Finished Art: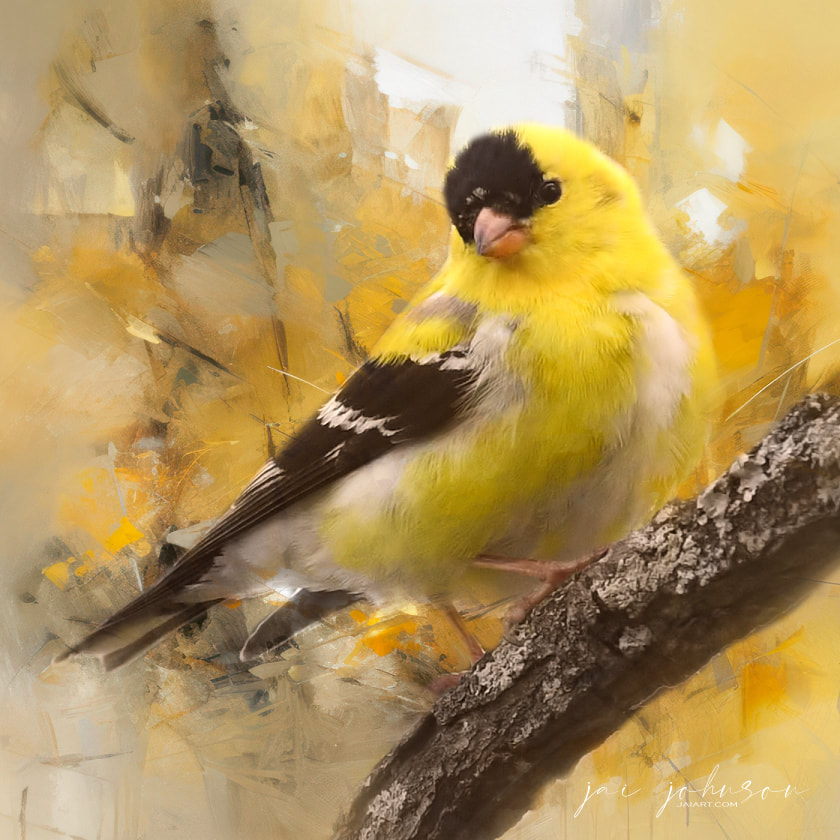  There's really no "right or wrong" in choosing the right background texture, but some people find it difficult. So in the video below, I've completed the above image, and I take you through some of my decisions and thoughts as to how I chose the background. I cover cropping, mood, color choices, soft edge blending to create lost edges, and what is important to keep and what to leave from the original photo, and why. I hope you enjoy the video! Collections Used:
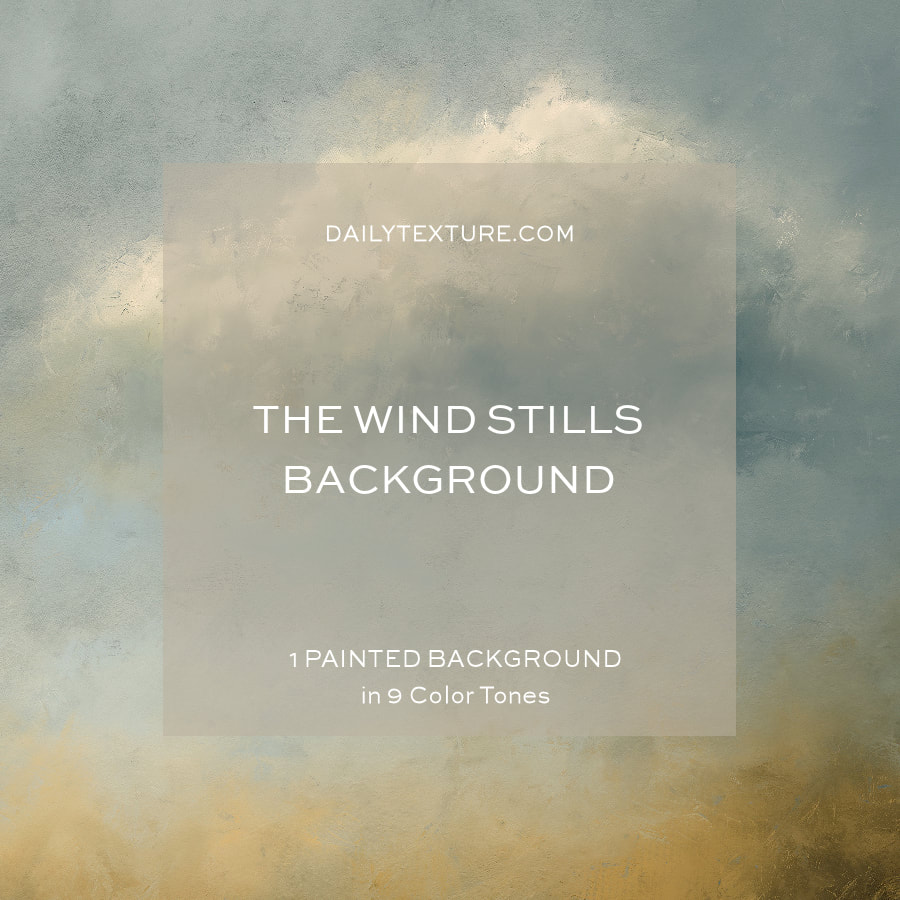
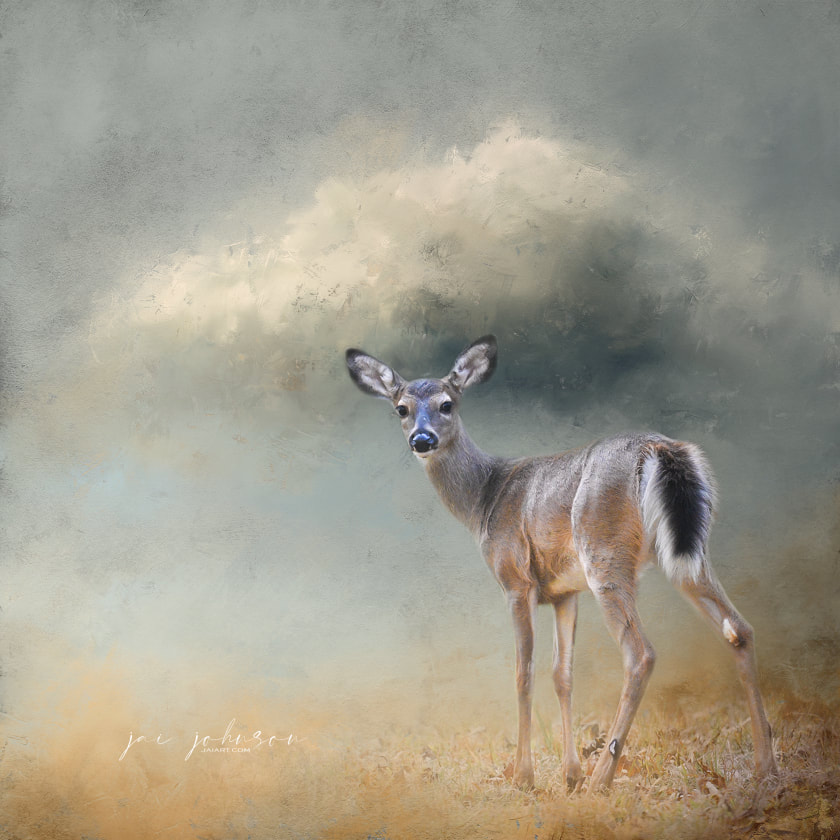
It's so easy and fast to mask your photo right in with the new Altered Collection textures! In the video below, I show you how I create an artistic bobcat portrait in under 15 minutes using this collection. The Final Art: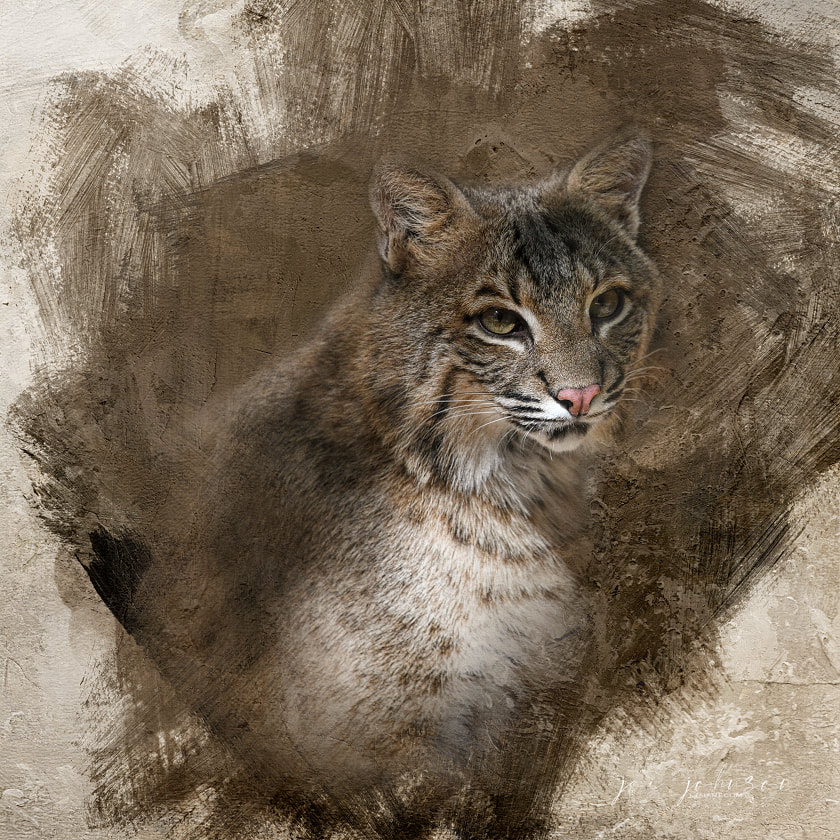 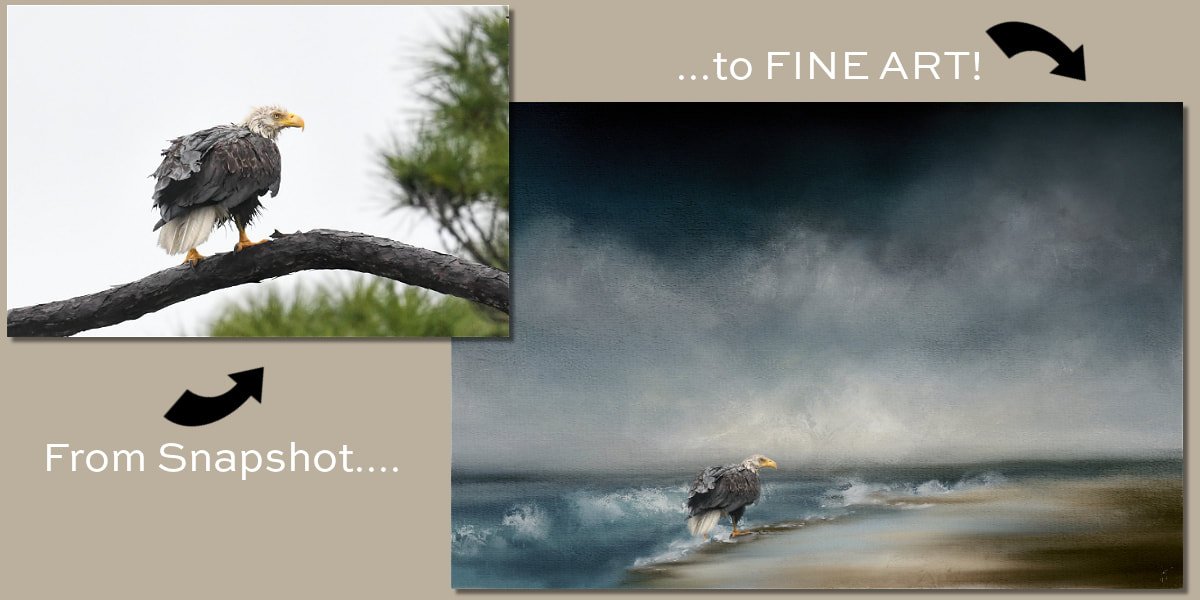 Video Process:In this video, I demonstrate using the Forgotten Coast background with a snapshot of a wet bald eagle on a dreary day. 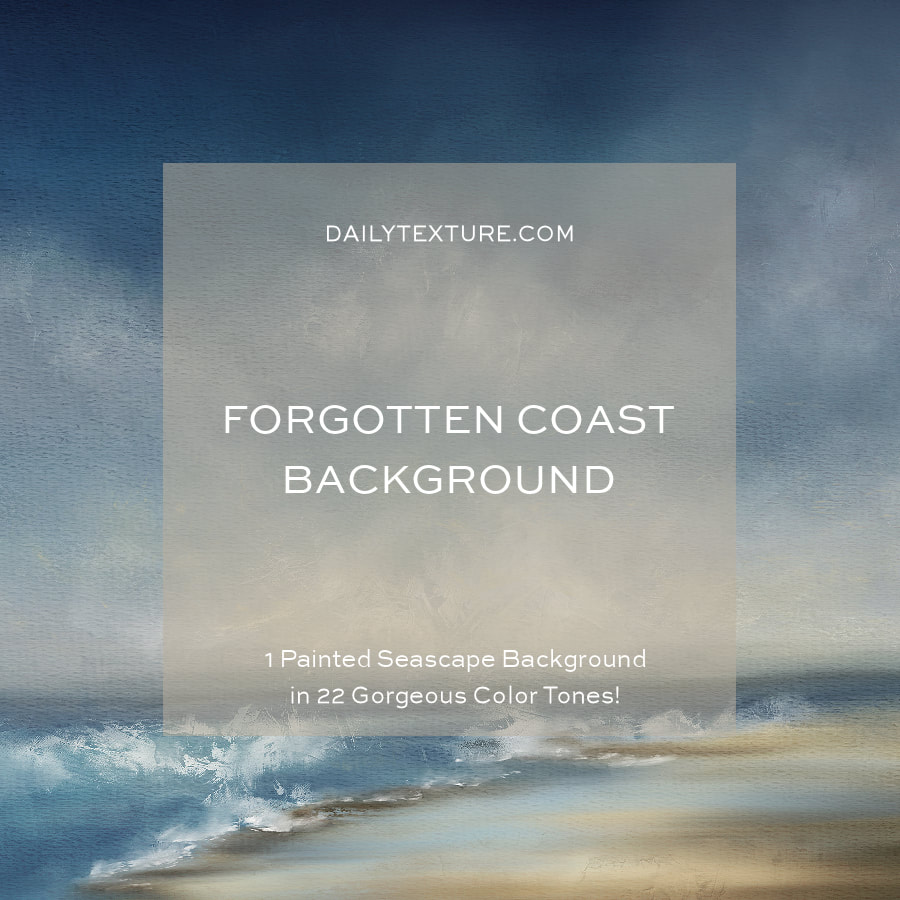 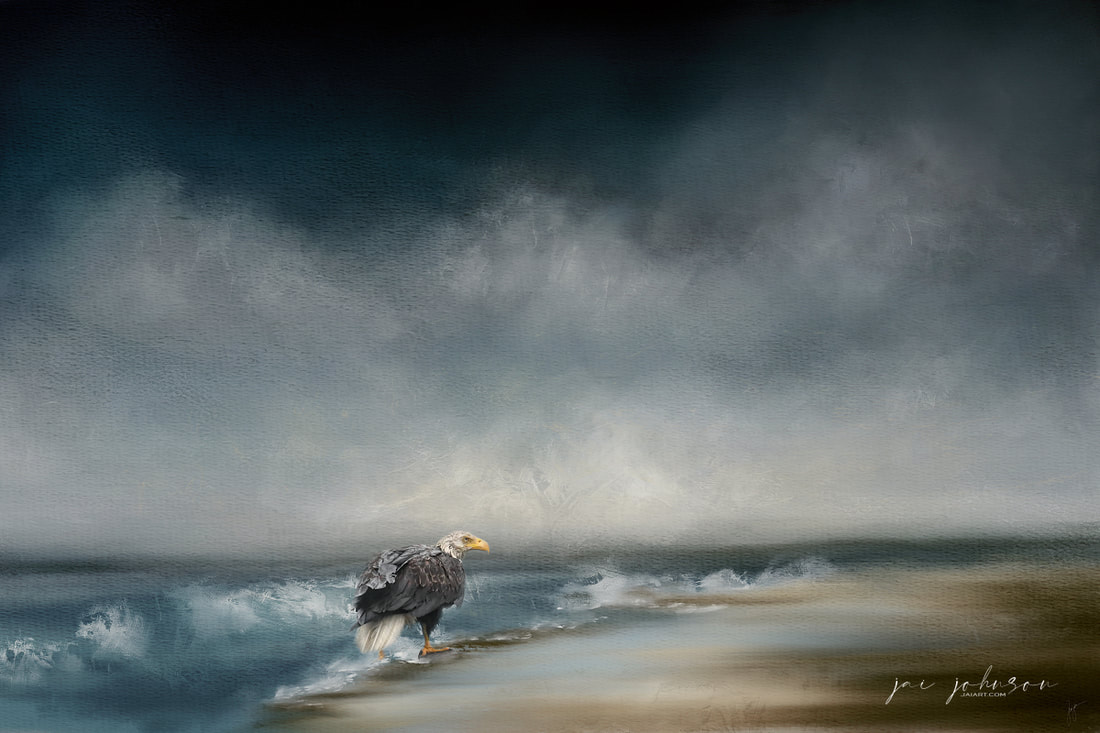 Storm Scavenger This morning I created a new work of art featuring one of our sweet fawns who is ready to begin the journey into the world. I use the new "The Wind Stills" background for this art. I hope you enjoy the video! The Wind Stills
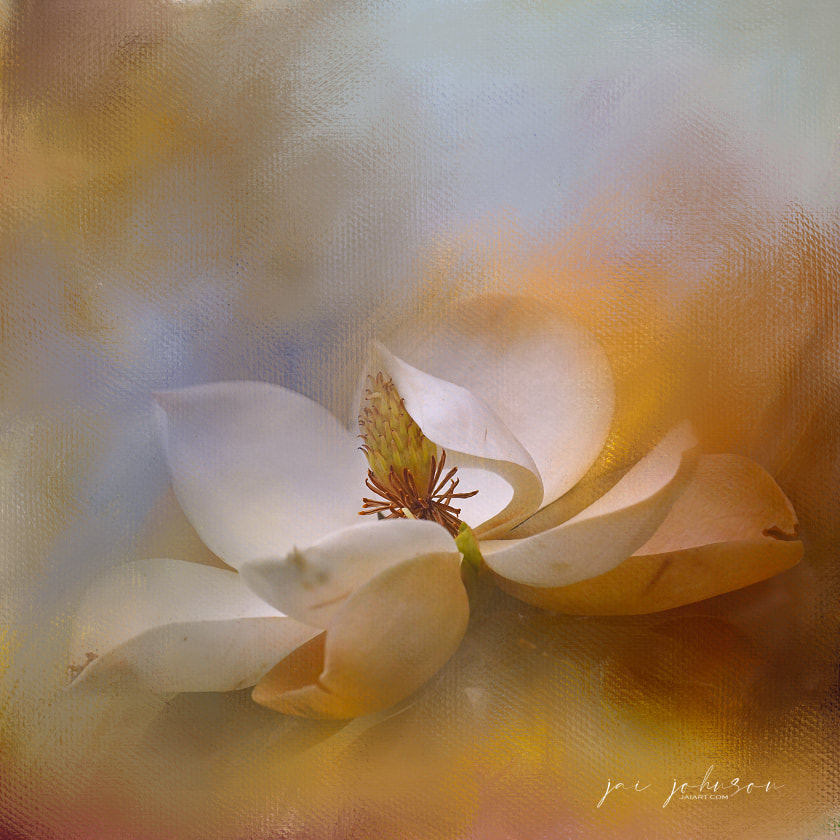
Good Morning! Fall is in the air here in Tennessee, and believe it or not, I still have a few magnolia flowers blooming. A customer asked me recently about creating flower art and how I get the softness and cloud-like look. So I decided to do a short video for you guys. I hope this is helpful! Key Points: • It's all in the masking! Flower on top of texture, mask away edges using a large, round, soft brush. • Mask right over the edges of petals and leaves, varying size and opacity of the brush • Duplicate the bottom texture layer and put it on top - try various layer modes and opacities for that layer. This brings the color and texture of the actual texture right into your flower • Use textures from different collections if desired. Mask away parts of the texture layer if necessary. The Collections I Used:
 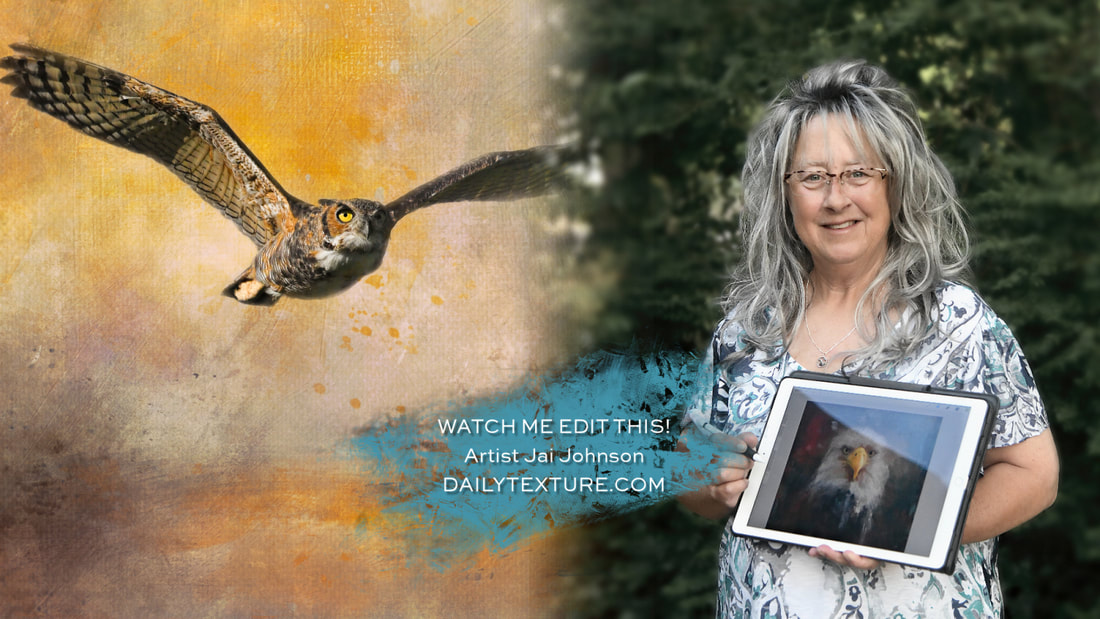 In this video, I create another work of Great Horned Owl art, this time using one of the backgrounds from the Moods 2 Petite Collection. Enjoy! 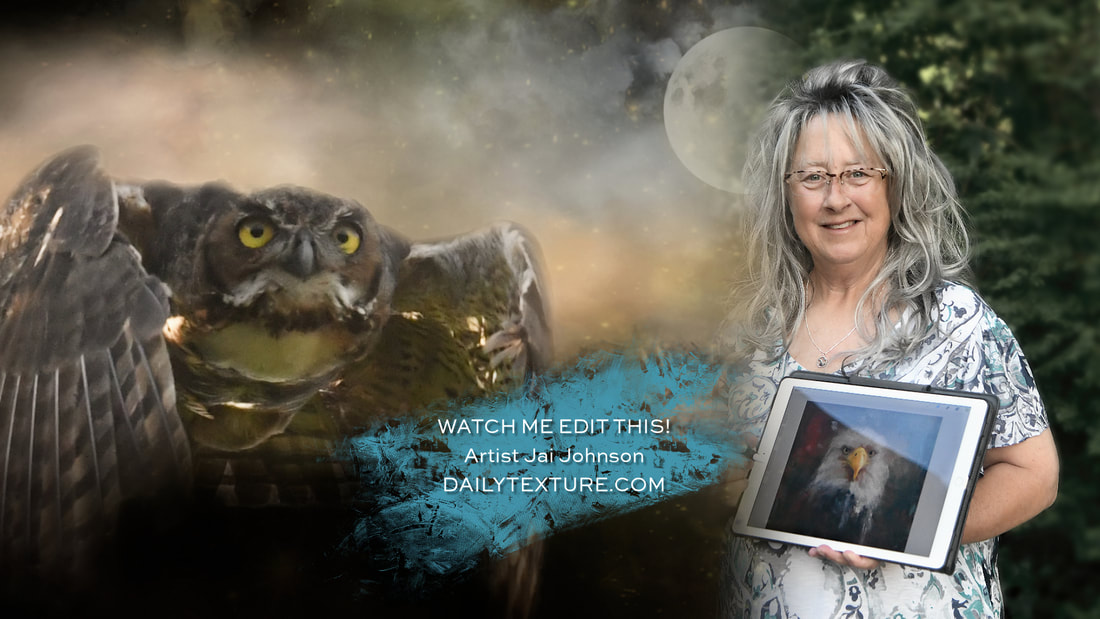 For this piece, I blended one of my recent owl photos with backgrounds and textures from the Stormscapes and Starry Skies collections. Watch the video below! I've been playing with the new "Waxed" Overlay Collection, which is a group of textures designed to be used as layers on top of your photos to give them a misty, ethereal, encaustic, waxy look. Below are a couple of recent landscapes I've created using Waxed, as well as some other textures, to take my landscape snapshots taken from the car and turn them into works of fine art. I've done an overview video of the second image in an effort to show you how I've worked with these textures {and a few others} to give these images their new looks. I hope you enjoy the video and will love experimenting with the Waxed Textures as much as I do! :) 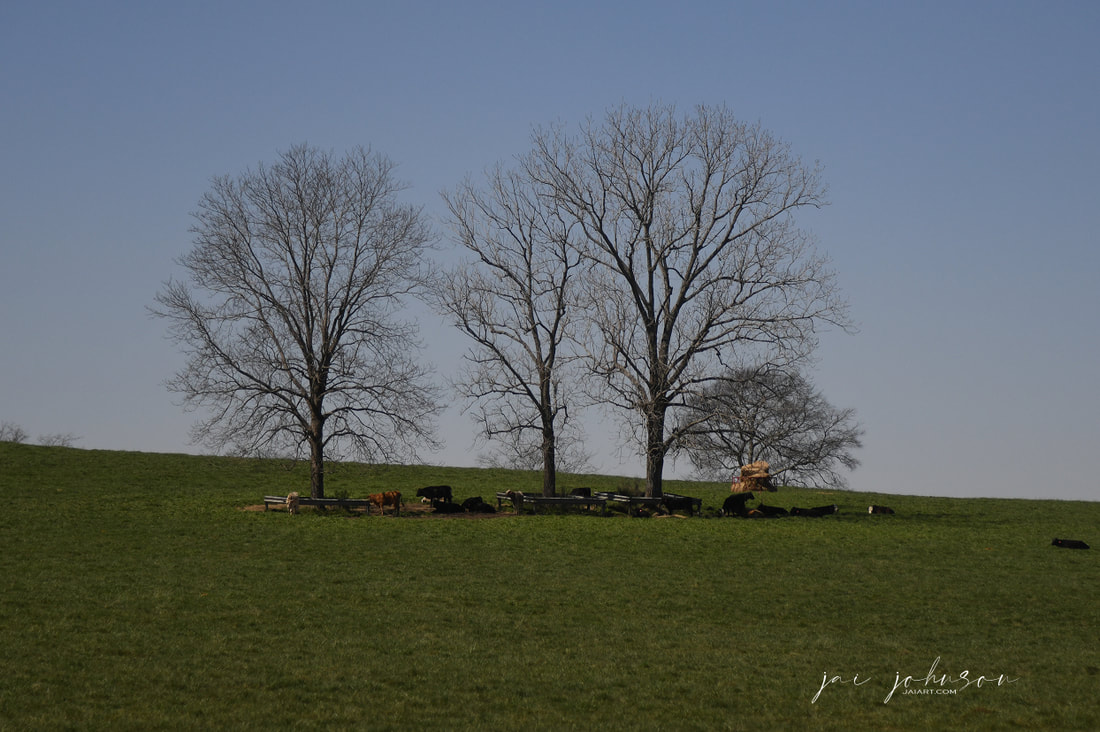 Original photo 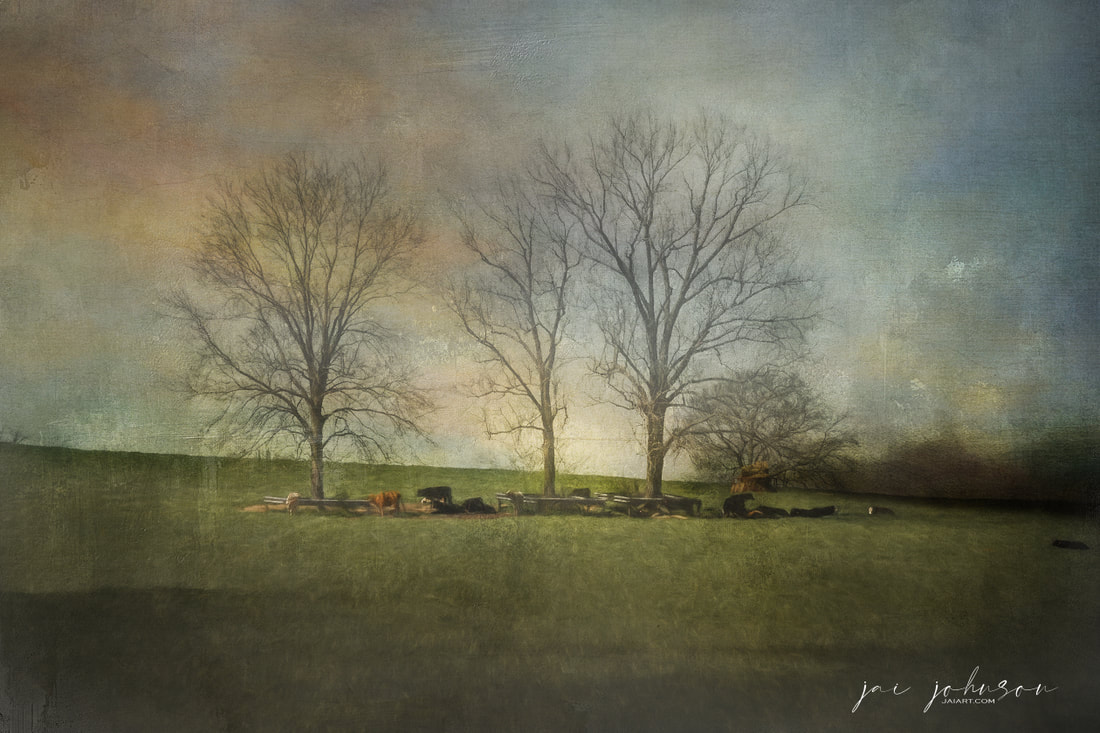 Finished Art 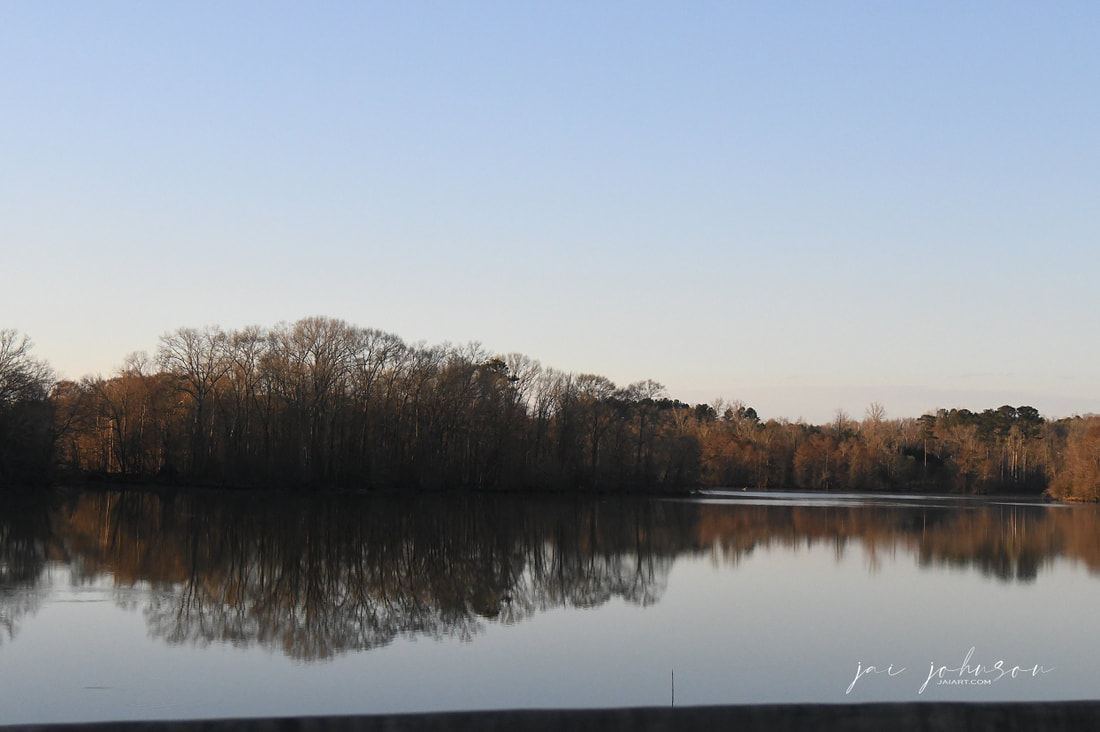 Original Photo 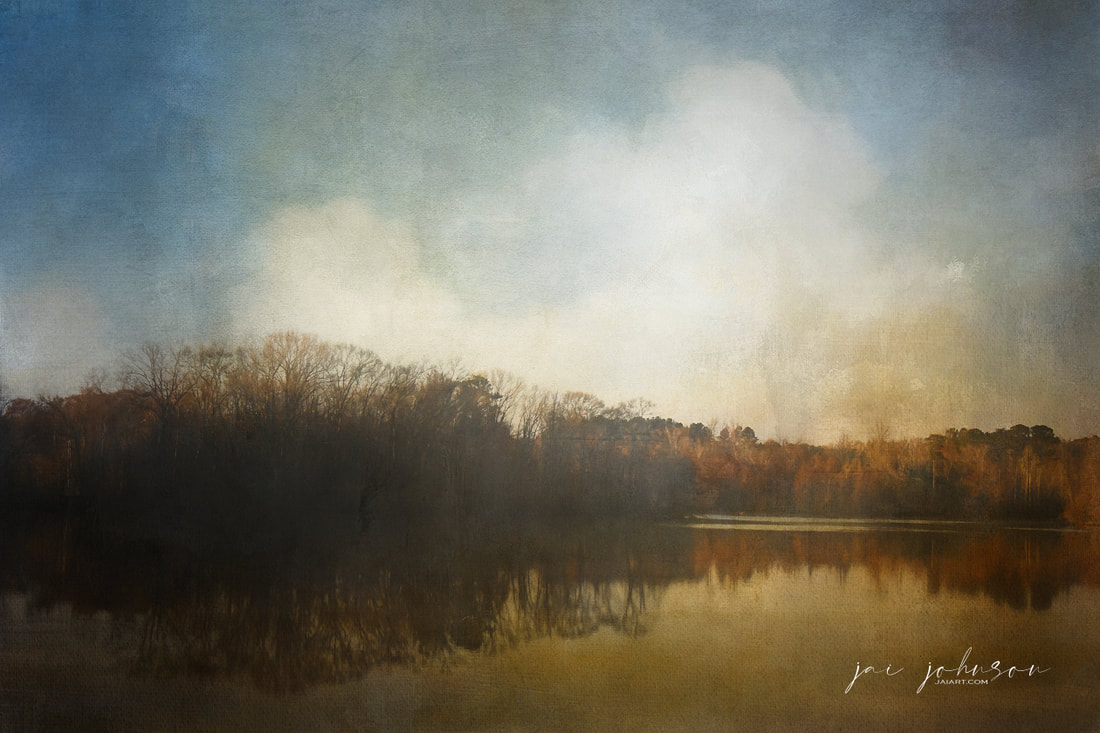 Finished Art Collections Used:
|

Be sure to join the Daily Texture Mailing list to keep up to date on new collections!
You may find these two links useful: • Frequently Asked Questions • Helpful Links and Information  In most of my videos, I use older software which I've used for years. Unfortunately, the software I use isn't being sold anymore.
Many of you have asked me to teach in Photoshop -- but I am just learning myself in that software. In my learning, I have discovered the best Photoshop training on the planet, and I have secured a special offer on this same training JUST FOR YOU! Click the button below to learn from my same trainer, and to save a HUGE amount on this lifetime access course: Please note: Some collections shown in older blog posts have been retired and are no longer available. The blog posts have been left for you to view for learning purposes and examples of what can be done using the Daily Texture resources. As always, for the most current available collections, please visit the store here.
Archives
April 2024
|


 RSS Feed