|
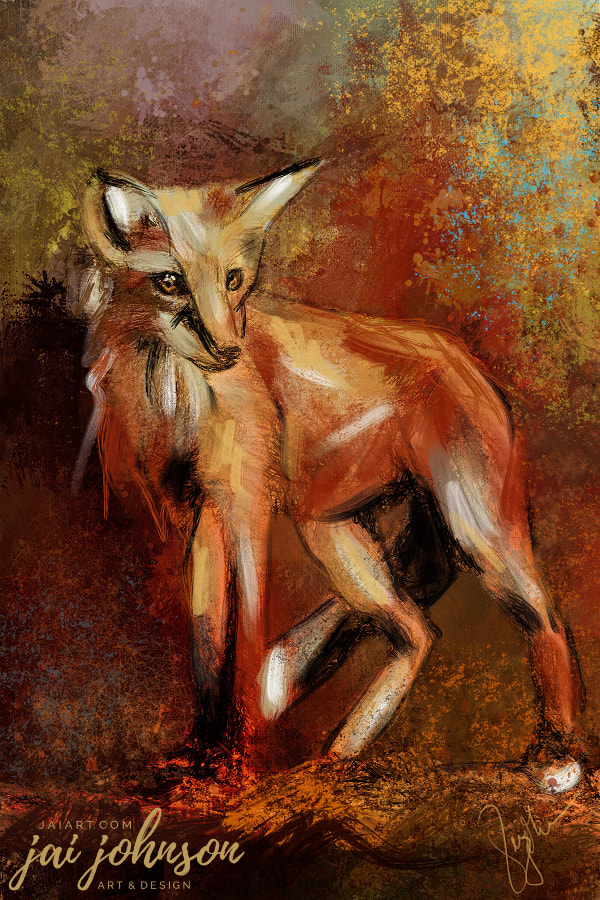
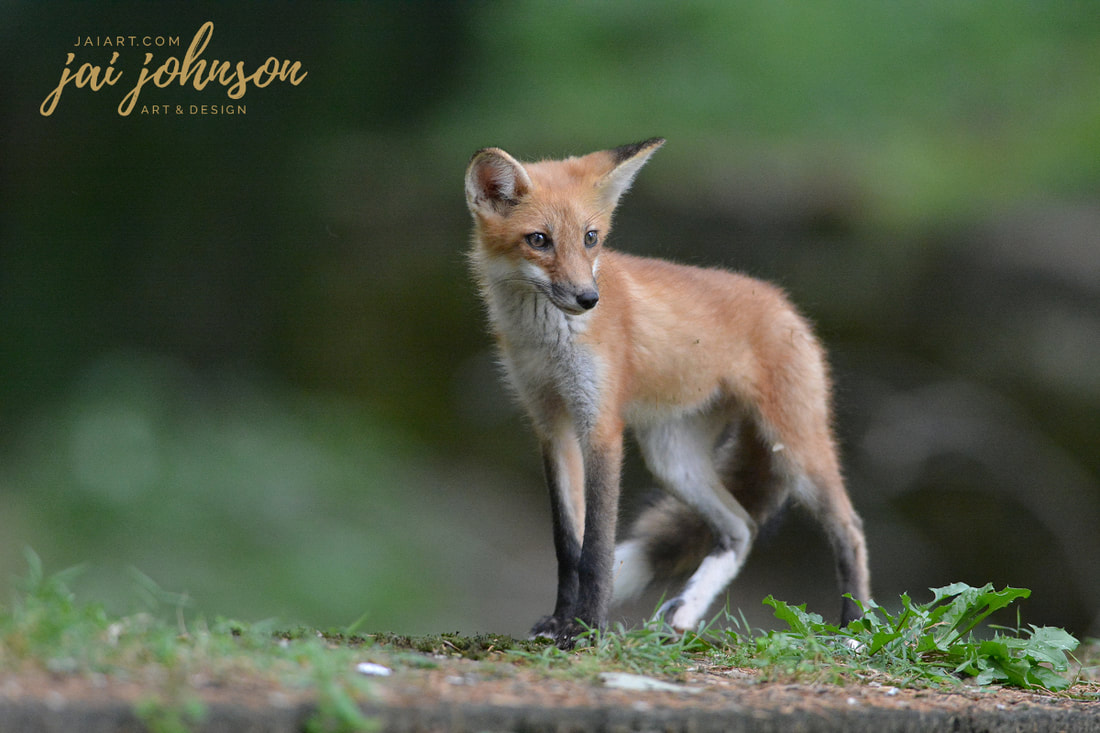
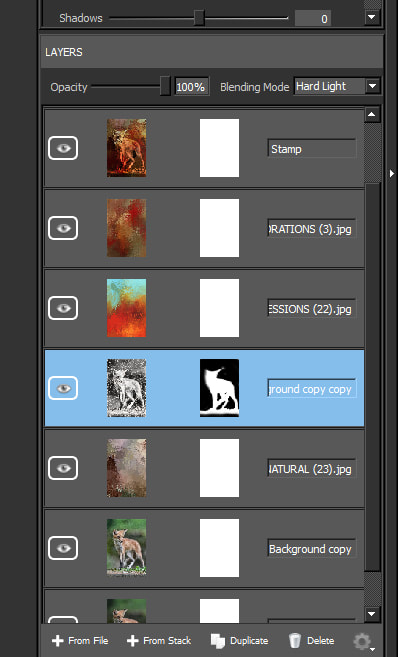
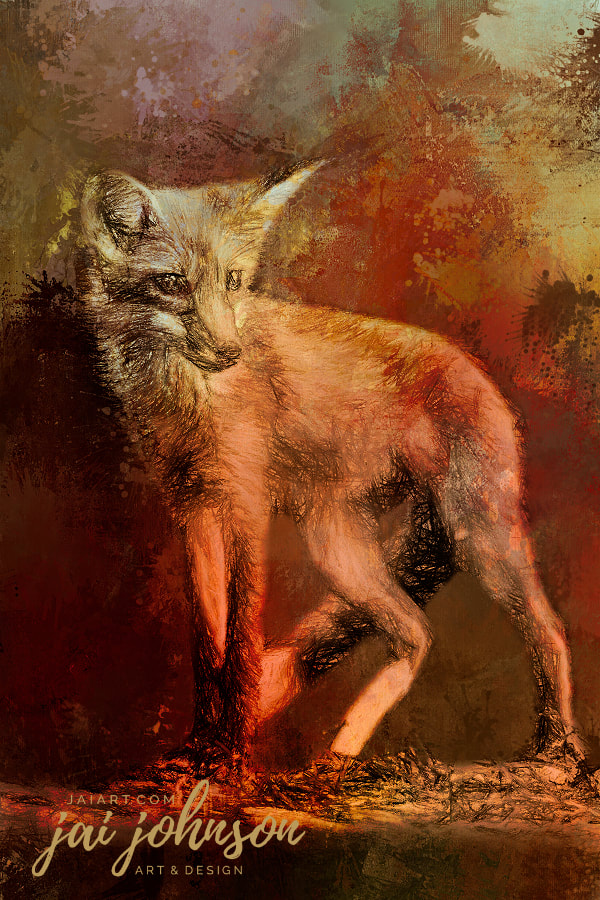
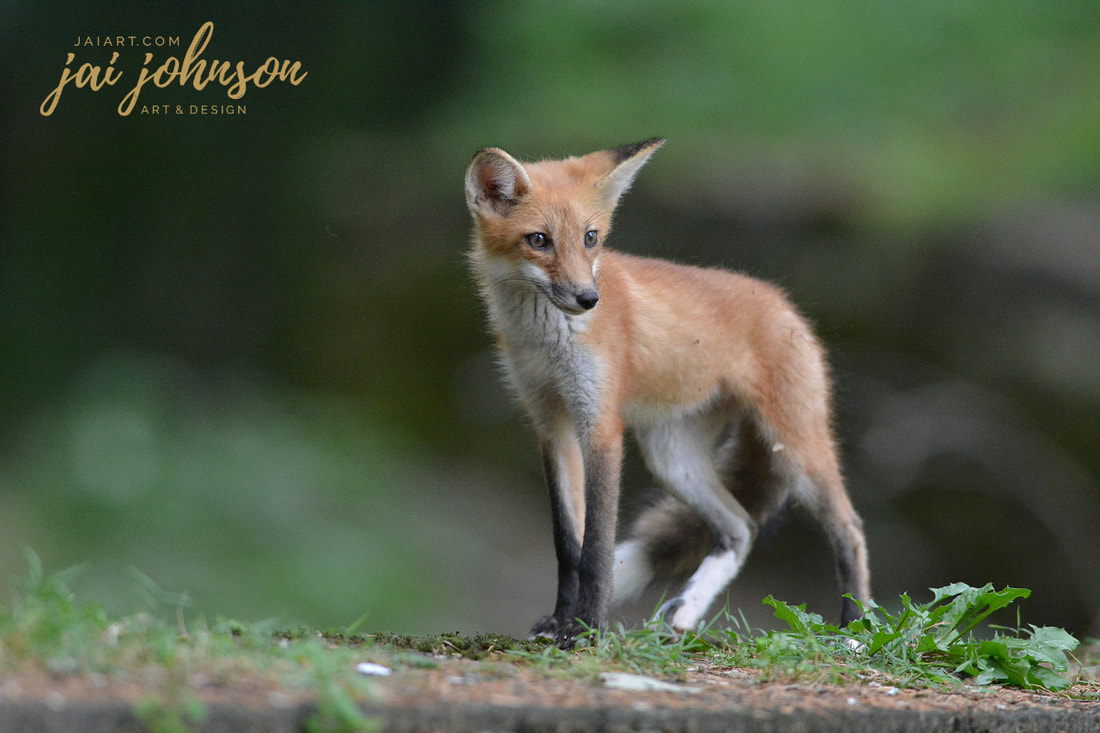
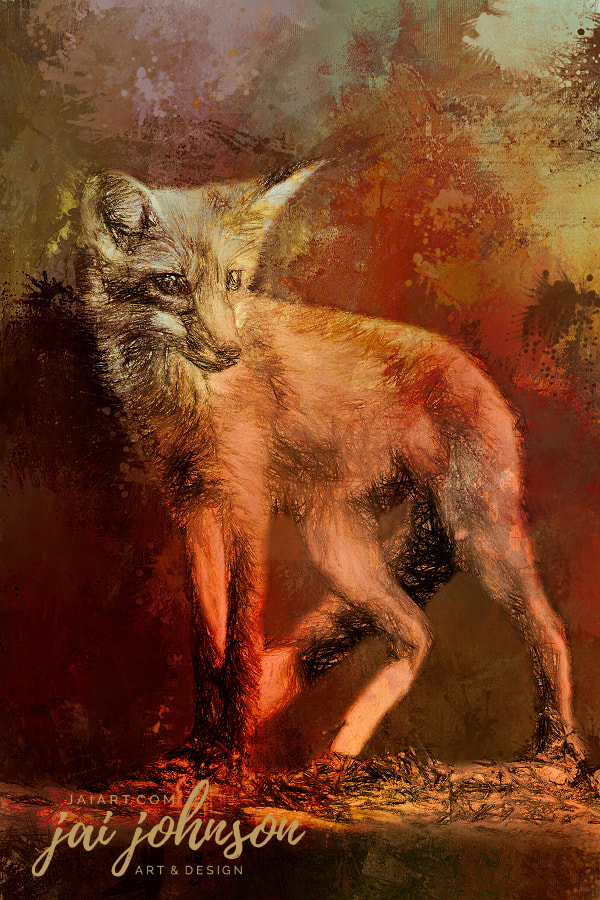
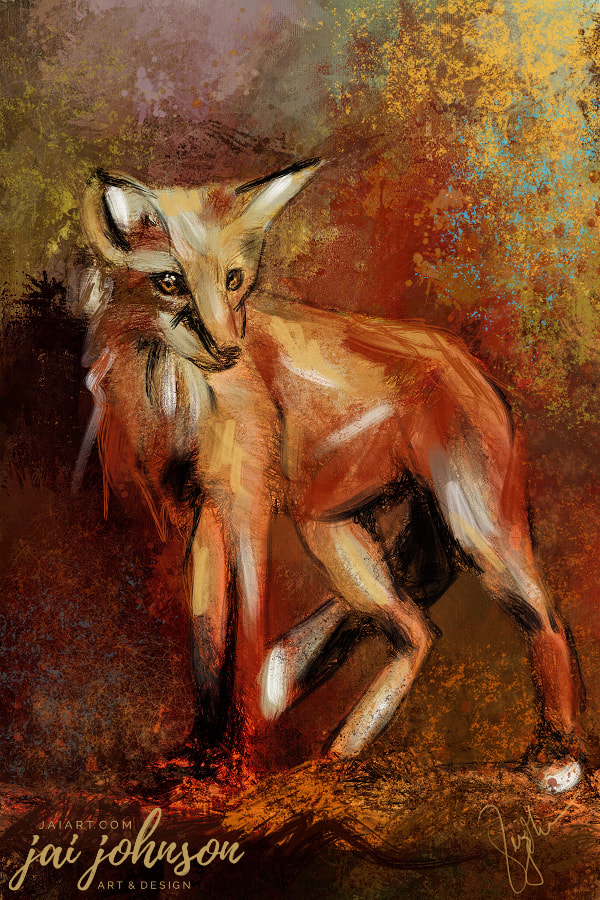
My challenge this year is to become more EXPRESSIVEwith my art. Using the Expressions Collection, the Expressions Natural Collection, and the Explorations Collection, that is exactly what I did with this work of art -- and I tell you how I did it below. :) First, let's take a look at the finished piece: It's hard to believe that started with a photo, isn't it? But oh yes, it did. In fact, here's the original photo I worked from: I decided I wanted to go vertical with this one, rather than horizontal, so I set up a portrait style canvas, and copied and pasted my original photo onto that canvas, positioning the fox exactly where I wanted him. Then I took that image into Topaz Photo FXLab, where I do all of my editing work. Below is a screenshot of my layers panel. You can see how I positioned the fox on a vertical canvas on the bottom layer. I made some adjustments to the photo layer before beginning, and I made a duplicate of that photo layer, placing it on top of the Expressions Natural texture #23. I chose that particular texture because of the color tones - they somewhat matched the color tones of the fox. I then ran a Topaz Impression pencil preset on the photo layer, to turn my fox into a pencil drawing. I set the pencil drawing layer to hard light layer mode, and then masked away all of the pencil lines behind the fox - you can see my little black and white mask in the layers panel above. I decided he needed a little sprucing up with some more color and texture, so I chose Expressions #22 from the colorful Expressions Collection. With those orange tones, I thought it would work well for my fox. I placed this texture on top of the pencil layer, and set it to multiple layer mode, at 44%. Then I decided to add even more, so I grabbed texture #3 from the Explorations Collection, placed it on top, and set it to overlay layer mode at 100%. And this was the result:I had the shape of the fox, in pencil, with some unique texture and coloring. But of course, he needed more. I saved the image and thought about which direction to go. I could have easily taken him into Corel Painter at this point, to refine and add things. But since I just recently acquired an iPad and downloaded the Procreate art app, I decided to try it instead. After importing the image onto my iPad, I opened it in Procreate. There, I added a layer on top to paint on. Using a black brush, I refined the outline of the fox and his important features very loosely. Choosing colors from the original image, I then added more paint marks, most over the existing pencil lines from the original image, and some in various other areas. Choosing brighter and more saturated colors, I added even more paint to the fox, and even went over into the background with some different and unique brush marks. My goal was to keep everything loose, suggestive and messy, more so than accurate. Basically, I just threw paint around and had fun. :) And the final result...Comments are closed.
|
Be sure to join the Daily Texture Mailing list to keep up to date on new collections!
You may find these two links useful: • Frequently Asked Questions • Helpful Links and Information In most of my videos, I use older software which I've used for years. Unfortunately, the software I use isn't being sold anymore.
Many of you have asked me to teach in Photoshop -- but I am just learning myself in that software. In my learning, I have discovered the best Photoshop training on the planet, and I have secured a special offer on this same training JUST FOR YOU! Click the button below to learn from my same trainer, and to save a HUGE amount on this lifetime access course: Please note: Some collections shown in older blog posts have been retired and are no longer available. The blog posts have been left for you to view for learning purposes and examples of what can be done using the Daily Texture resources. As always, for the most current available collections, please visit the store here.
Archives
April 2024
|
 RSS Feed