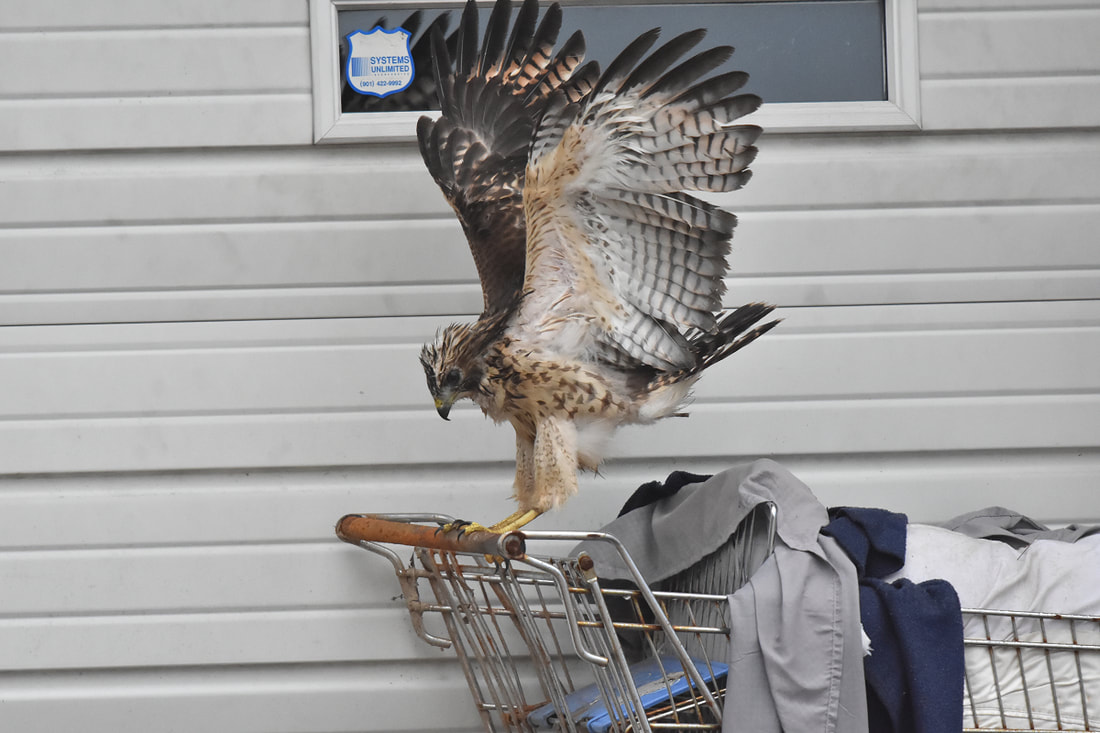
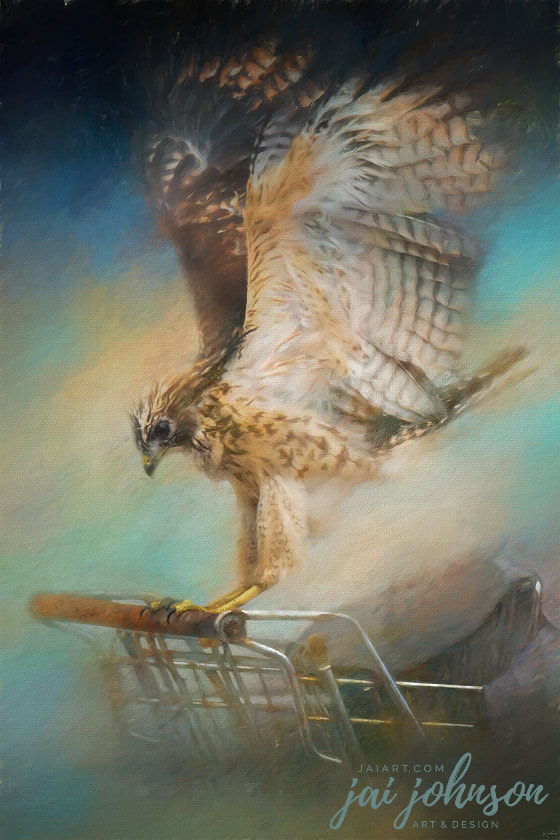
Do You...
Push Your Own Shopping Cart?
It's okay to step outside of the box!
In fact, my entire business of The Daily Texture began from me doing just that! If I hadn't been willing to step outside the box and expand on "what if...", this business wouldn't be here for you to enjoy today. Because I "pushed my own shopping cart", I have a very successful business and a ton of happy photographers who enjoy creating ART from their photos!
Patrons of The Daily Texture who use my resources also have experienced more success in their endeavors. Here's a few behind the scenes facts:
1) Pet portrait photographers are enjoying more sales and increased income from clients as a result of using The Daily Texture resources
2) Volunteers for pet adoptions are creating art featuring cats and dogs who need new homes, and they are seeing increased adoption rates
3) Photographers and artists have won more contests they participate in with their photo art created with these resources
So my question to you is -- are you ready to push your own shopping cart and be different and unique with your creations?
Watch me edit a very different kind of photo in the video below. It's not a piece which will probably sell, but it IS a piece which makes a statement, and sometimes, I like to create art which brings a point across, rather than creating art to go in a bedroom or bathroom. :)
--Jai Johnson
NOTES & TIPS:
--Sometimes, it's really rewarding to work on a piece of art not because it will SELL, but because it says something to someone and expresses something you wish to express to the world.
--Choose textures which will either 1) blend nicely with your background color and/or 2) blend nicely with your subject color. This makes masking a bit easier, and if you're not totally accurate with the mask, it won't be a big deal.
--Consider flipping your chosen texture around, and/or resizing it, to place the color from the texture exactly where you want it in relation to your subject or background
--Avoid choosing a texture with too much pattern when your subject has a lot of pattern
--Mask away your subject's background with the textures you might want to use placed underneath the photo layer. Turn those texture layers on and off after masking, in order to see which one you prefer with your subject.
--When creating ART from your photo, you don't need to show every stray feather, or every piece of hair, etc. Decide where you want your focal point to be {in this case, it was the eyes/beak/feet/toes & shopping cart handle}, and keep those areas accurate and sharp, while toning down and softening other areas in the image.
--Remember, you can layer various textures on top of your subject and/or on top of your background texture underneath your subject as well. Play with layer modes and opacities to get the overall look you want.
--Playing with saturation - both on your subject photo layer AND on the texture layers - can create some fun and interesting results...don't be afraid to experiment with this!
--Watch out for white or light colored edges around your subject when doing your masking, especially with darker backgrounds.
--Use light and dark on the image as a whole, to direct the eye where you want it to go
--If a texture has too much "texture" or pattern in it, you can soften that up by using a couple of different techniques. I used Topaz Lens Effects Diffusion filter in the video. You can also use soften, blur, and gaussian blur in other software programs to obtain a similar result. You may have to run an effect on the layer several times to get it soft enough for your liking. When you soften a texture using one of these methods, you can keep the color and light from the texture while not having the pattern or "texture" actually take over your art and become overworked.

