Is Your Photo A Victim of...
Harsh Sunlight?
Choosing The Right Textures Can Help!
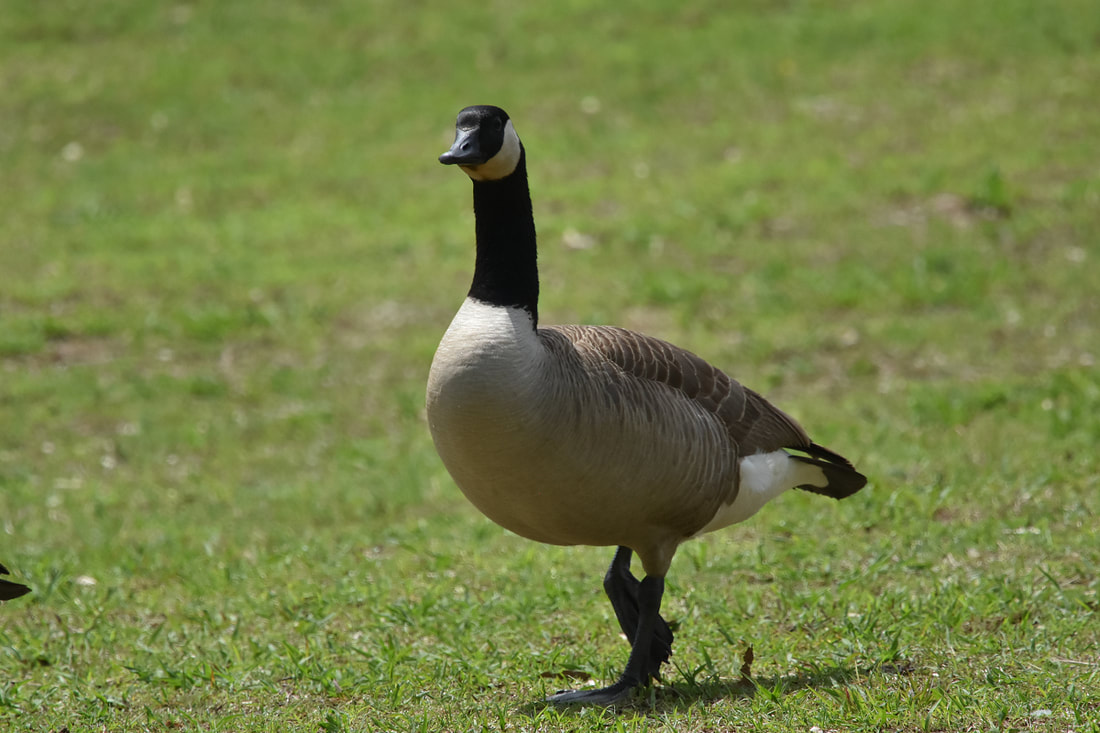
As a wildlife photographer, I often have to deal with harsh sunlight and rapidly changing light conditions. Rather than fall victim to harsh sunlight, I choose to work with it in a variety of ways.
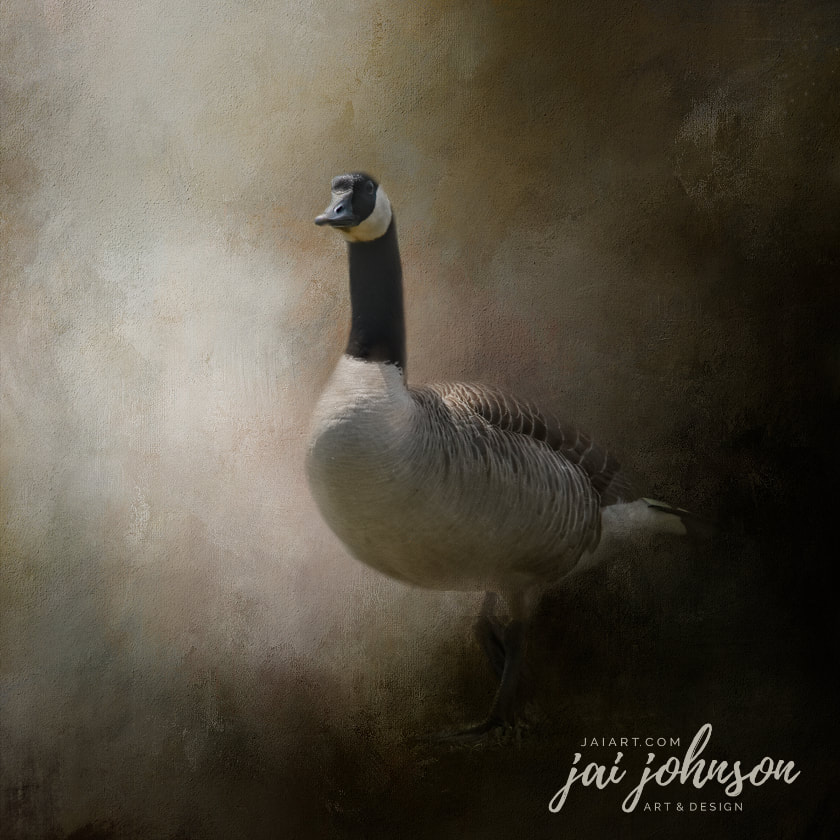
In this video, I show you how I worked with one of my "harsh sunlight" photos. I've also included some video notes below, along with links to the textures used in this video. --Jai Johnson
P.S. The cover in the video says Episode 1 -- my mistake! {can we say not enough coffee???} This is actually Episode 4 in the series. :)
Before and after image created in the above video:
Notes:
In Camera: When shooting a subject which has very harsh sunlight on it, I usually lower my exposure compensation. I currently shoot with a Nikon D7200 {affiliate link} and I'm blessed with the fact the back wheel on the camera can be set to adjust exposure compensation up and down while shooting. So if I find my highlights are blown out, I will lower the exposure compensation "on the fly" using that wheel. This helps to keep that bright area of the subject from getting completely blown out.
Back in the studio: Despite the fact I've lowered exposure compensation and avoided blowing out the highlights, I still am left with a photo which has strong lights and darks. In art and paintings, this is desirable to add interest and direct the eye where you want it to go -- in photos, this isn't so desirable. Because I'm turning my photos into ART, I try to think like an artist and play with lights and darks, directing the viewer gaze exactly where I want it to be. I do this by choosing textures which will create that end result.
1) Tone down the super-saturated colors sunlight may create -- such as green and yellow, as in the case of the goose photo in the video.
2) Choose a texture with strong light in a portion of the texture. Place this light area of the texture next to where there is strong light on your subject.
3) You can adjust highlights on your subject layer to tone down super-bright areas, if you wish
4) Alternatively, you can mask away some of those highlighted areas with a low opacity masking brush to actually bring the background texture right into the subject. This is the method I use most often.
5) You can use burn and dodge brushes to dark/lighten certain areas on your photo. I don't use them often, myself.
6) To direct light after blending with the background, add another texture with softer light on top in soft light layer mode, playing with opacity until you get the light pleasing. If adding the texture on top adds to much COLOR in it, try desaturating the top texture layer only. This will enable you to get the lighting effects from the top layer, without the added color.
7) Make sure to mask away any bright sunlight "lines" you may have around the edges of your subject.
8) Use Topaz Lens Effects {if you have it} to add reflected light {gold and/or silver} where you want extra light on your image.

